Arimoto Bento
Bento-style lunch box after a design by Tadao Arimoto
August 2012
August 2012
In August of 2012, I took my thrid woodworking class with Pittsburgh-area craftsman Tadao Arimoto. We made bento-style lunchboxes. Bento lunches are typically several smaller courses served together in a lidded box. Often, the box has dividers to keep the courses separate. Mr. Arimoto's design was square, but he encouraged us to try other shapes so our projects would not all look alike. There were four of us in the class. I was somehow assigned to try a hexagon, which was not as straightforward as the square, not as angular as the triangle, and not as many pieces as the octagon.

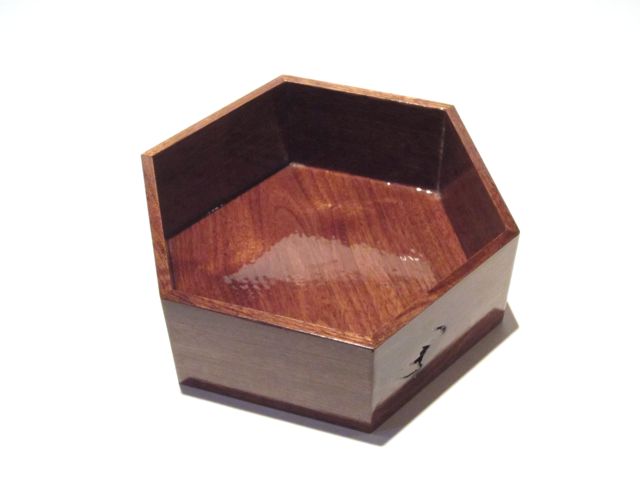
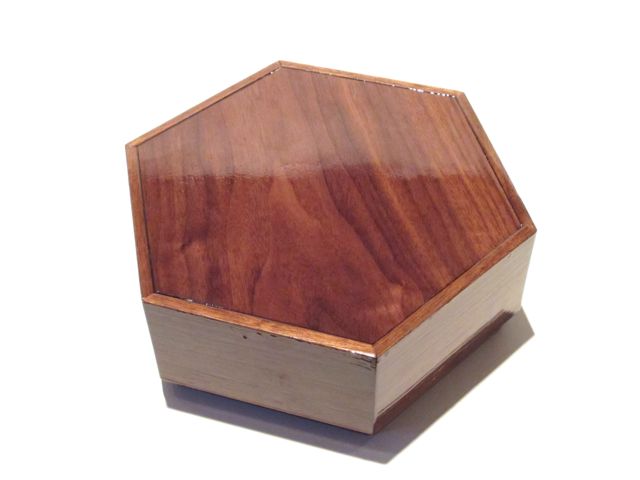
You can see some of the nice decorative knot-holes that I made sure to keep in my pieces. You can't see any of the imperfections in the finish.
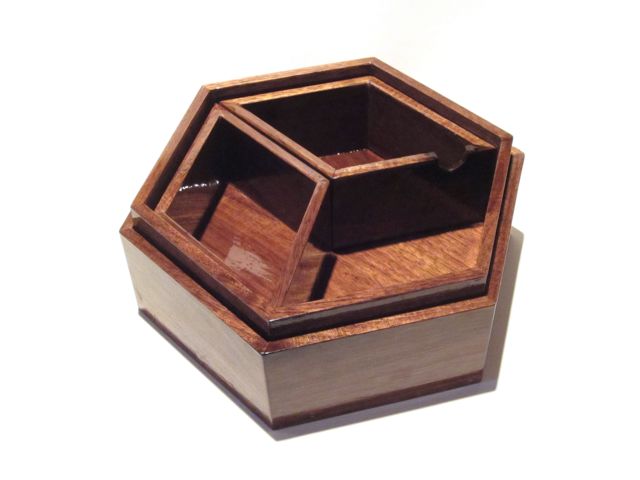
For scale, I guess I should say that the lid is about 8.25 inches from side to side 9.5 inches from vertex to vertex. The small boxes have a volume of about 10 ounces, and the main box holds about 7 cups total.
The box is made entirely of quarter-inch thick walnut, which he provided. Mine is finished in food-safe epoxy, so it's washable.
We cut a dado slot in the strips for the walls and lid sides, then cut enough wall pieces for the bottom. Getting the angle and length identical for all pieces was important. Then, we measured the resulting wall perimeter and determined the correct size for the box bottom. The bottom needed to be large enough so that when we rabbeted the edge, the thin portion would fit into the slot and the thicker portion would fill the opening at the bottom. After gluing that all togther, we repeated the process for the lid, making the walls only about an eighth of an inch larger on the inside than the outisde of the walls. My lid sides were taller than most people's, but that's the way I wanted it. The sizing is tight enough that the lid slides down very slowly.
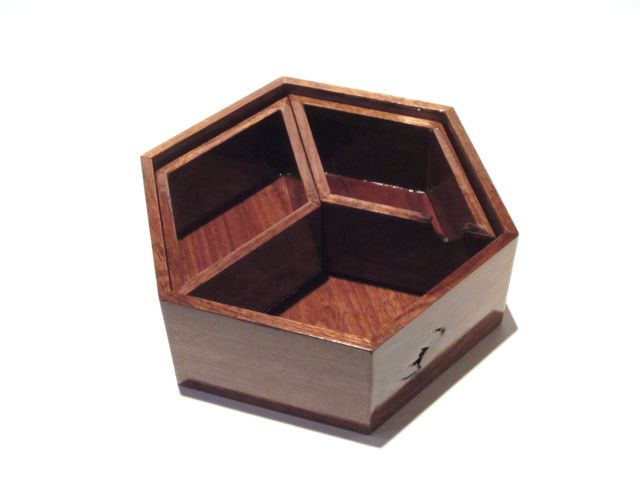
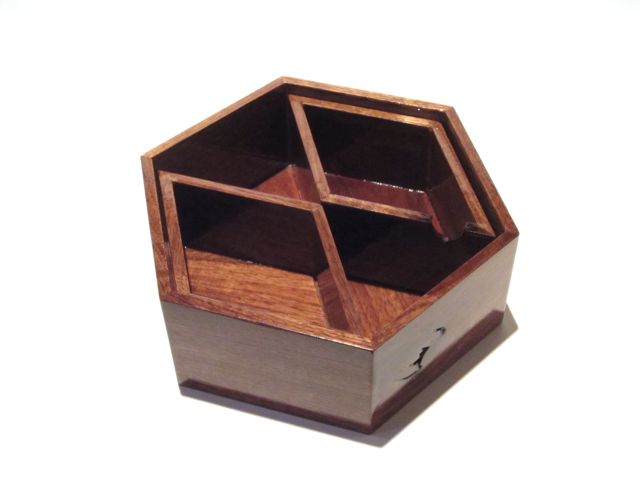
My divider boxes are rhombic, which meant cutting two different angles for each side. The divider walls are not slotted, so the rabbeted bottom is just glued directly to the bottom of the divider box. I went for rhmobi so that I would have some variety in how the divider boxes can go into the main compartment.
The box and its dividers are completely coated in epoxy resin that used a food-safe hardener, so it should be resistant to food contamination and completely washable. This epoxy coating was a total pain. The epoxy starts to cure after about 30 minutes, so you really only have about 20 minutes of working time. At the speed I work, this is enough time to apply about four teaspoons of finish. It shows brush marks like crazy, and seems to suck invisible dust out of the air and make it visible. You can see how awesomely glossy it is otherwise, though I may sand it matte just to smooth it out.