Almost 8 years ago, Makiko Tada was kind enough to teach me kute-uchi hand-loop braiding in her studio. For the past 8 years I have been making “practice” braids, “sample” braids, “class” braids, and the like, but never making any actual braids from silk. So, I did it. Twice.
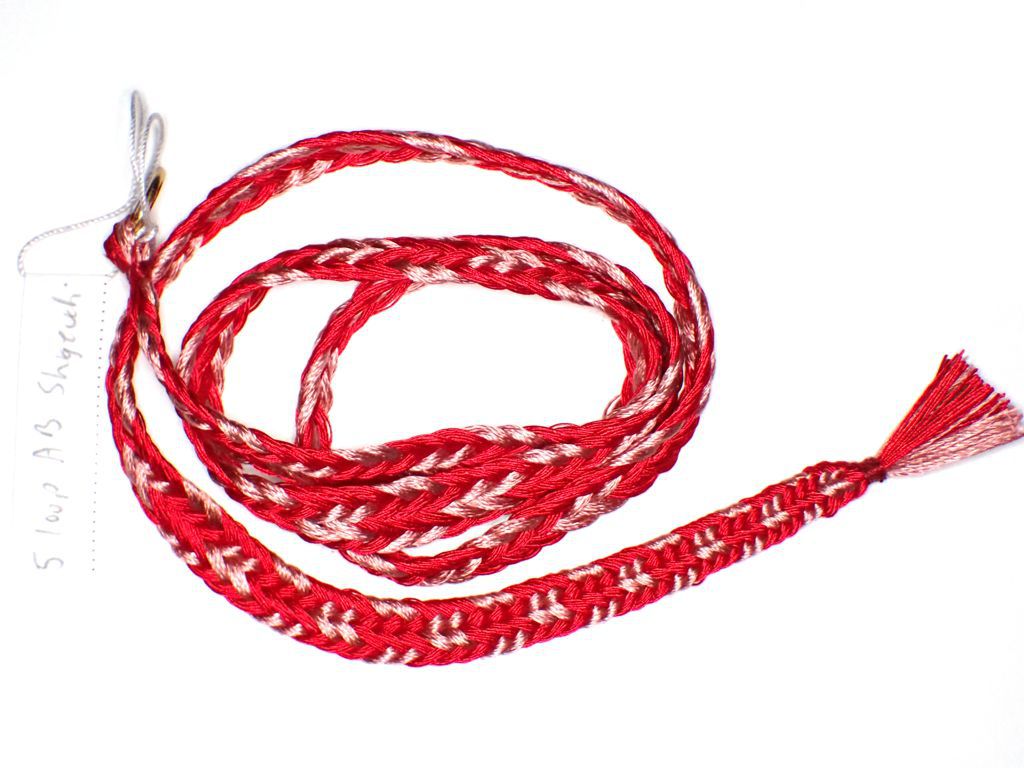
The first braid is a 5-loop (3+2) AB flat braid that is usually referred to as shigeuchi. I used 12 ends of silk reeled silk yarn per loop, 3 loops red and 2 loops pink. The “3+2” means that three loops start on the left hand, and 2 on the right. The “AB” refers to two of the four moves used to make the braid from loops:
- A = Outside Straight
- B = Outside Twist
- C = Inside Straight
- D = Inside Twist
I realize that this doesn’t actually tell you anything you need to know about loop braiding. Anyway, the braid:
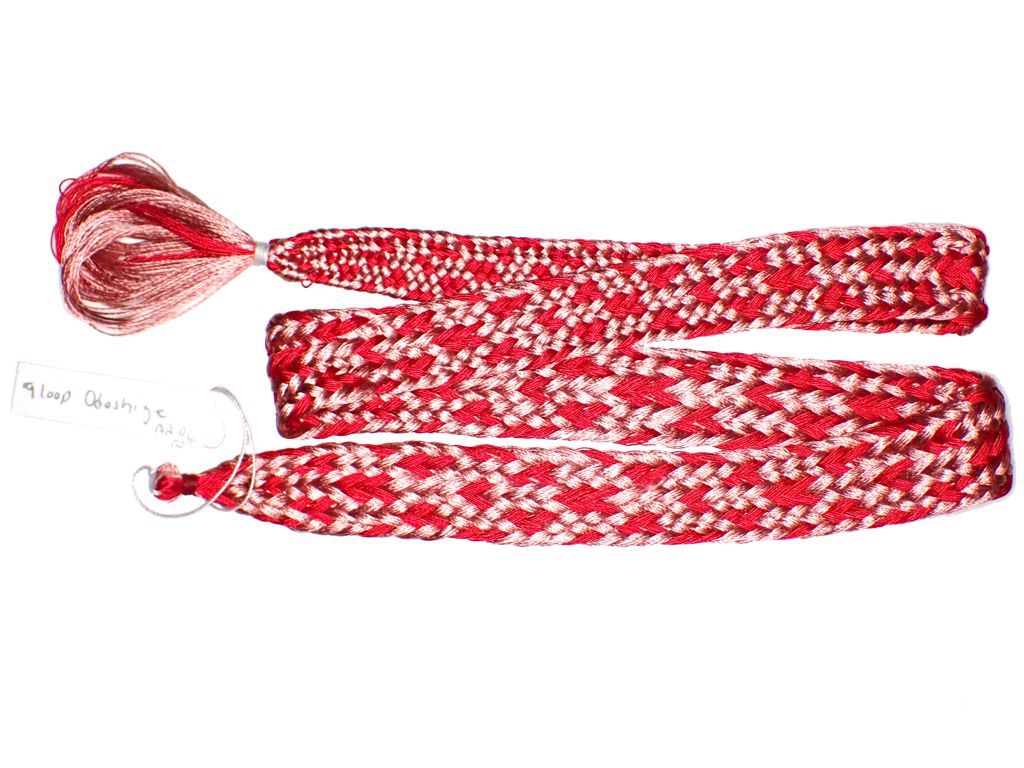
The second braid is a 9-loop (6 +3) AADC Odoshige braid, again with 12 ends of reeled silk yarn per loop. This time I had 6 loops of pink and 3 of red. This braid makes this great 8-ridge flat twill structure. The name odoshige indicates that it was mainly used as lacing on odoshi , which is a word for armor. This particular one is a little wide for armor lacing, though.
I feel like the tension on both of these braids is still a little off. I bet you can even see the change in tension over the course of each braid. I have tried to showcase the best section of each braid. In the first braid, it’s the arc at the bottom. In the second braid it is the diagonal part near the top. In both cases, the nicer part of the braid is closer to the finish end of the braid. That should tell you something about how difficult it is to tension a longer braid.
Both braids are roughly 30 inches long. The second braid also has an error in it, but I have skillfully hidden that error from the camera.


