bookmark_borderBackpack Slipcase

I have these two things that I have been carrying around in my backpack for years, One is a slim plastic pencil case for miscellaneous adapters and cables. The other is a small Bluetooth keyboard for when I have serious typing to do on my phone. These coexist fairly well in some backpacks, but in others they just slide on top of each other and take up way too much space. I needed to make something that would hold them vertical, yet still make it easy to grab one or the other and pull it from my bag without having to undo fasteners.

The faces, once again, are thing plywood from the scrap pile. The dividers, and the floor you can’t really see, are half-inch by 1.25″ trimmings from 2×4. I have a bundle of these sticks from making the stands for the 7-Pearls Banner Project. Quick work to cut everything to size on the band saw, glue in place, then secure with brads from the nail gun. (This Ryobi cordless electric nail gun is probably one of the most useful tools I have ever bought from them. This model is a little finnicky, and they don’t sell it any more. I haven’t tried the newer models.)

The only fancy thing about this slipcase, besides its 100% custom nature, are the grab slots I cut to make it easier to actually grab the items. The keyboard box sticks up, but the pencil case totally disappears inside. If I ever stop using the cardboard box for that keyboard, its slot will be more necessary. Here is the slip case in my backpack:

Slipcase in Backpak

I’ve been wanting this for a while, so I’m glad I finally made some time to get this done.

bookmark_borderBand Saw Box

All my spare blades for the band saw have been sitting in an inadequate CocaCola crate for years. This state of affairs was becoming more and more untenable when I was switching blades back and forth during the shogi project. While I was waiting for some glue to dry on a more central project, I decided to rectify that.

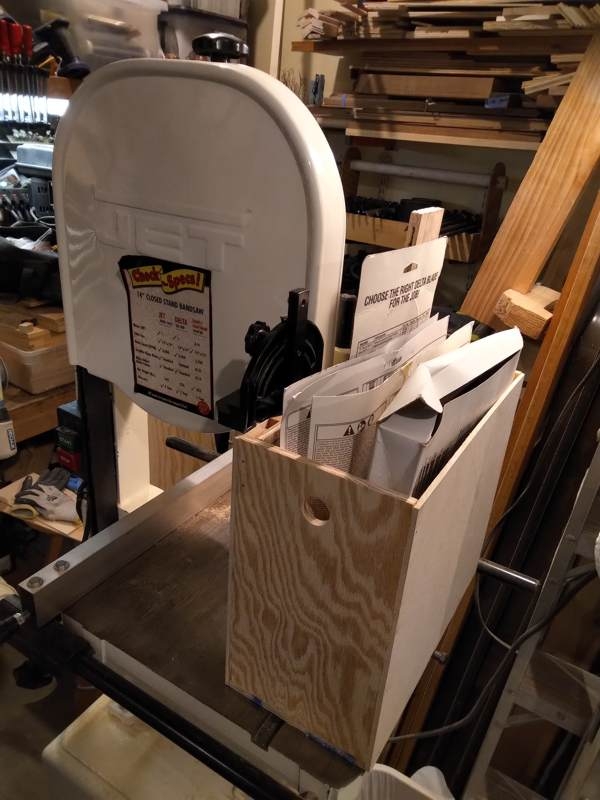
Band Saw box on Band Saw Table

The faces are some 3/16″ plywood from the scrap pile. The sides and floor of the box are some 3/8″ plywood from the scrap pile. Some of these utility projects are basically just ways for me to justify having kept around these massive quantities of scrap lumber for so long. The whole thing is just glued together with butt joints and pinned with 18gauge brads from the nail gun. One slightly fancy thing about this box are the two finger holes that make it easier to pick up the box.

Anyway, the interior is a little larger than 12″ wide, by 6″ deep. This gives me plenty of room to slide in the blister cards that Lowes sells 93.5″ band saw blades on. Another slightly fancy thing is a bracket for holding the miter gauge. It’s always a challenge finding someplace to put that thing when I’m no t using it. You can see how nicely this box fits on the band saw table, making it difficult for these two items to get separated.

Some months ago, I reorganized the shop a bit to make it easier to get to the band saw. At the old house, the band saw was set up in the middle of the basement and was always available for little things like making useful boxes. I’m so glad I have this saw back where I can use it easily without having to move other stuff out of the way.

bookmark_borderTill for Stanley Chisels

A long time ago, I bought a set of six Stanley chisels on sale for $25. They came in a molded plastic case that was very handy for taking them places, but kind of inconvenient to have in a tool chest drawer. Recently, one of the latches broke off the case, and since these chisels rarely leave the house anyway, I decided to make a divided till to hold them.

Chisel Till in the Chisels and Scrapers Drawer

The floor of the till is some thin plywood from the scrap pile. The chisel handles are about 1.25″, so some 3/4″ thick 3/8″ wide scraps from the bin made good edges and dividers. These are glued in place, and then secured with 5/8″ x 18 gauge brads from the nail gun. The rail that supports the chisels blades is just some miscellaneous trimming from a 2×4 or something. It’s just glued in place since it’s not at risk of getting ushed over or anything.

Anyway, i’m pretty happy with it. We’ll see how well it does over time, but i think it will be fine. I actually worked on four things today, but this is the only one I completed, so cheers to it.

bookmark_borderIn the Furo

A furo is a “drying cabinet”. It’s where you put urushi lacquered objects to keep them warm and humidified until the lacquer has fully cured. Depending on the type of lacquer, this could take a number of weeks. In my case “furo” is actually short for “furnace room”, which is a nice warm room in the house that also contains the hot water heater.

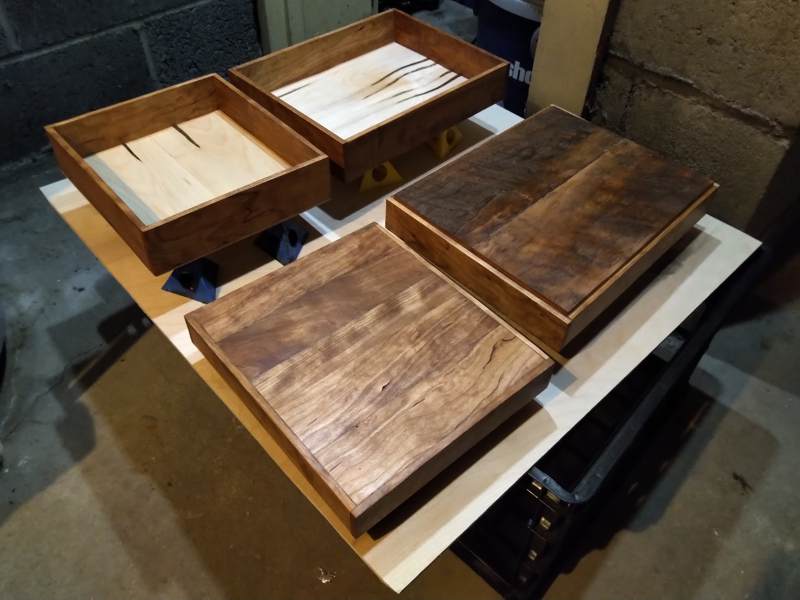
I’ve been working on a couple of wooden box projects, and I decided to finish them with walnut oil. Walnut oil is a drying oil (like boiled linseed oil), but it contains no chemical drying agents like BLO does and is food safe. The down side is that it takes about a month to cure, so I can’t show these boxes as finished projects for some time.

Boxes in the furo

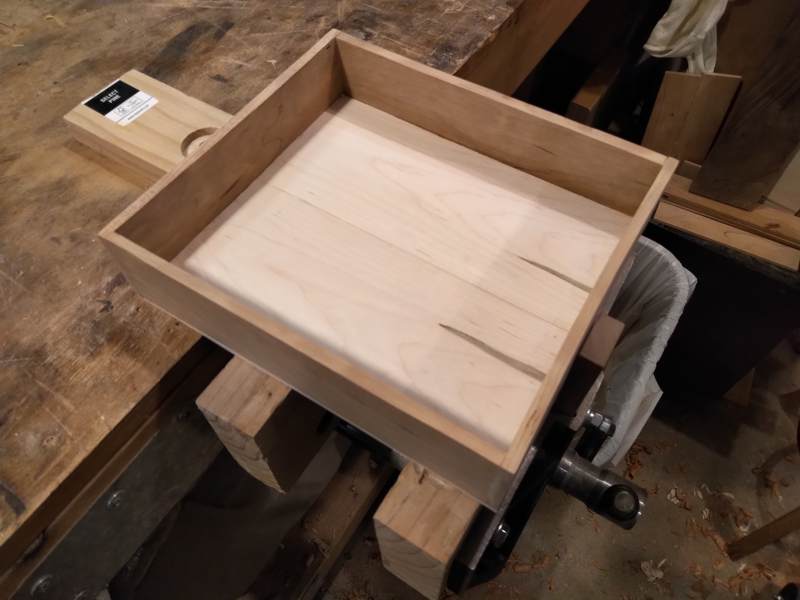
Both boxes are constructed primarily of 1/4″ cherry scants. These are off-cuts from trimming down the legs of the two cherry marudai I made. The floors of both boxes are bookmatched resawn maple. The floor of the smaller box is the result of trying to make the larger box and having it come out a little small due to lack of planning. The lid of the smaller box is more 1/4″ cherry that has been edge-glued into a single panel. The lid of the larger box is 3/4″ rough-sawn cherry salvaged from the scrap pile at Mr. Arimoto’s shop. Once the oil went on the raw surface of the cherry, the whole thing went deep and beautiful.

I’m going to try to resist the urge to peek in on them constantly. We’ll see how they look in a month.

bookmark_borderPhone Tray

With some surplus wood from the mysterious woodworking project, I made this little phone tray to mount in my car. I got tired of never having anyplace I could put my phone down where it would rest face up so I could glance at maps or whatnot.

Tray mounted in car

The tray, made entirely of 1/4″ cherry, is sized to fit my phone, and has a small cut-out for a charging cord. The wood is sealed with some shellac. The tray is clipped to the e-brake lever, which maybe isn’t the safest thing, but is certainly safer than balancing the phone on my knee while I drive.

Underside, showing clip

The clip (I don’t even know where this clip came from, It was in my bin of miscellaneous hardware. I suppose it’s for holding a broom handle.) is screwed to a block of walnut, and the block is attached to the underside of the tray using “Command” adhesive strips. This is so that if I ever want to, I can replace this mount with something else, or re-use this clip on a tray sized for a different phone.

bookmark_borderVise & Bench Modifications

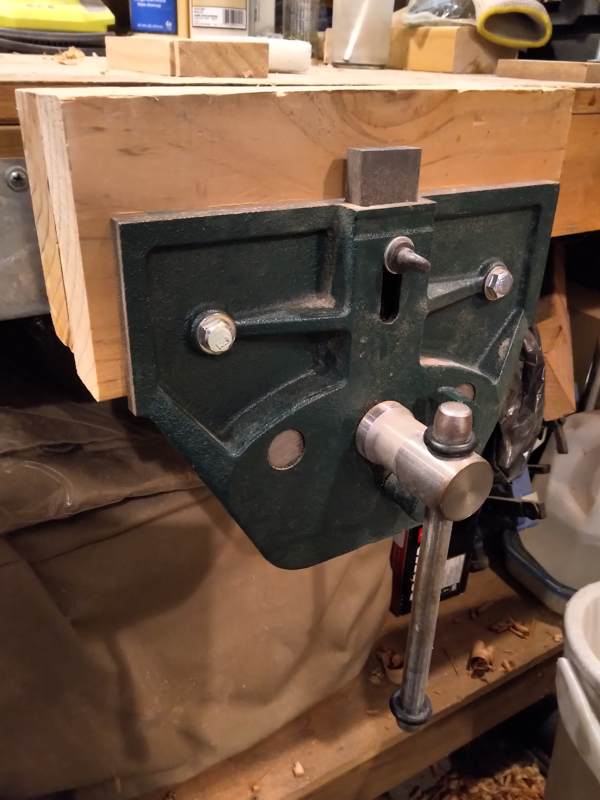
The woodworking vise that I have mounted to the front of my workbench has a steel block that you can slide up above the top surface of the vise. The idea is that you can use this block along with a bench-mounted block (called a “bench dog”) to clamp things on the surface of the bench. The only problem is that my bench is made of 2×4 and plywood instead of solid wood. Since the vise bolts to the underside of the benchtop, the top of the vise isn’t flush with the top of the bench, so this clamping block is useless. I have added wood to the vise jaws, and the top of that wood is roughly flush, but the block is still way shorter than would be useful. Today I changed that.

I cut a block of 1/2-inch walnut so it had the same width as the block, but was longer. Then, I removed the old block and slid the new block down into the recess. I cut the new block so that when it was retracted, it would be below the top surface of the vise jaws. Then, I drilled the block so it would accept a 5/16″ tee nut. I made a new knob by adding a nut to a 5/16″ x 1″ bolt. Now, I can raise and lower the block, and secure it in place by tightening the nut. I would have re-used the knob from the old block, but it seems to be some kind of metric thread.

The dog is a piece of scrap wood with a hole drilled through it and a counter-sink to put the bolt head down below the surface of the block. This is important to make it more difficult for a tool to hit the metal of bolt while working on a clamped piece. I drove a 1/4″ threaded insert down into the bench so that I can bolt any old piece of material to the bench top, whenever.

The walnut block is maybe a little flexible for this application, but it’s certainly better than ol’ useless that it replaced. I can’t believe I put off making this modification for so long. It was immediately useful. Maybe in another few years I will barter with a metalworker for a metal block, now that I know the dimensions I need.

bookmark_borderTwo-by-Phonerest

A while back, and I can’t really remember how long ago this was, I was working in the shop and wanted a place to rest my phone where I could still see the screen. I guess I had the table saw set up because it mostly consisted of a dado cut into a piece of scrap 2×4. That piece of 2×4 was mostly likely an off-cut from when I shortened my workbench. Anyway, I’ve been using that phone rest ever since. the cut down the center enables you to charge the phone while it is in the rest, provided the rest is hanging off the edge of a surface. I eventually added some foam because the slot was too wide. More recently, I cut the bevel on the back edge so that the phone camera can’t see the rest.

The Mark 01 Phone Rest

This rest is still a great accessory in the shop, since it doesn’t really matter what happens to it, or if it gets damaged. I think the screw hole in the top is part of the original piece of scrap. This stand didn’t really look very nice in my office, though. Hence, the new one I just made from slightly nicer lumber, using the same design.

The Mark 02 Phone Rest

This one is made from some left-over cypress from the camp gate project. Yes, I still have lumber left over from that project. I think this one is much cleaner and refined. There’s a bit of boiled linseed oil on there to make the color pop.

I must have seen this design someplace. I can’t imagine that I came up with it myself. It’s just too simple and elegant. I might make a Mark 03 version from some ipe that Mr. Arimoto gave me.

bookmark_borderTill for Carving Tools

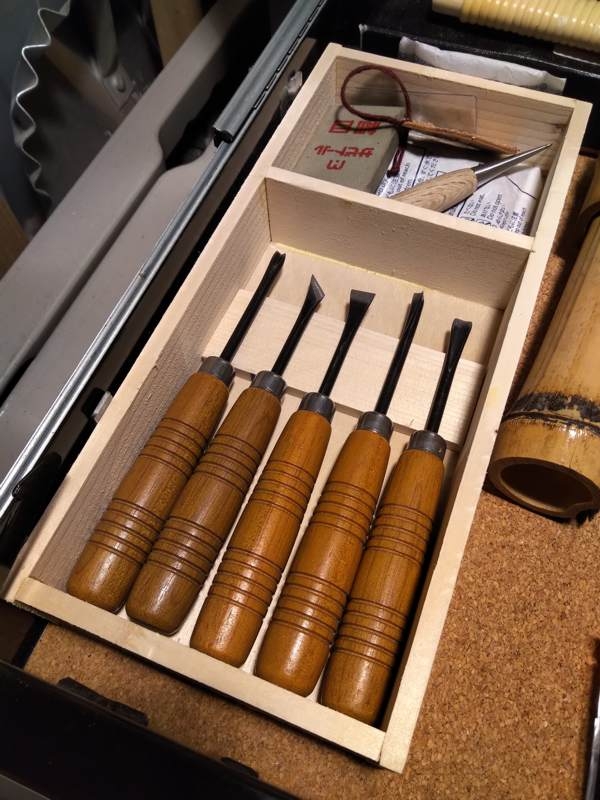
I have this set of five wood carving tools that I bought at Harbor Freight way back when, and they’ve been rolling around in a cardboard box ever since then. I have a more involved box project going on right now, but while I was waiting for some glue to dry I decided to make a wooden till to hold them.

The till in its drawer

It’s just some pine 2×4 trimmings glued to some thin plywood. I wound up making it way longer than it needed to be, so I added the partition so the back part could be a a little bin of miscellany. I’ve been meaning to make this till for a while, so it was nice to just make a thing in a couple of hours and put it to use right away.

bookmark_borderCored Edo Yatsu Braid

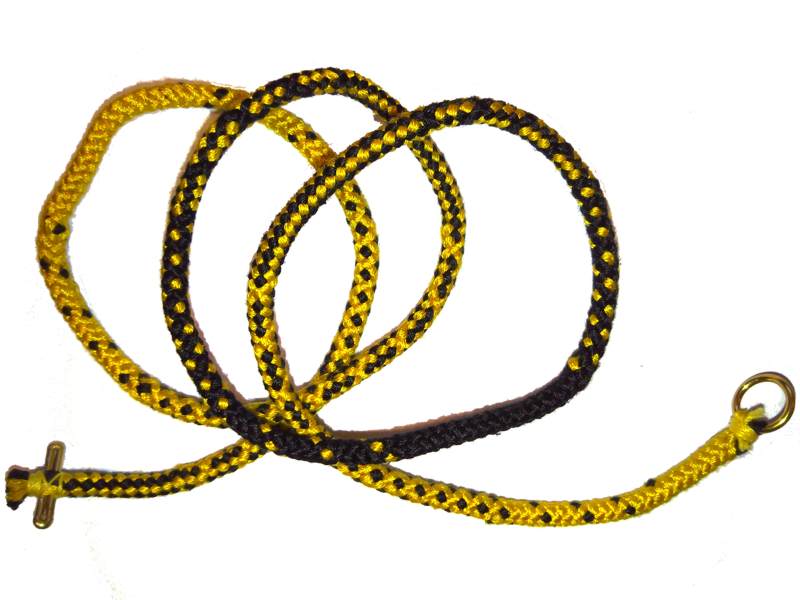
It’s been a while since I did a cored braid, and I have my home made core stand, so here we go.

Black and gold cored edo yatsu braid

So there are actually 16-tama in this edo yatsu braid, which is actually an 8-tama braid. The “core stand” holds 8 of the tama over the center while the other 8 braid around them. Now I can work the core strands one by one into the braid, every few inches, until the color of the braid completely changes. Then it changes back.