bookmark_borderBox for 1 Lantern

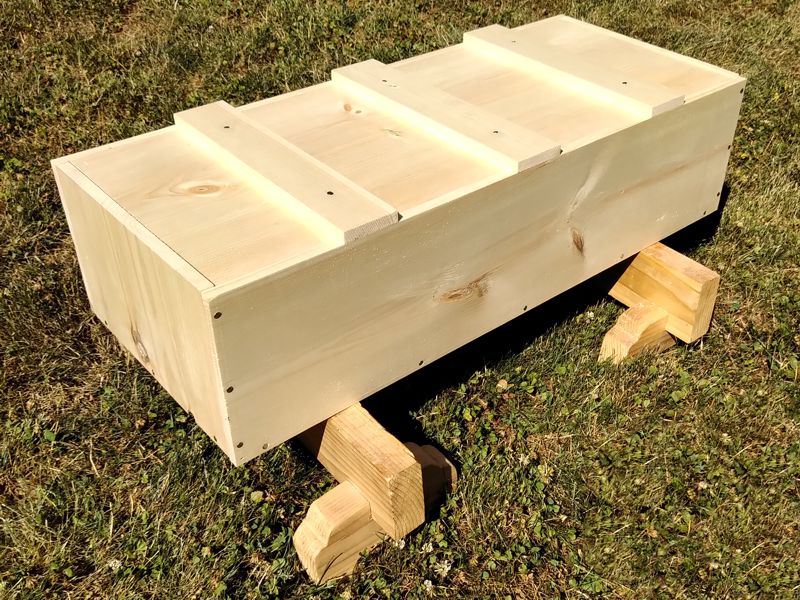
A while back I made a Lantern Storage Box to hold the six wooden frame lanterns that I made for camp. I had previously made a couple of lantern storage boxes to protect a couple of large frame lanterns, but this smaller cypress lantern had no box in which to be stored. Now it does.

Lantern Atop its Box

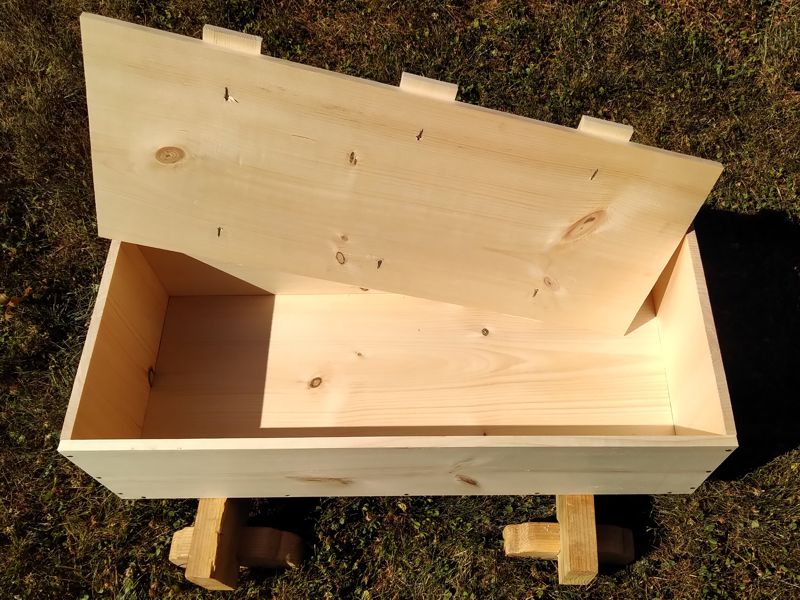
Anyway, it’s just an empty box, made of plywood. These were some of the last medium-size plywood bits I had around the shop. If I want to do more quick projects like this, I might have to start buying new plywood, despite the current inflated prices. The hardwood rim provides some reinforcement, and gives you something to grab as a handle.

Empty Lantern Box

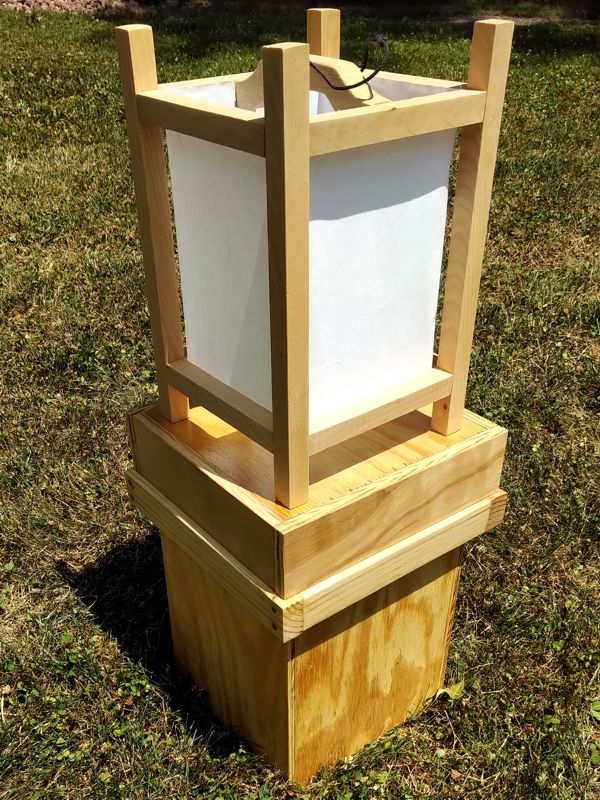
There’s just enough room inside to insert this particular lantern. The lantern actually sticks up a little past the sides of the box. I just didn’t have four pieces that were tall enough. You might even notice that the thicknesses of the sides are not even the same. It hardly matters.

Lantern in its Box

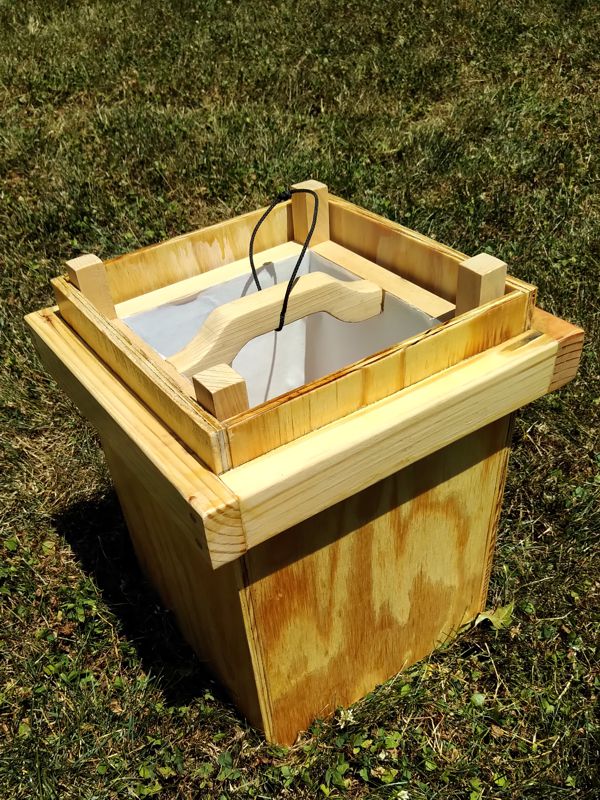
Once you are finished placing the lantern in the box, you can add the lid. The lid is tall enough that it rests on the handle rails instead of on the legs of the lantern. It’s not a very tight fit. Normally, I wind up making lids too tight-fitting, but this one is kind of loose. I might add some kind of closure so that the lid does not fall off if the box gets tipped over.

Closed Lantern Box

I put some polyurethane on the outside of the box, to protect the lantern if the roof of our storage trailer leaks or the box gets left out in the rain.

bookmark_borderNew Older Japanese Tool Chest

Most of the Japanese toolchests I make follow the pattern established by Toshio Odate, which makes them very traditional, but very modern.

From Page 10 of Odate’s
Japanese Woodworking Tools

So what were Japanese toolchests like in the medieval period? Similar in some ways, but a lot less sophisticated.

From the circa 1309 emaki
Kasuga Gongen Genki-e

In this fourteenth century illustrated scroll, two apprentices take a break from working on the construction site of a new temple. One leans against a tool chest that is open, showing some tools inside. We can estimate that this chest is about 3 feet long, about 1 foot wide, and six or seven inches deep. The end handles and clever locking mechanism are missing, but the cross battens keep the lid from falling in. The wood seems very thin, represented by a single line whereas the battens are shown with rectangular ends. No joinery or fasteners are visible, which makes them something of a mystery. Butt joinery is used on the modern chest, so we can assume it was used here, too. No edge to the bottom of the box is visible, so the bottom piece is most likely fully captive. Nails are used on the modern chest, so it’s likely they are used here, though they may be wooden nails or pegs.

Here is my interpretation of the fourteenth century toolchest:

My New Older Japanese Toolchest

I ran a 6-foot 1×8 and a 6-foot 1×12 through the planer to shave it down to a half-inch thick. I cut the bottom, lid, and two ends from the wide wood. I cut the sides and battens from the “narrow” wood, ripping the 7.25″ width into 2″ battens. Then, I nailed it all together.

My New Older Japanese Toolchest, Opened

I deadened the nails for the lid, so it should hold together pretty well. The whole thing is 29 inches long, which was about the biggest chest I could make from the two boards with which I started.

What did I learn? My chest isn’t long enough, and it’s possibly too deep. The proportions just don’t look right. My battens should be made from thicker wood, and should be both narrower and closer to the ends of the lid. Because I used thinner wood, this chest is a lot lighter than a previous attempt. Very little wood is wasted, unless you count the one third of the lumber that got turned into shavings.