A friend of ours showed us some swatches of great fabric from a local fabric store, and one of them had this terrific green leaves and blue dragons pattern. Another friend of ours has a green oak leaf in their arms, so I knew they needed something made out of this fabric. It’s not nice to drop a pile of fabric on somebody who already does not have enough time to sew the things they want. Consequently, I made a kosode for them.
Detail of the Fabric
Completed Kosode
It’s maybe a little busy, but I’m pretty happy with it. It’s not very tall, so it will have to be worn with hakama, but I had enough fabric to do the wide fold-over collar, which is a little fancy. Adding to the fancy are 16-inch wide panels. I also added a little length to the sleeves with faced cuffs.
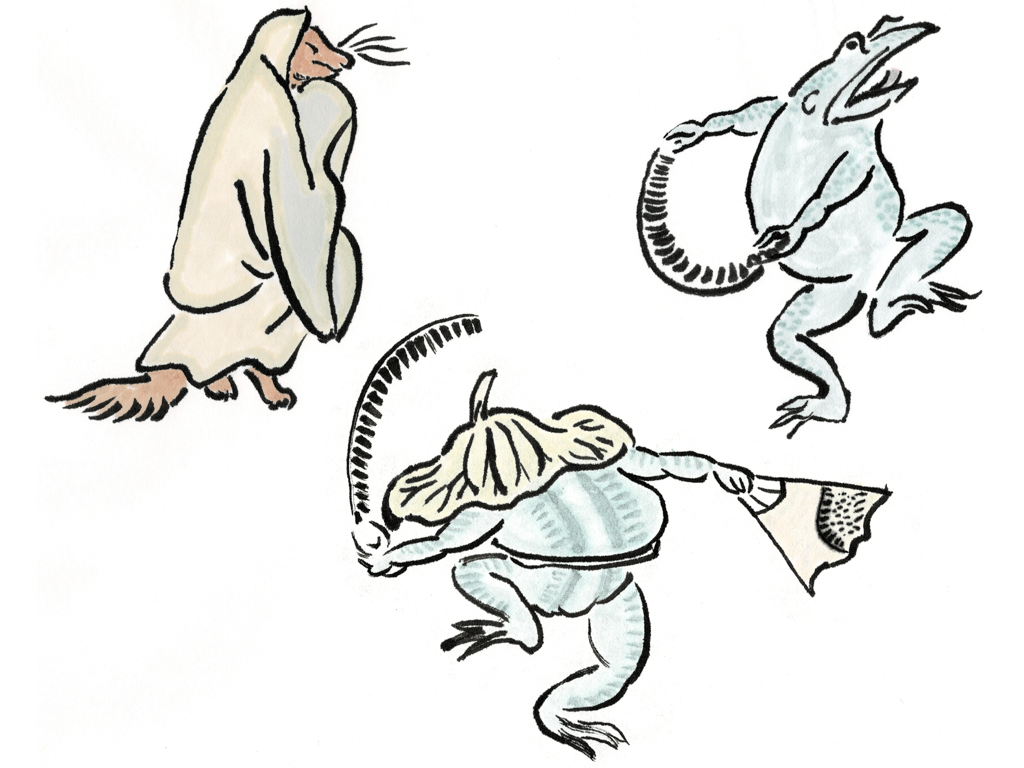
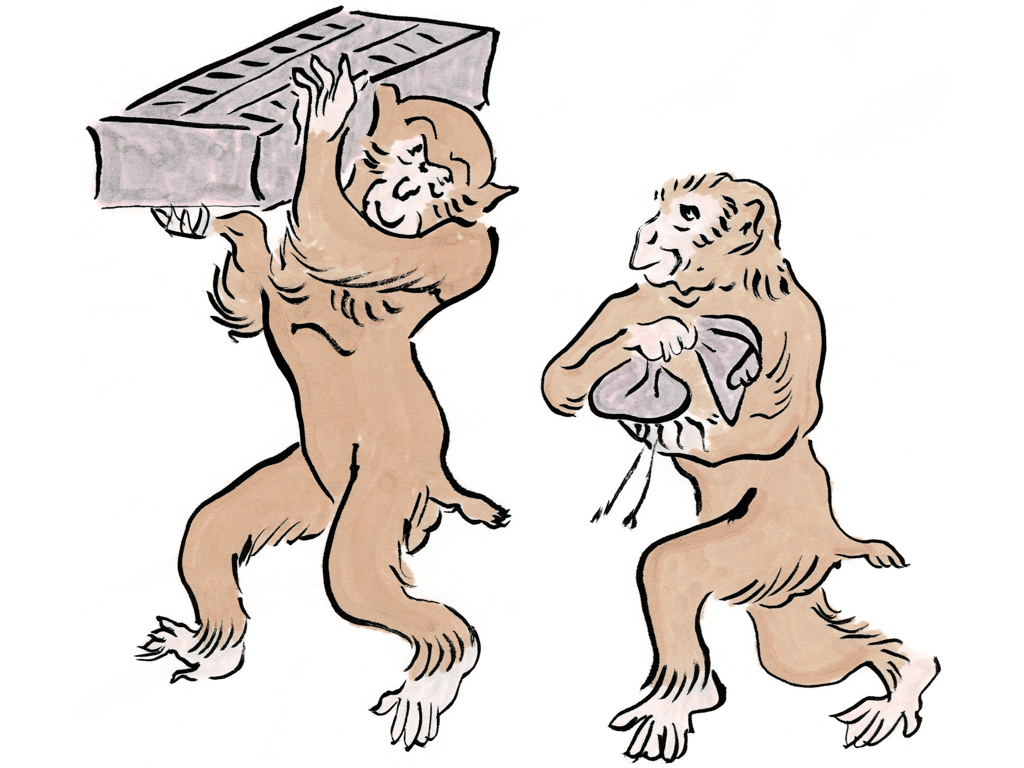
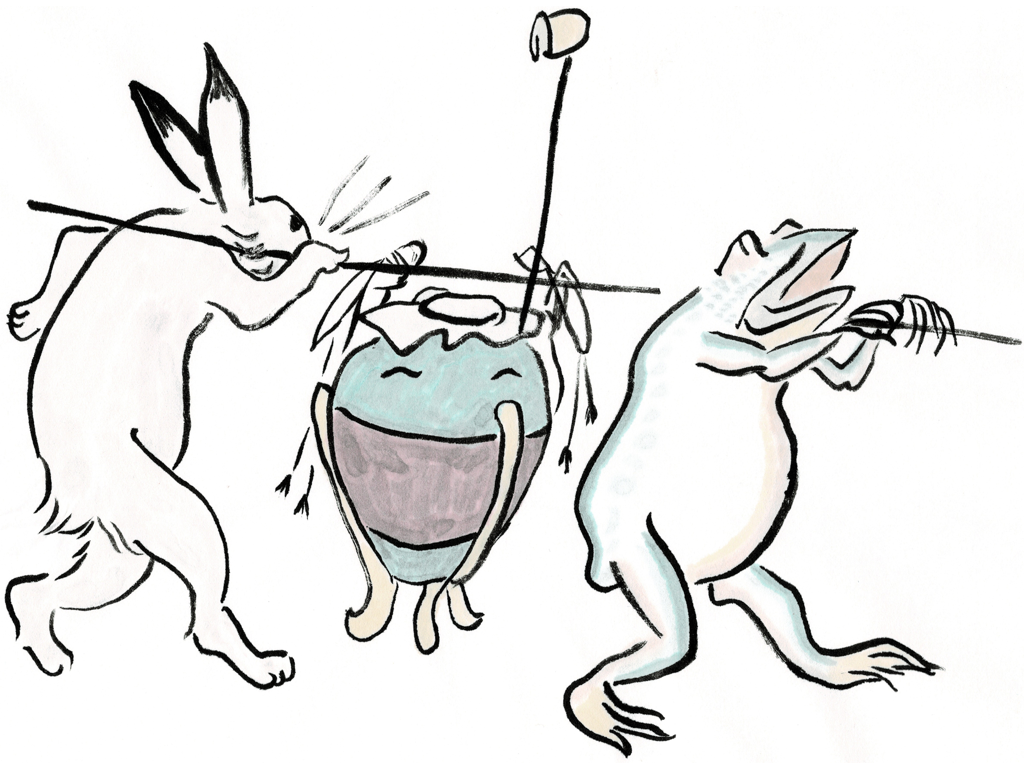
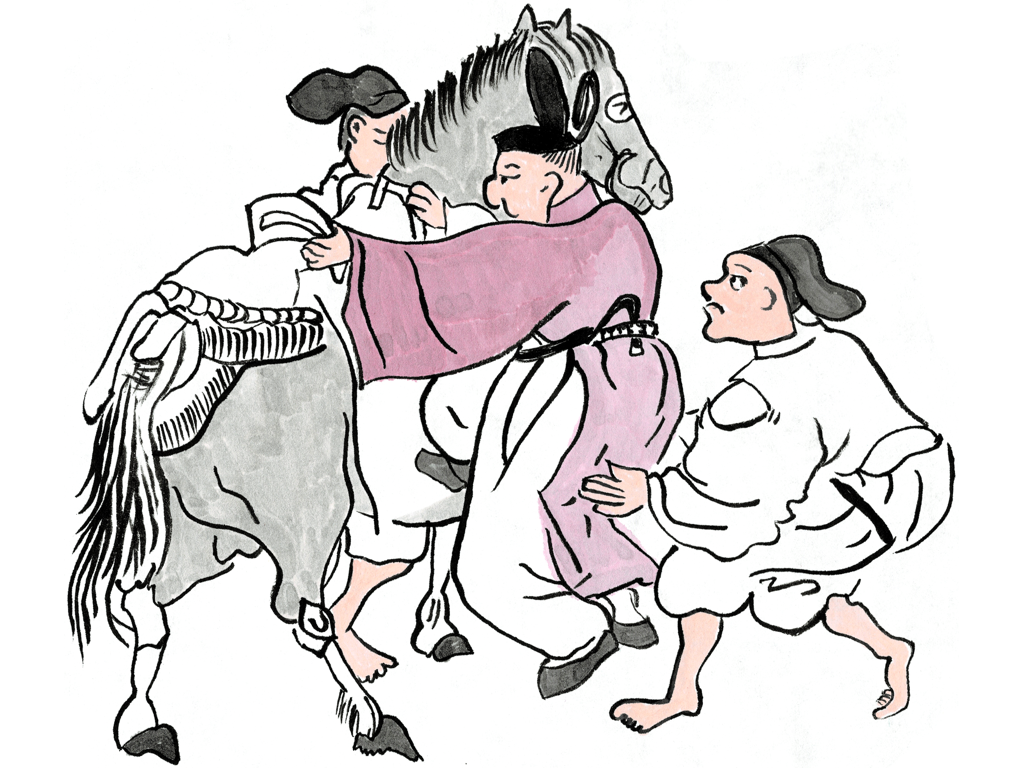
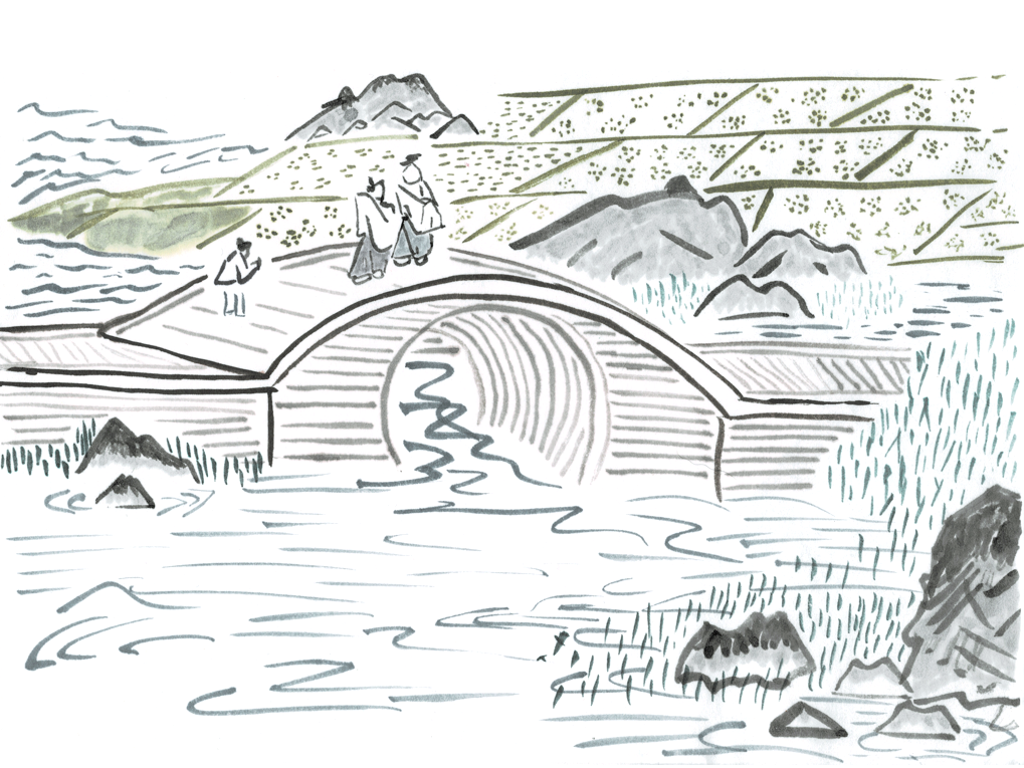
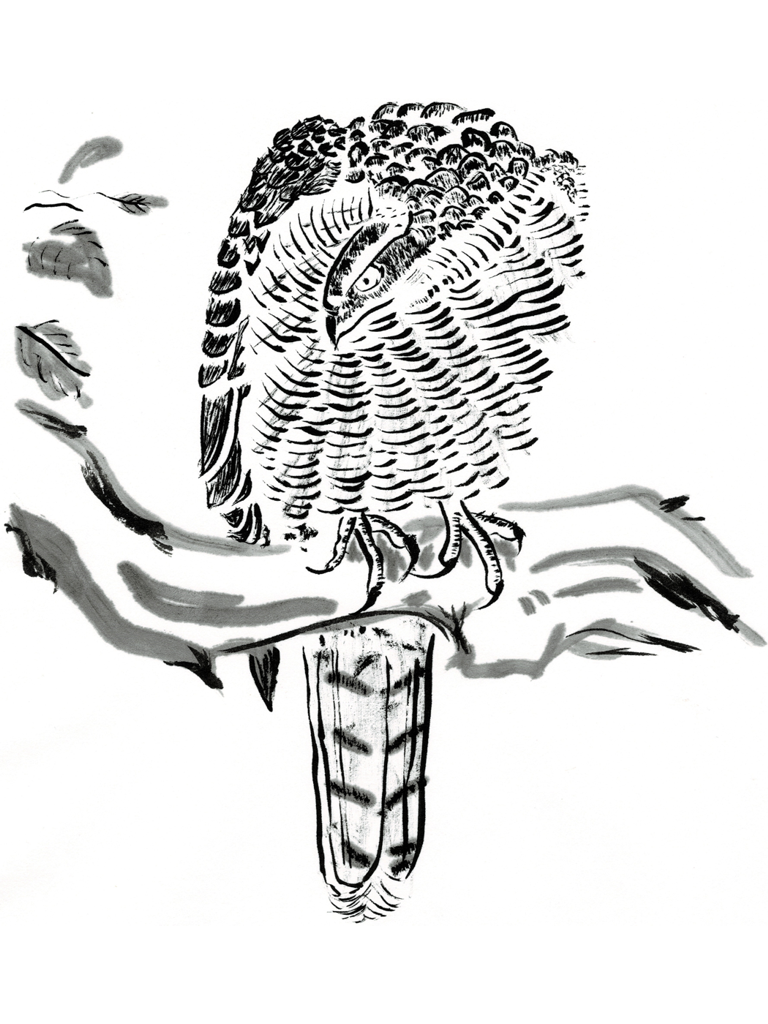
I have done a few custom award scroll illustrations for people in recent years, but I have also kept my hand in the “scroll blank” game. For those not following along at home, if a scroll is needed quickly and there’s no time for a custom illustration, a scribe can just write in the words on one of these pre-illustrated pieces of paper. They are fun to create, and it’s nice to be able to provide these to the Barony especially.
Anyway, it’s been a few years since I added images and text to my Yamato-e catalog here on the site. This has now been corrected. Below are some of my favorites from the new stuff.
For more information on the sources and original artists of these images, please see my updated Yamato-e page.
I finally ran out of the mesh material that I have been using for making hikitate eboshi. I had bought maybe 5 yards of it back years ago, and it’s no surprise that eventually I’d use the last bit for something. Anyway, this happened back in December when I went to make a hikitate eboshi for a friend who was being elevated to the Order of the Mark. Sweetie was able to order a new roll of a new kind of mesh and I wanted to experiment with it.
Hikitate Eboshi from Nylon Mesh
This one is just a tall “pulled” eboshi using the latest version of my sewing pattern. I levae them very open at the back now, so they can accommodate a variety of head sizes. The band is white linen.
Ori Eboshi from Nylon Mesh
I made four of these total, since I was pleased with how they came out and I know they will be useful as gifts. This is a “folded”eboshi using a brand new pattern. I’ve never really made any of these before. The shape is basically just a tate eboshi, but it’s folded once to the right, then back to the left. When you tie it dow like here, it gets its distinctive “samurai eboshi” shape. The band is black linen, with interfacing inside for comfort. There is a cord inside the band across the back, which can be tightened or loosened to change the size.
Tate Eboshi from Nylon Mesh
So this last one is kind of special. I’ve tried making these before, with limited success, but I like how this one came out. It’s a mid-height tate eboshi with the expected “face” in the front. It is also adjustable using the cord at the back of the band. The band itself is linen, with interfacing for stiffness. I left large seam allowances at the top, then sewed them open to give the top a more rounded shape and provide more overall body to the eboshi. This is more of an “out and about” eboshi, not as formal as the other two or as specialty as the samurai eboshi.
I’m very happy with this new mesh. I has a more “woven fabric” look and less of a “window screen” look to it. It is also slightly lighter and easier to work with. I also like how is has just a little bit of glossy sparkle to simulate lacquering. Thank you very much, B&J Fabrics for sending me some swatches so that I could pick the one I liked best.
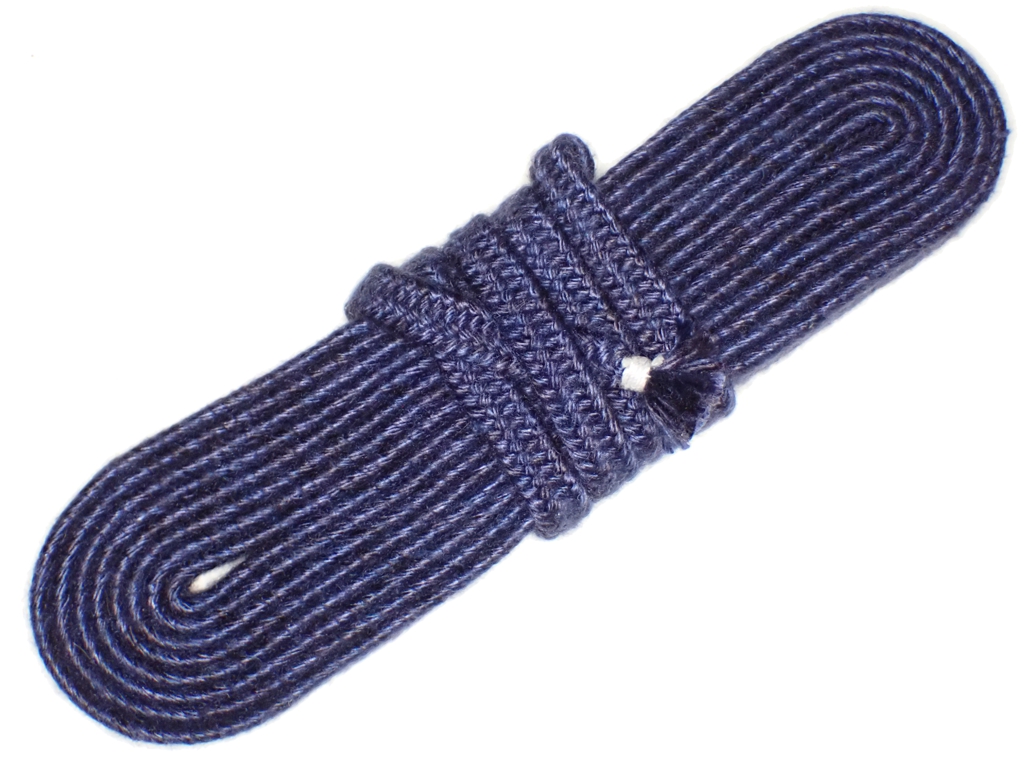
A dear friend of mine from way back who is a martial arts enthusiast had bought himself a Japanese sword, and he asked me if I would make a sageo cord for it. It was my pleasure to do this for him. I was able eventually to find some dark blue silk yarn in sufficient quantity to make this 9.5 foot long 7/16 inch wide 9-strand shigeuchi braid.
9-Shigeuchi Sageo in Silk
I started with about 13.5 feet of material, 10 ends of silk yarn per strand, and worked this braid on my sankakudai. Quite a bit of uptake, really. The amount of material gave me a nice heavy braid, and the silk makes it soft and flexible for its tightness. The use of yarn makes the braid a little fuzzier than I would prefer, but it’s mostly clean and only a little fuzzy. It took me about a year to get all my ducks in a row on this one, but like I said, eventually.
Suprematism was an early twentieth century art movement that started in post-revolutionary Russia, and embodied the idea that humanity had to free itself from the past and move boldly into the future with new concepts of everything, including art. My personal attachment to Suprematism dates back just a few years to when my Aunt found a book about the city of Vitebsk.
In the early Soviet era, Vitebsk became a city-wide art colony. The Suprematist school was one of the largest and most influential schools of art in Vitebsk at that time. On one page of the book, there is a full-page photo of a delegation of artists from Vitebsk who are traveling to Moscow to lobby the government for increased arts funding. Right in the front of the crowd is a person who looks like he is a relative of mine, and the caption of the photo identifies him as having the same family name as my maternal grandmother. My guess is that he was probably a cousin of hers.
So anyway, that is the origin of my preoccupation with the Suprematist movement. There is way more to know about Suprematism than I am willing to include in this post. The nutshell version is that the Suprematists believed in the supremacy of geometric forms and subjective emotion over the functional objectivity of representational art. The most iconic painting is by Kazimir Malevich the founder of the Suprematist school, and it shows a large black square occupying the center of a square white canvas.
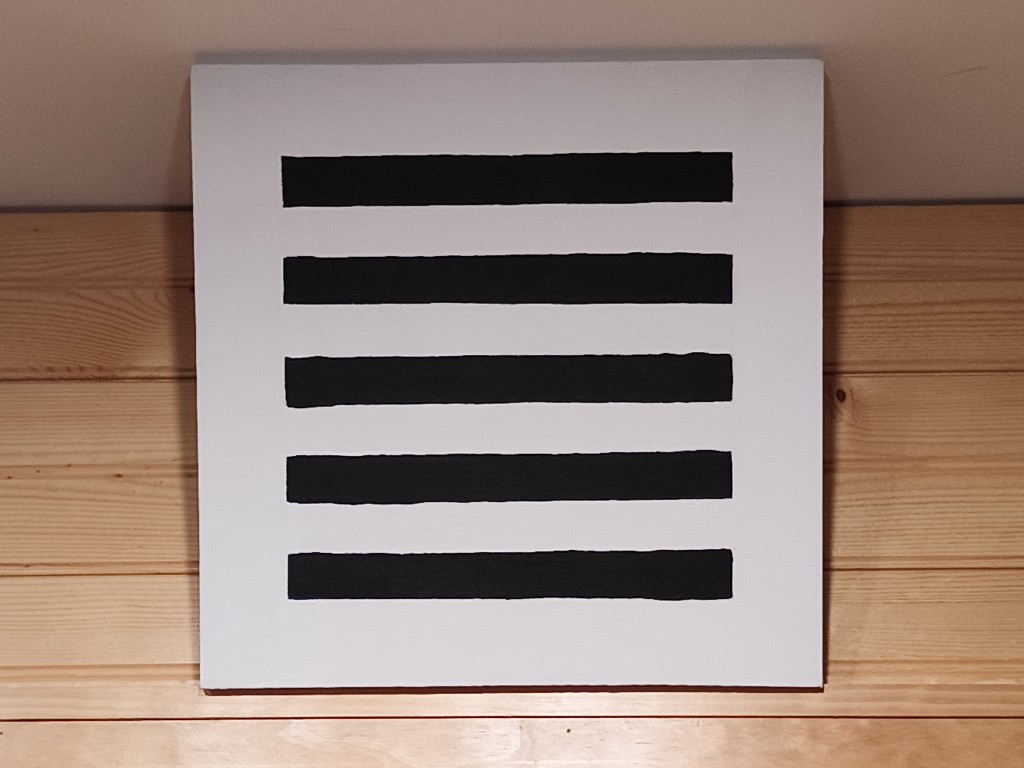
A couple of weeks ago, my mind presented me with an image that I recognized as a Suprematist composition. This image popped up daily from then on. From previous experiences with this kind of mental obsession I knew that only bringing this urge to physical form would get it out of my head. Yesterday, I finally walked to the art store, bought a canvas, and made it into an actual painting.
Five Black Bars (2026, Acrylic and Canvas, 14 in. by 14 in.)
There it is, displayed in my home office as Malevich displayed his painting Black Square. It is one of the few projects I have ever produced that is a genuine attempt at artistic expression. You are, of course, entitled to your own opinions on “modern art” or my own clumsy execution. The composition was laid out by hand with ruler and pencil, and the paint applied to canvas by hand with brushes. This is not a joke of any kind. This composition has meaning to me, and this work has personal resonance.
A common criticism of abstract art is, “A child could have done this.” In this case at least I disagree. Not only was this work technically difficult to compose (Can you divide ten by nine using a ruler?) it relied on lengthy experience with brushes and paint to execute. A child who could do this should be sent to art school, engineering school, or both. Another criticism is, “I could have done this.” Again I disagree, because you did not. You did not have the combination of knowledge, emotion, history, experience, and desire that demanded the creation of this painting. If you have the basic skills necessary to replicate this painting (and I have no doubt that many of you who bother to read this far can exceed any rudimentary skills I have with paint) then by all means do so. If my painting inspires you to make your own painting in response, then I encourage — actually, I demand — that you do so. Even if your painting looks just like mine it will still be yours. Your painting will not be my painting.
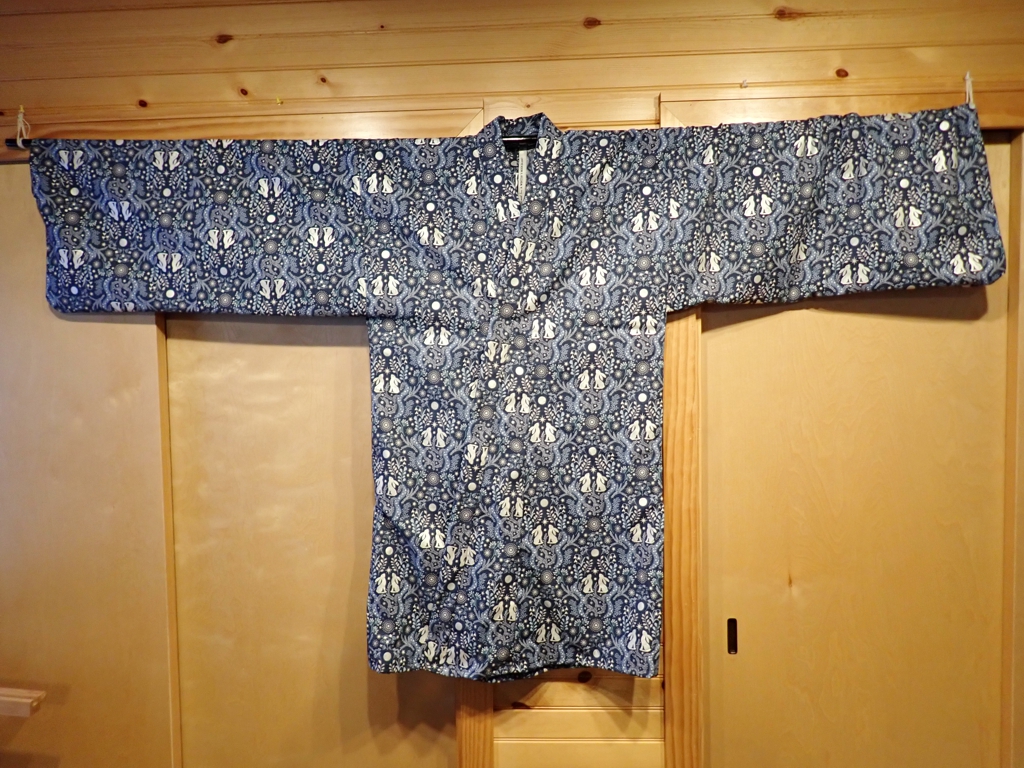
I finished this kosode back in February, but for some reason I never posted about it here. When we were vacationing to visit family at the end of last year, I found a friendly local fabric store that stocked a bunch of cute cotton prints and other attractive fabrics. They had some nice octopus print cotton, but I decided to get this sweet little moon bunny print.
Kosode from blue “Moon Bunny” cotton print fabric
The design of this kosode is not very period, and the fabric is completely modern, but sometimes I just want something fun to wear, and not everything has to be a formal project. One difference from period design that you may notice is the double-length sleeves. I did make an effort to do the overlaps according to the currently accepted pattern, but you’d have to know what you are looking for to even notice that.
Given all of the “rainbow” braids I have done in the past year, and how the colors for our local SCA Barony are black and gold (just like Pittsburgh), we were beginning to run low on yellow cotton crochet thread. Normally, I would pop over to one of the local JoAnn Fabrics locations, but RIP JoFab. I hate mail ordering something I could just buy in a store, so I held my nose and went over to the closest Michaels. They actually had one package of the Aunt Lydia’s Classic 10 in yellow. It wasn’t the yellow I wanted (I prefer the deeper, more golden yellow to the more pastel yellow.), but it was the same as what we had a bit left of, so that was OK.
They also had some of the rainbow variegated thread, so on a whim I bought some and tried to measure out some warps that matched the progression of colors across the plies in each strand. Then I braided the edo yatsu gumi with each to see what effects I could create.
Edo Yatsu braid in Variegated Cotton
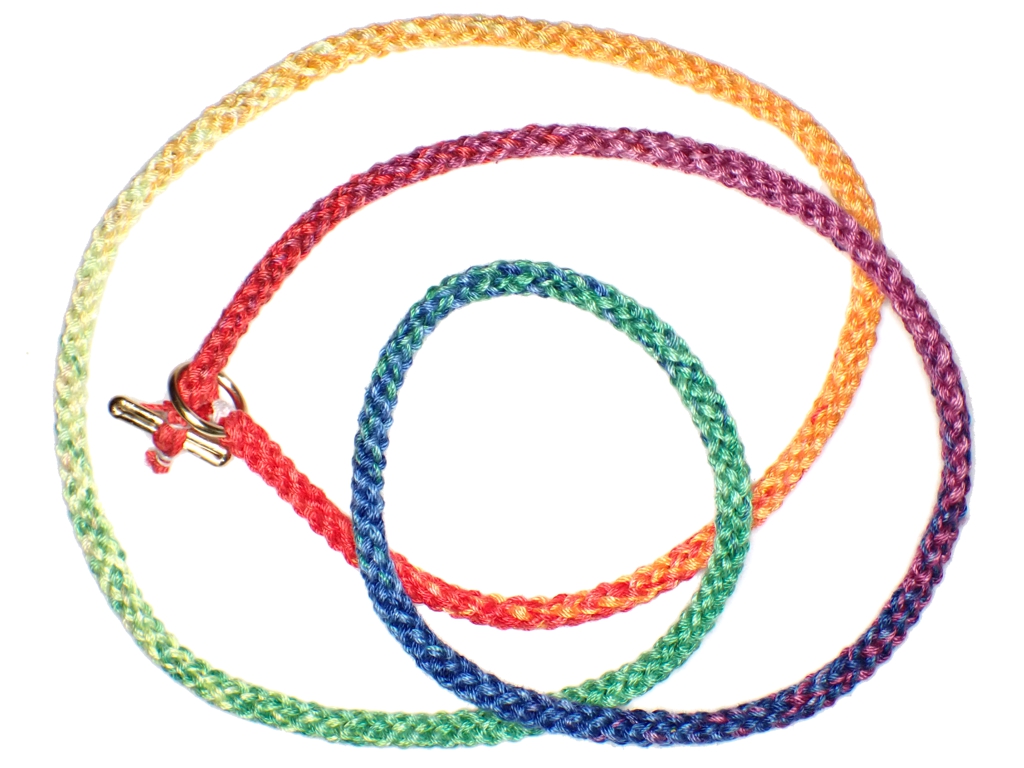
The first try I didn’t get the length of the warps quite right. Plus, because of the way the yarn is wrapped back and forth between the warping pegs, half the warps have the color progression reversed. Still an interesting braid.
Edo Yatsu braid in Variegated Cotton
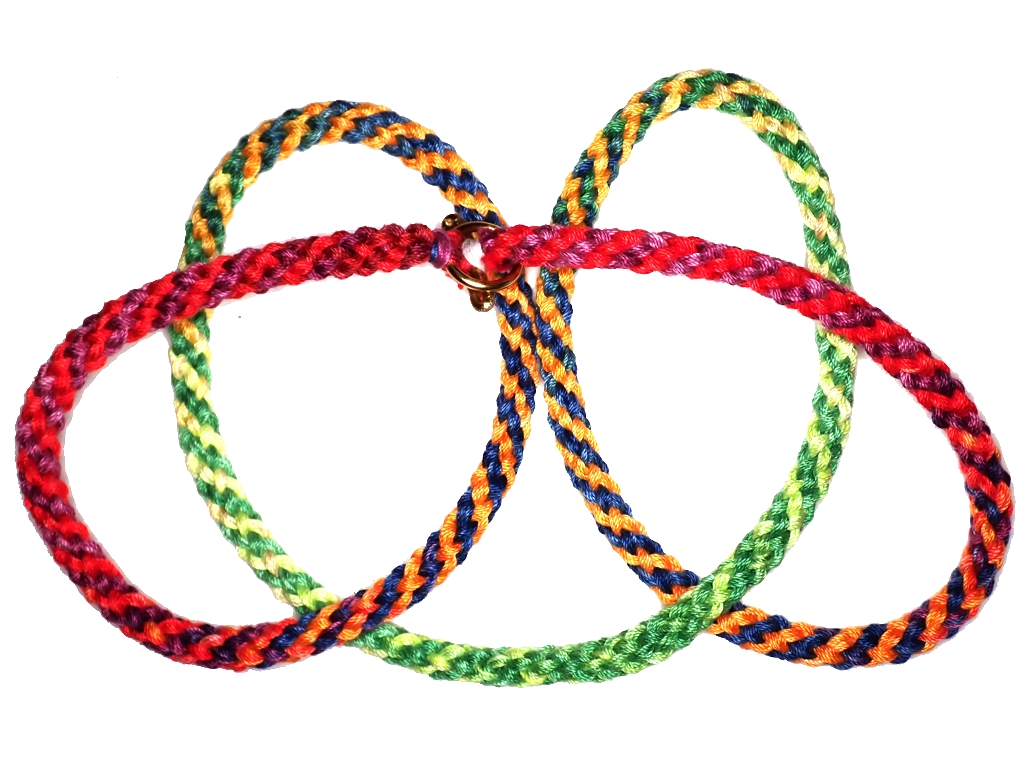
On m second try, I got the warps about as close to perfect as I can imagine. Still, because of the reversed warps the spirals cancel out in the middle and it’s an almost solid green.
Edo Yatsu braid in Variegated Cotton
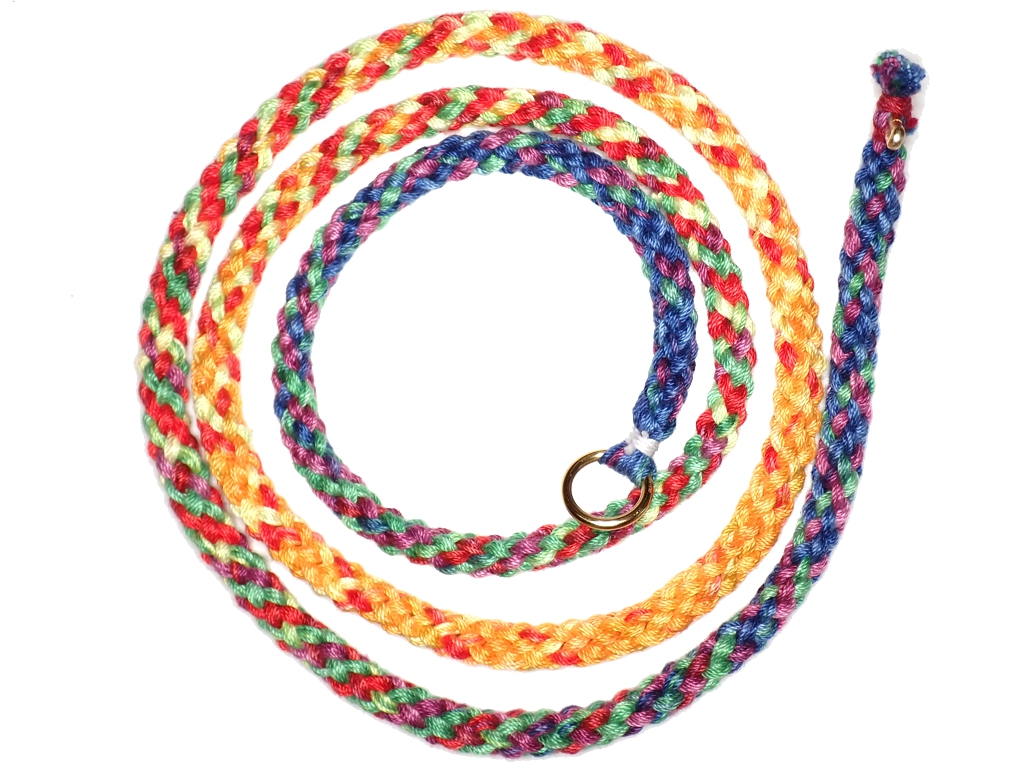
Finally, I gave in and cut the warps, matching them end for end. I still used the same edo yatsu braid as the first two, but I only used 6 plies of cotton per strand instead of 8. This results in a slightly thinner braid, and the color matching provides a much smoother fade from color to color down the braid. I really like this one.
I’ve done so many longer and more complex braids lately that I have almost forgotten how much fun it can be to quickly warp up a shorter, simpler braid and have a completed cord in an hour or so.
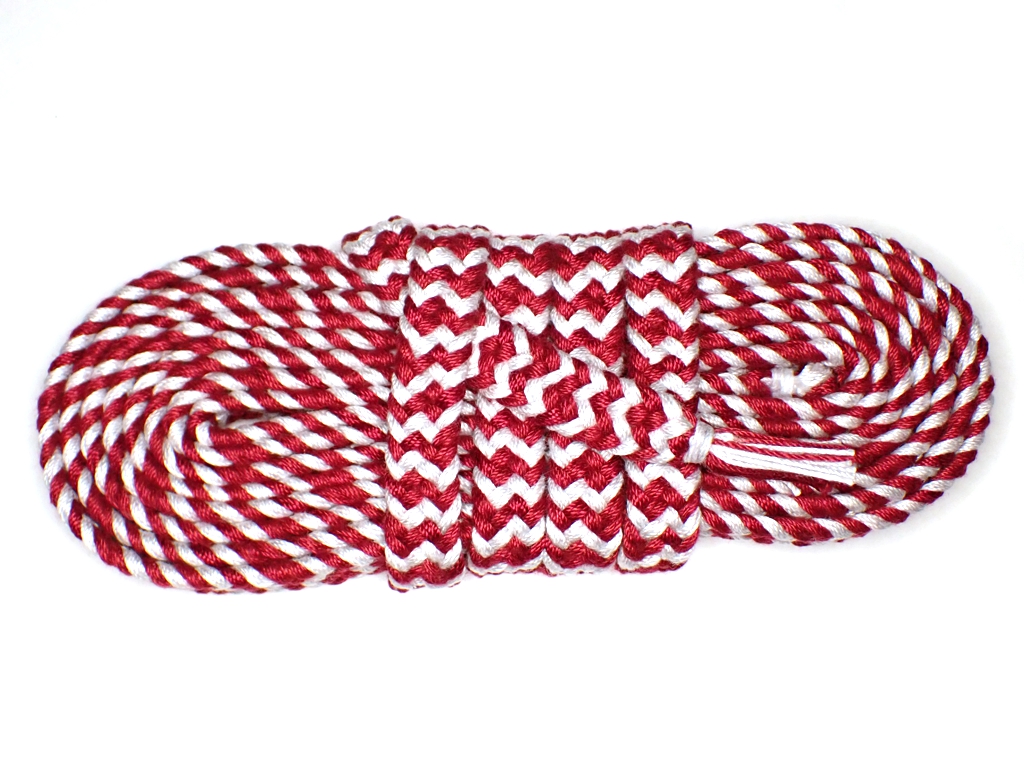
I still had a lot of burgundy and gray crochet cotton tripled up on my kowaku spools since last year. I was measuring out a lot of material for my class at the Braids 2025 conference in Cleveland, and it’s just been occupying the spools since then. I decided to use up as much of it as I could and make a nice, long shigeuchi braid on my sankakudai.
The final braid is about 9.5 feet long between the bindings and not quite a half inch wide. Each strand of this 9-strand braid has 6 ends of cotton crochet thread, and I started with 13 feet of material. So, about 27% uptake. The next sankakudai braid will be a sageo cord in dark blue silk, so these calculations are fairly important. I’m aiming for about 9 feet long.
Just got back home after seeing this new film at Pittsburgh’s historic Manor Theatre. I liked it, but then I’ve liked every film Soderbergh has ever made, even Schizopolis (1996). The screenplay was written by Ed Solomon, who is probably best known for Bill and Ted’s Excellent Adventure (1996). It stars up-and-coming actress Michaela Coel who succeeds in holding her own up against the great Ian McKellen.
It is an interesting kind of a thriller, with no chase scenes and no gunshots. All of Soderbergh’s films are thrillers of one kind or another, but this one keeps you guessing about which kind of thriller it is. At the end, has any crime been committed? Has any theft occurred? Have any lies been told?
Well (spoiler alert) yes, many lies are told in this film, but most of them are not the things you expect to be lies and some of them (like in Ocean’s 11) are of course lies that are told to you, the audience. Since this is also a story about art and artists, it has to be a story about lies. As Magritte taught us, any image is a lie. Are we seeing what we think we are seeing? Are the people who they pretend to be? When is a lie not a lie? If Pierre Menard re-writes Don Quixote, is the result Cervantes’, or Menard’s?
When we’re gone, will we be reviled for every nasty thing we have ever said or done, or will we be revived in the memories of those who love us for every kind wish we have ever expressed?
Anyway, sorry to say that today is the last day of this film’s run at the Manor. We meant to see it last week when it opened, but I accidentally bought tickets for closing day instead. You still have time! Don’t wait until Monday, or it will be gone.
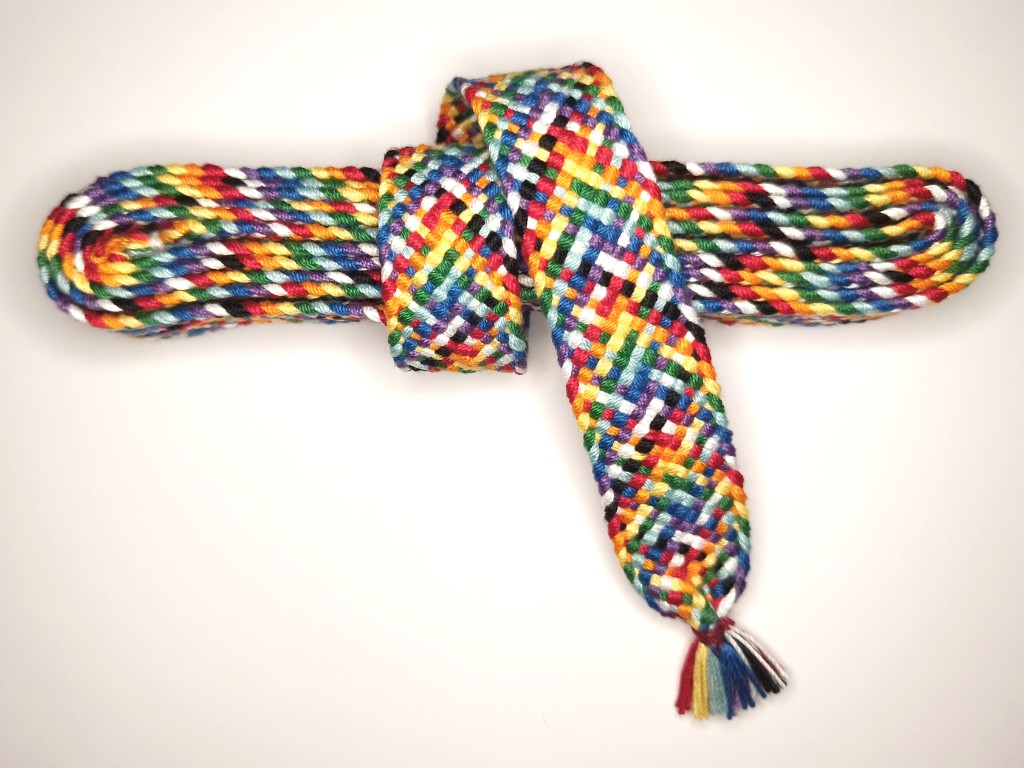
Started with 17 strands of cotton crochet cord in 9 different colors, 4 ends per strand about 116″. Had it on the takadai for about a month, working on it here and there, plain 1-1 interlacing. Finished it up this week while I have more free time. 76″ between the bindings, roughly 7/8″ wide.
17-strand Takadai Braid
I should do more braiding on the takadai. I did a bunch of braiding one morning, then the next day when I was getting dressed, I had a mysterious blister on my right index finger. I could not figure it out until I started braiding that day, and the beater sword bonked right up against the blister. Ow. Maybe I’ll get a kumishi callus.
I’ve already warped up the takadai for another braid.