
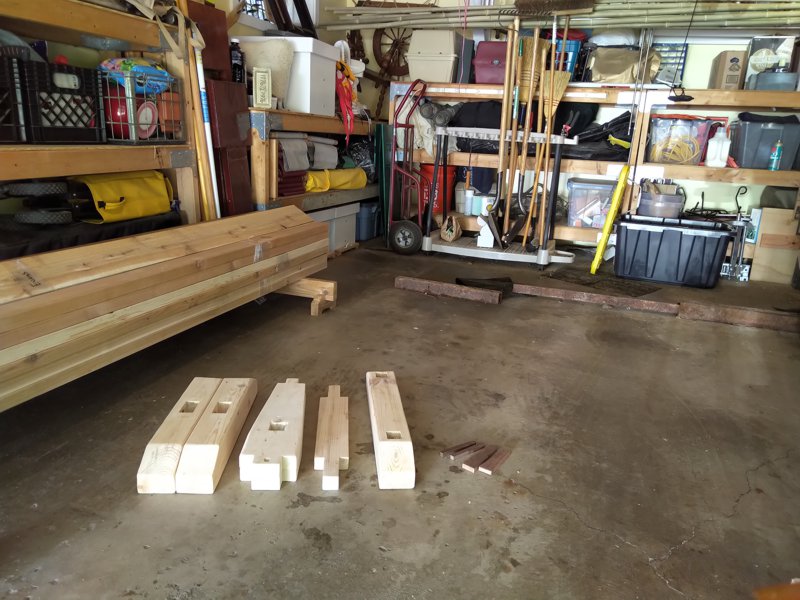
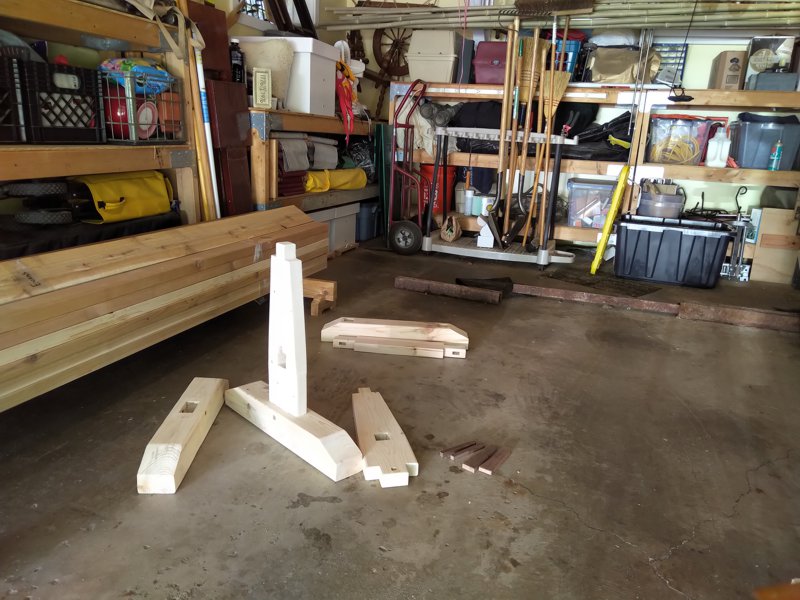
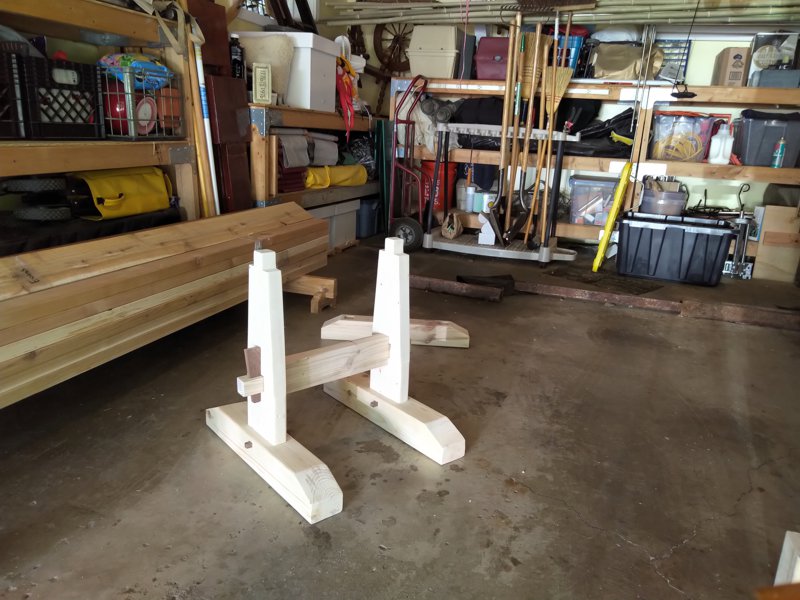
So last year I made a crate to hold the pieces for two sawhorses. The only problem with that project is that a crate big enough to hold all the pieces for two sawhorses plus all the pieces for two sawhorses is quite heavy and two sawhorses is not enough sawhorses for most work. I usually like to have at least three sawhorses, that’s why I made four sawhorses. Anyway, I decided to make a crate that would be somewhat smaller, and would be sized to only hold the pieces for one sawhorse. I started this a while back, but only just put the final touches on it.
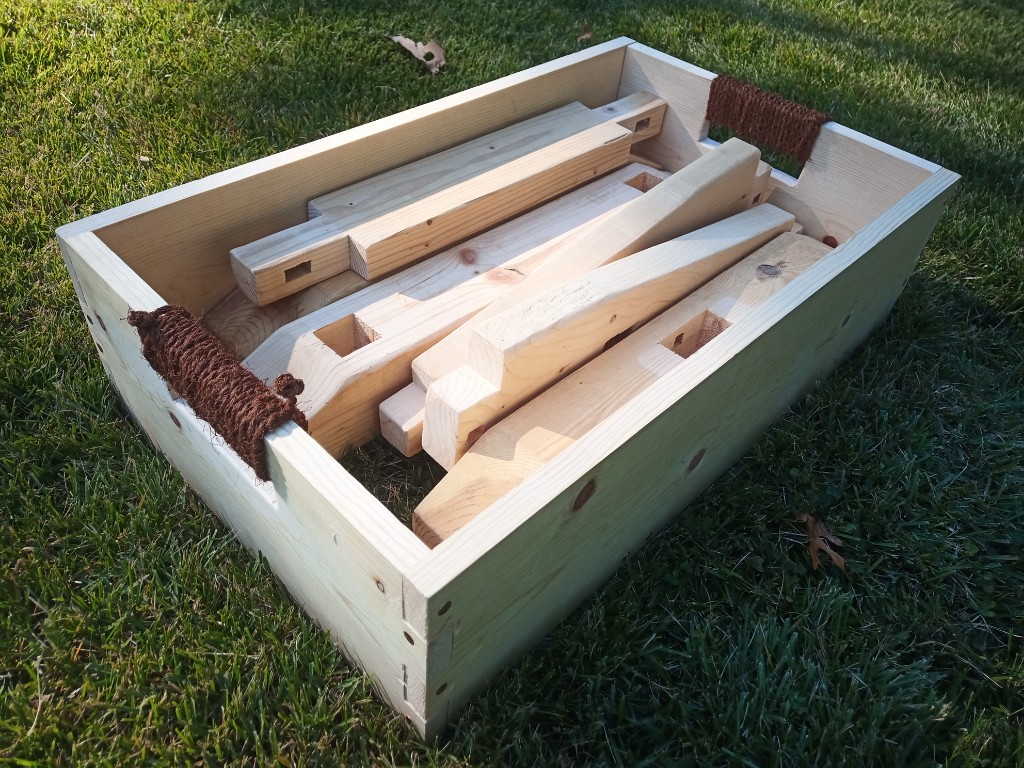
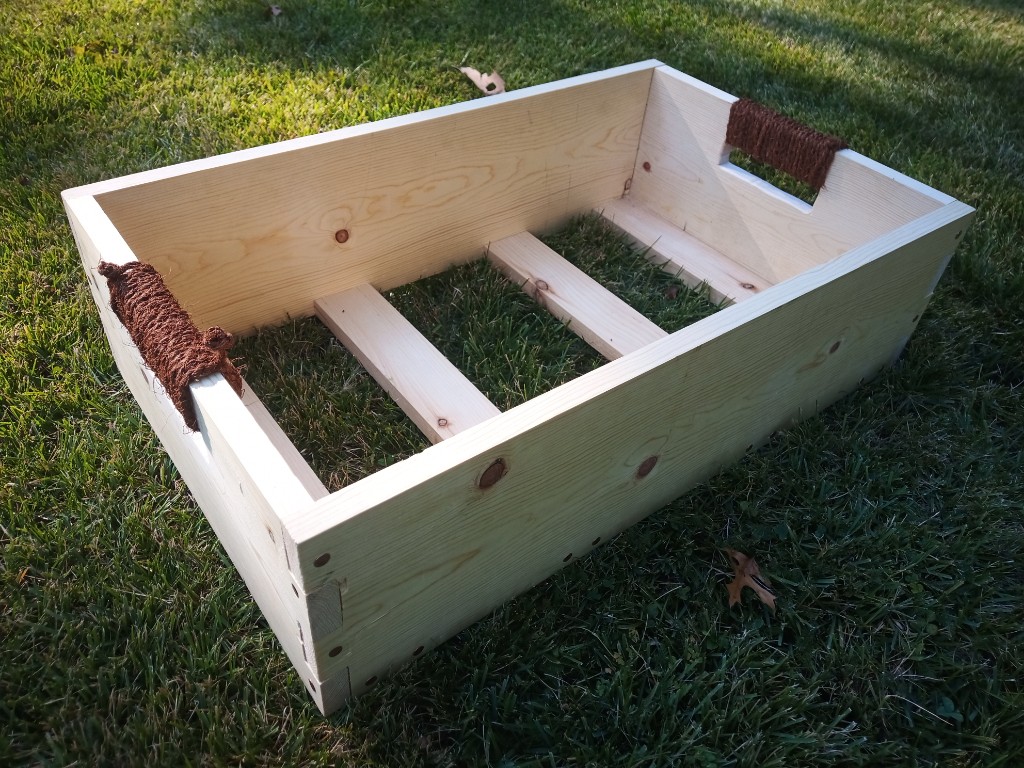
I started with a couple of pine 1-by-8s, cut all the corner joinery by hand, ripped the surplus lumber into slats for the bottom, then assembled the crate with some nice copper nails I found at Rollier’s. I wound up cutting the holes for the handles using a jigsaw, because cutting those by hand with a keyhole saw is very annoying. I used more of the palm rope from Hida Tools.
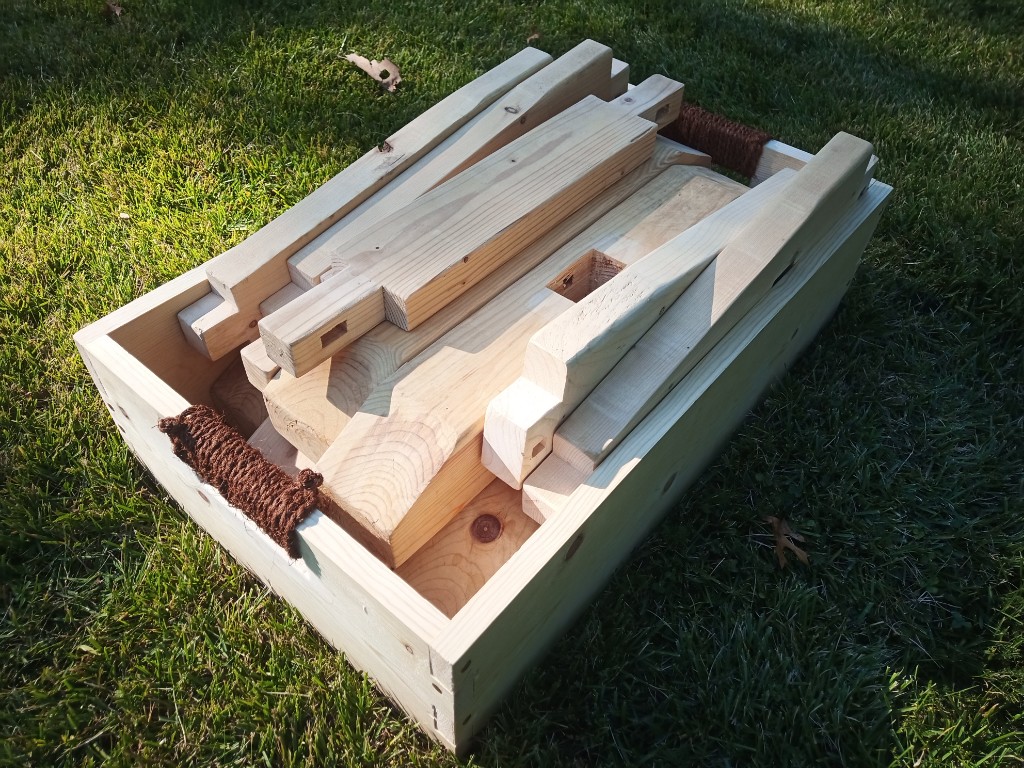
The crate is actually spacious enough that if you’re willing to overfill it, you can carry all the pieces for two sawhorses. If you use it along side the other crate, you can distribute the different shapes between the crates such that the two crates hold all the pieces for four sawhorses without overfilling.
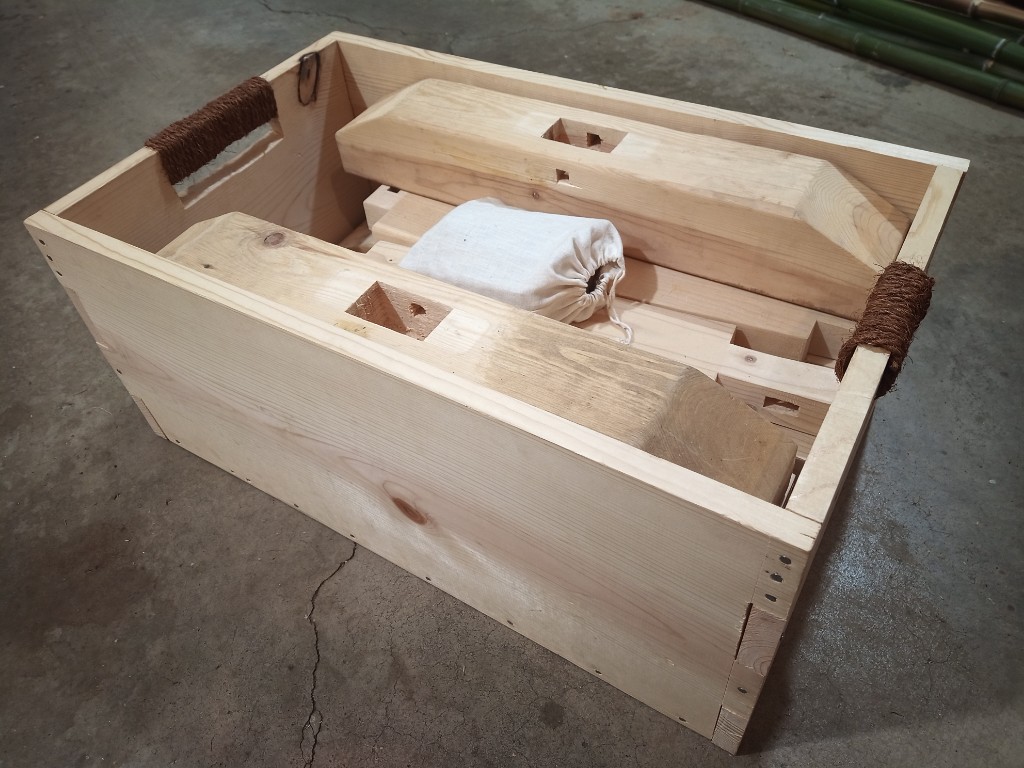
Anyway, with these two crates I feel like I have fulfilled all my needs for sawhorse storage and transport. The crates also serve as valuable supports for tool chests, and holders for surplus lumber while the sawhorses are in use.


