
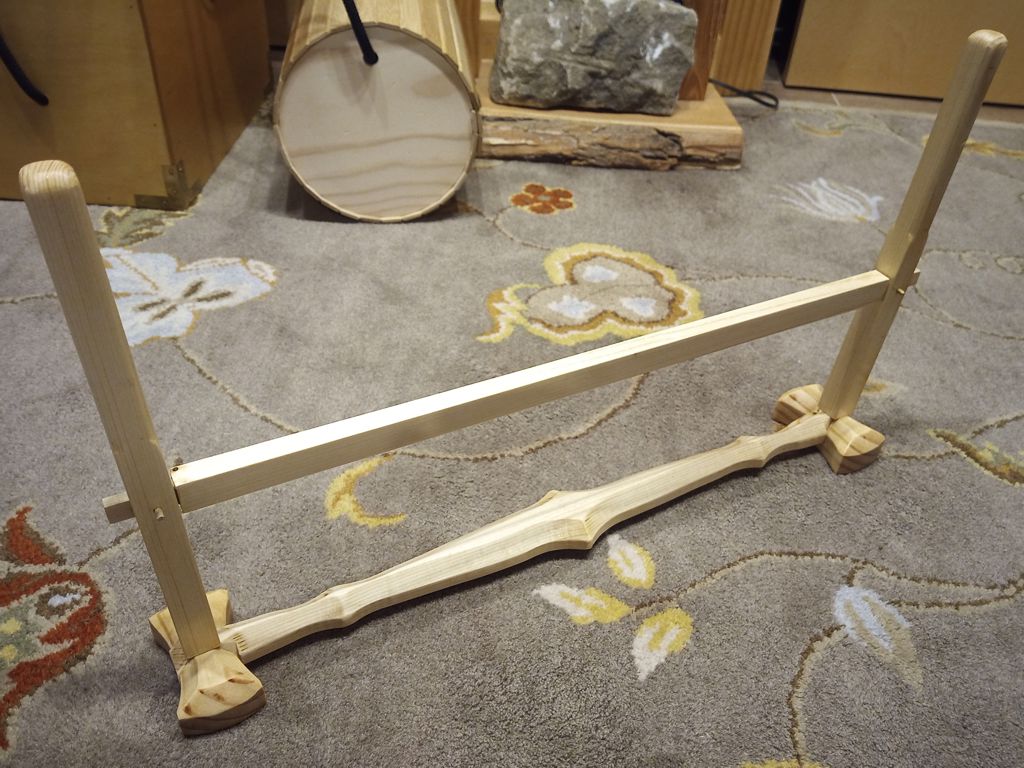
I made four Japanese-style sawhorses several years ago, but I realized recently that I had no way to transport them except to toss the pieces into the trunk of my car or pile them in a wagon. Then, some friends of mine moved away and gifted me with a pile of lumber they had been using as storage shelving. I spent a few days at the 51st Pennsic War medieval event constructing this 26″x16″x11.25″ crate using only hand tools, as a demo of Japanese style woodworking.
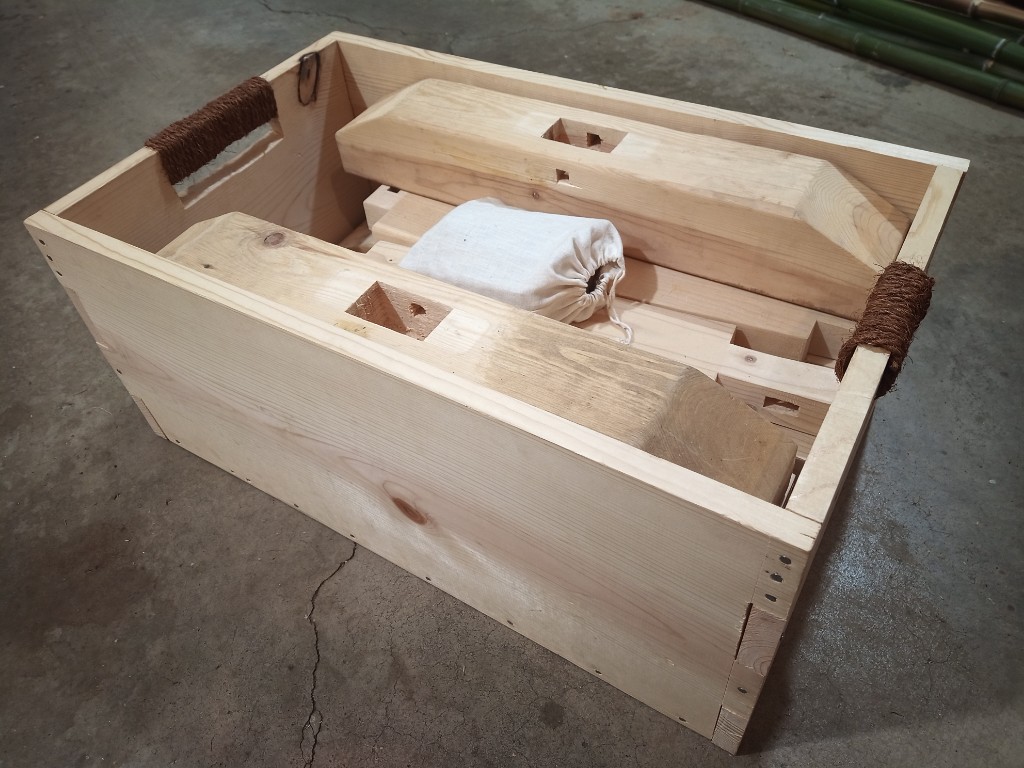
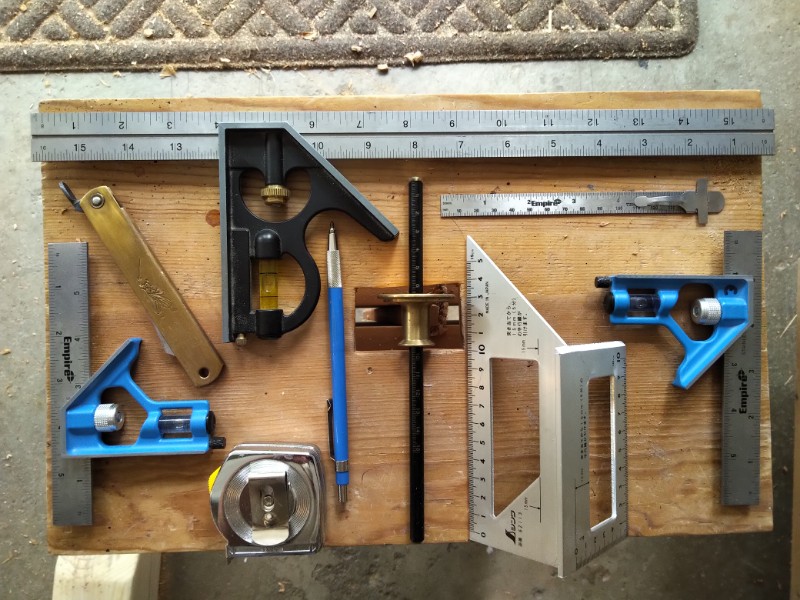
I used a ryoba nokogiri saw to do all the cutting of the pieces from the boards, and some of the joinery. I used oire nomi chisels and a mawashibiki saw to cut the remainder of the joinery and the handle cut-outs. A yotsume kiri gimlet came in handy for pilot holes so that the wood didn’t split when I drove in the nails with a genno tsuchi hammer.
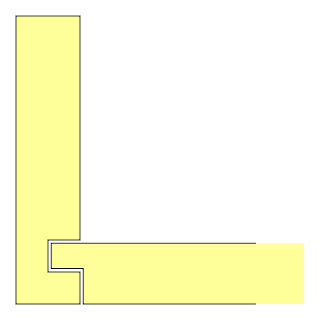
Contrary to common belief, Japanese carpenters would not have used fancy joinery without nails to construct such a simple workman’s item. That kind of specialty carpentry was mostly used for devotional items or religious buildings. They probably would have used forged nails instead of wire nails, but I don’t have any of those handy. The big chunky box joints are seen a lot in shipping and storage boxes.
The linen bag holds the wedges and pegs that hold the horses together when assembled. I wrapped the handle cut-outs with some of this great palm rope from Hida Tools. I call it a crate instead of a box because there’s actually an opening in the floor because I just used two pieces of 1-by-12, leaving a 2-inch gap in the middle. This should let the sawdust and shavings out.
The completed box plus sawhorse parts is pretty heavy, so I have to store it on a lower shelf instead of storing the loose pieces on the highest shelf in the garage. I might try to figure out a packing pattern for only one horse’s worth of pieces, then make 2 of those for the other 2 horses.


