bookmark_borderSmall Boxes from Surplus Wood

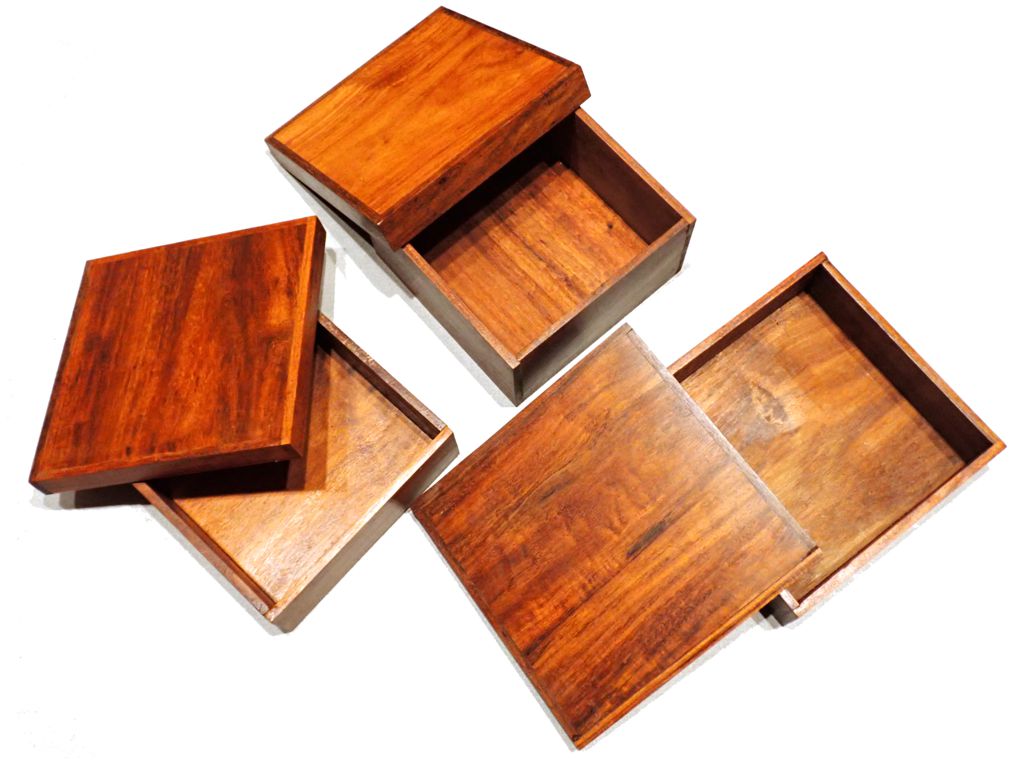
I picked up some small-ish thin pieces of mystery tropical wood from a friend, and I had a pile of surplus from the Storage Trays for Tama project, so I decided to make some small lidded boxes to give away. I started this back last fall, but they sat in the garage waiting for another slice of time I could devote to completing them. The largest of these has an 8″ by 8″ lid on a 5″ tall body, so they are mostly too small for storage but a great size for gifts.

Three small lidded boxes from mystery wood

The mystery wood boxes are finished with salad bowl oil finish, so you could use them as bento boxes, but since I can’t guarantee that they are water-tight or that the wood is not poisonous, I would not recommend it. This wood is only about quarter-inch thick, so the proportions are attractive. I decided how to use the pieces by stacking up all the wood by size and then moving down through the stack making lids and then boxes to match. All the cutting was on the band saw, then glued and pinned together. Unless the pin deflects inside the wood and pokes out, this method is fast.
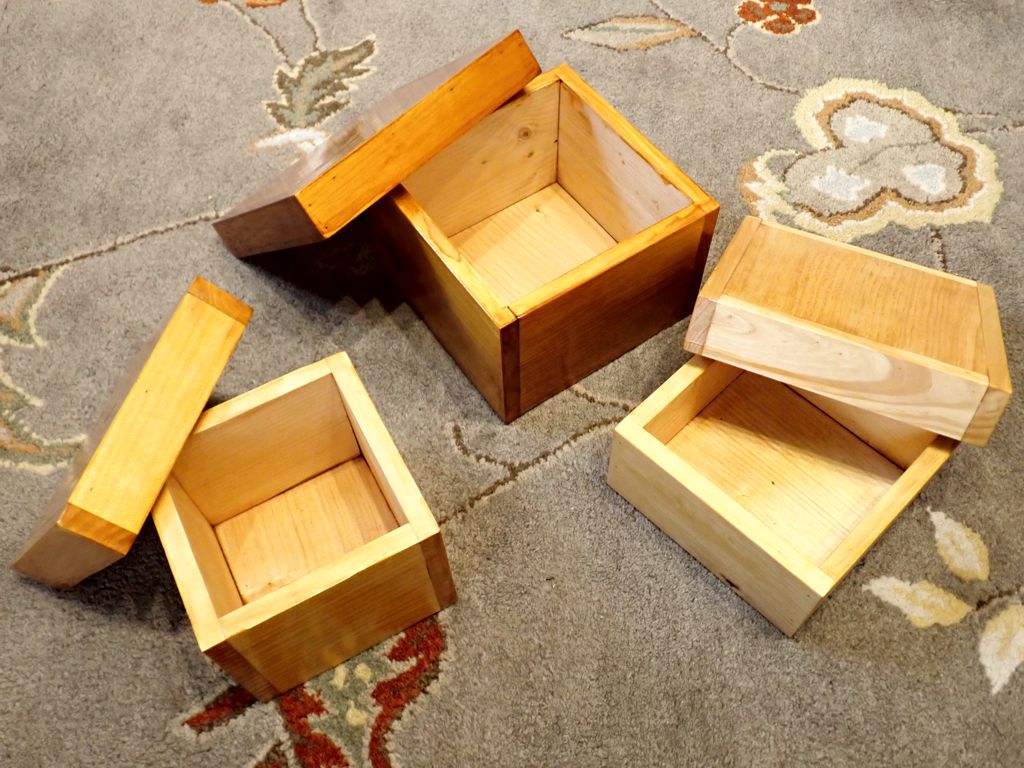
Three small lidded boxes from pine

These are all made from half-inch pine, and finished with a variety of shellac techniques that I wanted to try. I think my favorite one is the rightmost one in the photo. I started with a really dilute cut of light amber shellac to give the wood a little more color, then top-coated with a thin coat of blonde shellac.

Anyway, I already have plans to fill one of the boxes with braids and add it to a gift basket that our SCA Kingdom is putting together for another Kingdom. In any case, the pile of surplus wood is a little bit smaller than it was, so success.

bookmark_borderStorage Trays for Tama

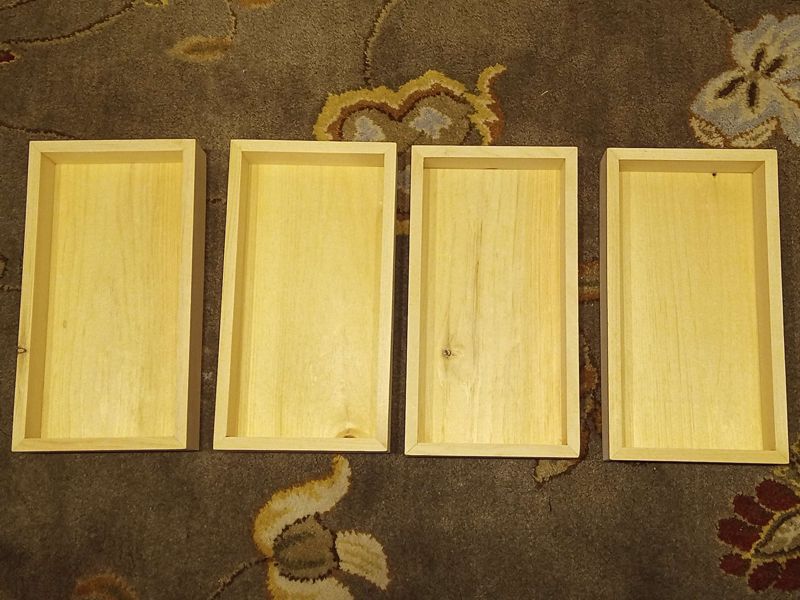
Through a combination of gifts, purchases, and gift purchases, I have acquired 64 of the 100g tama from Braiders Hand. Right now, they are all in use, but eventually, I may have to put them in something for storage. Since boxes are easier to make than tama, I retreated to the garage to make these storage trays.

Four pine storage trays for tama

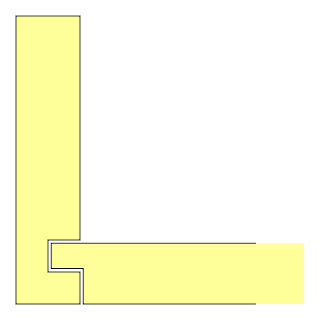
They are made from 1/2-inch thick pine boards, and each can hold 32 tama. My general rule for storage options is that you should always plan for twice as many whatevers as you have now. The corners are mitered, and the bottom is rabbeted and then set into a dado that goes all the way around. This lets the bottom expand and contract with humidity changes while still being 1/2-inch thick. There are no fasteners in the tray, just glue. I can make two trays from a single 6-foot 1-by-10.

Four pine storage trays, stacked

It takes a while, though. Plus, it takes a planer (to turn 3/4-inch 1-by into 1/2-inch lumber), a table saw (to cut all the pieces and joinery), and a sander (so that everything looks nice and smooth). These trays might someday become become drawers in a kind of kotansu, but that day is probably far off.

Update: I realize that I did not do a very good job of describing how the bottoms of the trays are joined to the walls. I made a diagram –

the bottom is rabbeted and then set into a dado

bookmark_borderBento Refinishing

Eleven years ago, I made this hexagonal bento box in a class taught by Pittsburgh’s Tadao Arimoto. At the time, I did not know much about making bento lunches, so the box mostly sat on a shelf as a display piece. It waited patiently for me to expand my studies of Japanese culture to include food, and for me to start shopping at the Tokyo Japanese grocery enough to develop a menu for lunch. Back in 2019, I started making bento lunches to eat at work, and I discovered that the box was not sealed! I got salad dressing all over the tablecloth, and had to use plastic bento boxes for my lunch.

A year or two ago, I sanded the inside and outside of the box to smooth out the uneven epoxy surface. The box sat in this state for a couple of years, still waiting for me to make time for it. This summer, I finally cleared off the workbench for a couple of days so that I could mix up some epoxy and refinish the box.

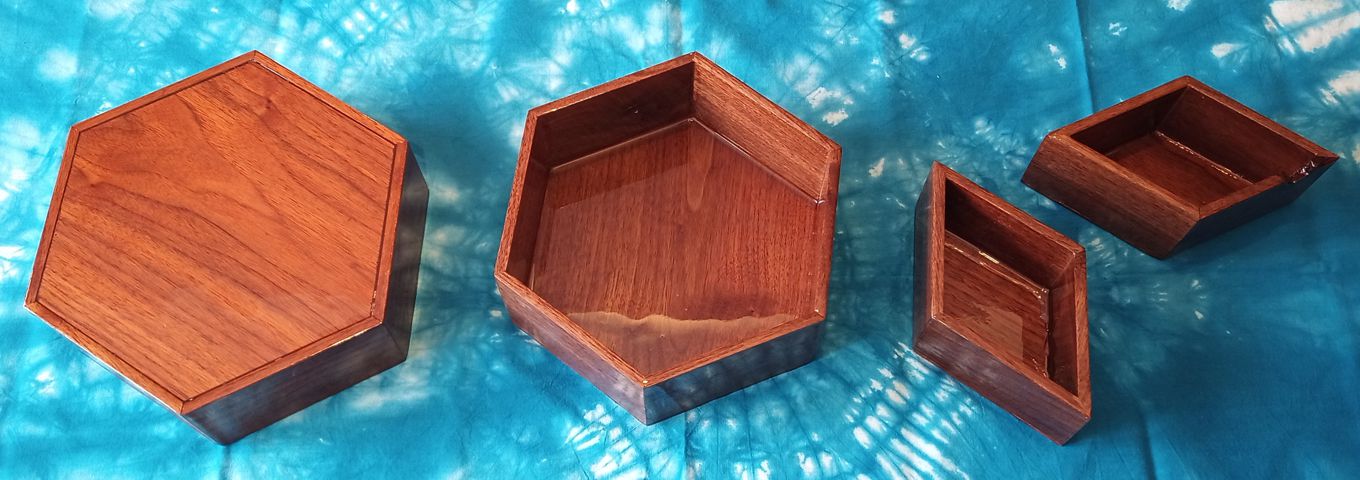
These are the pieces of the box. One lid, one base, and two rhomboid containers that fit inside the base.
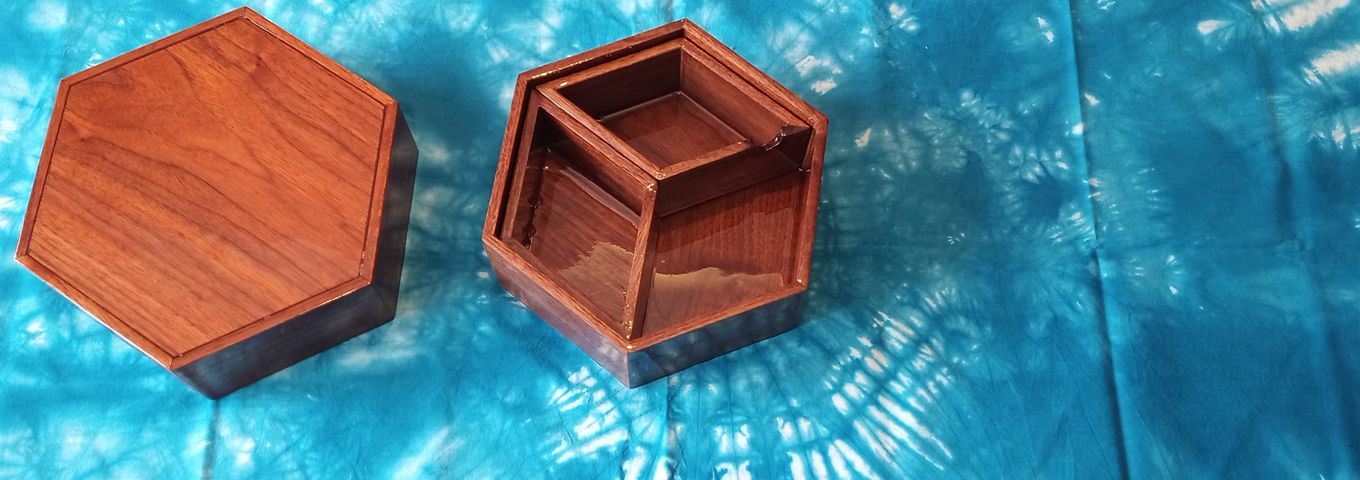
Here are the smaller containers inside the base, ready for filling.
Add the lid to close the box. It falls slowly because the tolerances are tight.

It’s completely sealed now. I could probably take soup in it. The lid edges are almost the full height of the box, so it might not even spill very much if tipped. Even though I don’t go into the office at all these days, I made lunch at home and served it to myself in this box because I believe you should always let things fulfill their purpose.

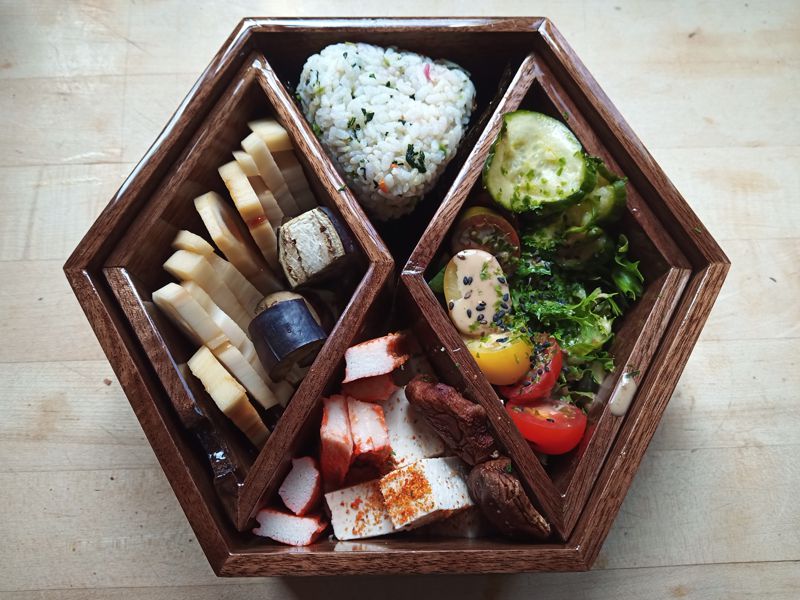
Hana Goshoku onigiri; pickles and salad; togarashi tofu, roasted mushrooms, and kamaboko; lotus root and roasted eggplant.

bookmark_borderUtensil Box from Cherry Planks

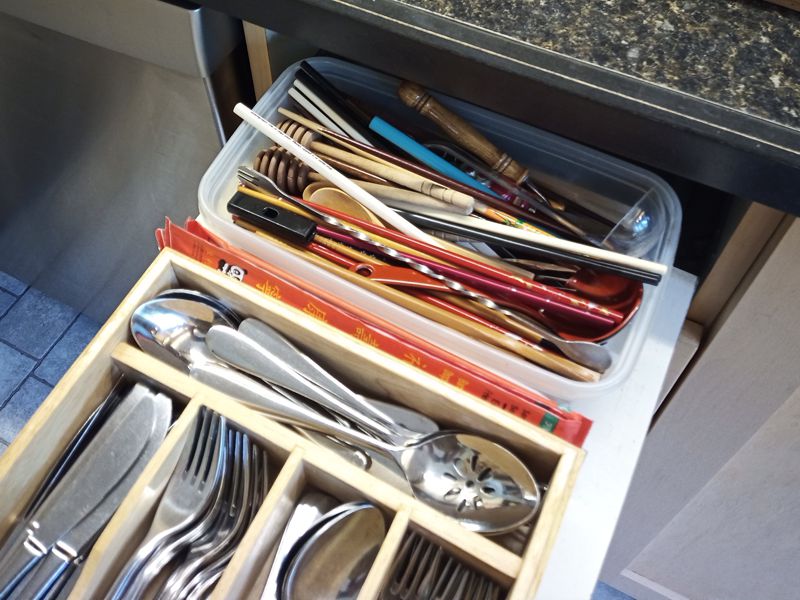
We had a plastic bin at the back of of kitchen utensil drawer that held chopsticks and other miscellaneous items. I got tired of having to dig for chopsticks, and my father had coincidentally gifted me with some cherry grilling planks. We love cherry wood here, and I wasn’t going to just set fire to it, so it’s projectin’ time.

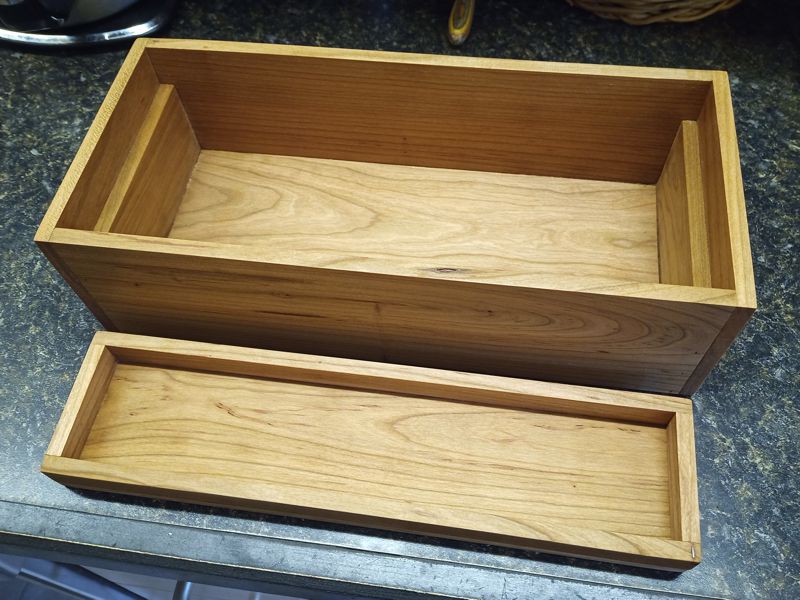
I made a box that’s as wide as the utensil drawer, and a smaller tray to hold chopsticks so that they do not just fall to the bottom and have to be dug out. This construction turned out to be a little too tall, so I shaved some off the top and eventually cut the bottom completely off. Here are the pieces.

The tray slide back and forth, or it lifts right out for easy access to the utensils underneath. Of course we have more stuff than actually fits in the bin, but that can be moved elsewhere.

I finished the whole thing with some salad bowl oil finish, which only takes 3 days to dry, but makes the wood look attractive.

Learn to make things, because people who buy things are suckers.

bookmark_borderMark 2 14th Century Toolchest

Took a second swing at this project. Here it is up on sawhorses in my workshop/garage:

14th Century Japanese Toolchest

It’s huge! It’s 4.5 feet long and a foot wide. It fits in the trunk of my car ok if I fold the rear seats down, but it’s way too big. Probably at fault is my desire to use 1by8 for the sides. To keep the length in proportion to the height it’s just way too long. Maybe I’ll try again sometime with 1by6 instead. That would make it only about 40 inches long by my reckoning. Compare the image below with the original painting.

Toolchest with Lid Askew

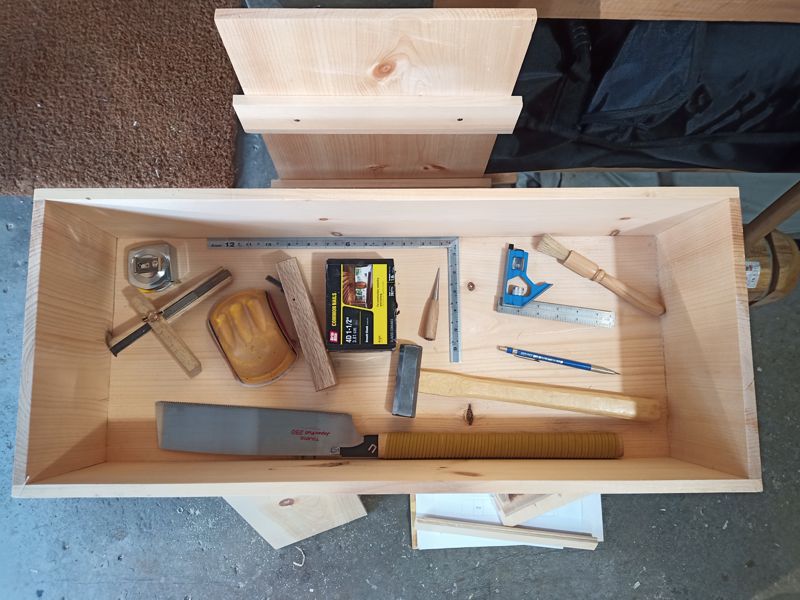
I’m also pretty sure I should be making my battens narrower, and probably from the full 3/4″ thickness of board instead of my 1/2″ planed-down thickness. As a bonus, here is an image of all the tools I needed to construct this Mark 2 chest, stored in the Mark 1:

Tools to Make a Toolchest

There’s not much you need, really, to build a simple chest.

bookmark_borderBox for 1 Lantern

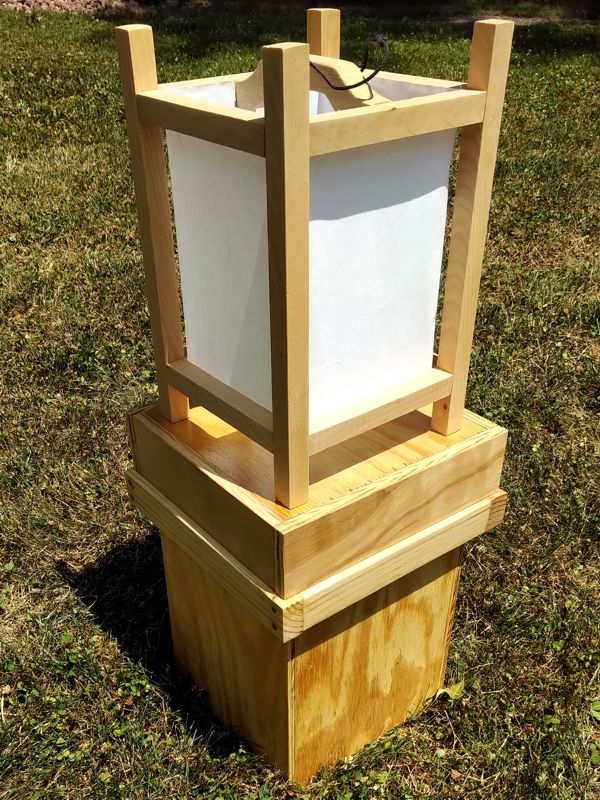
A while back I made a Lantern Storage Box to hold the six wooden frame lanterns that I made for camp. I had previously made a couple of lantern storage boxes to protect a couple of large frame lanterns, but this smaller cypress lantern had no box in which to be stored. Now it does.

Lantern Atop its Box

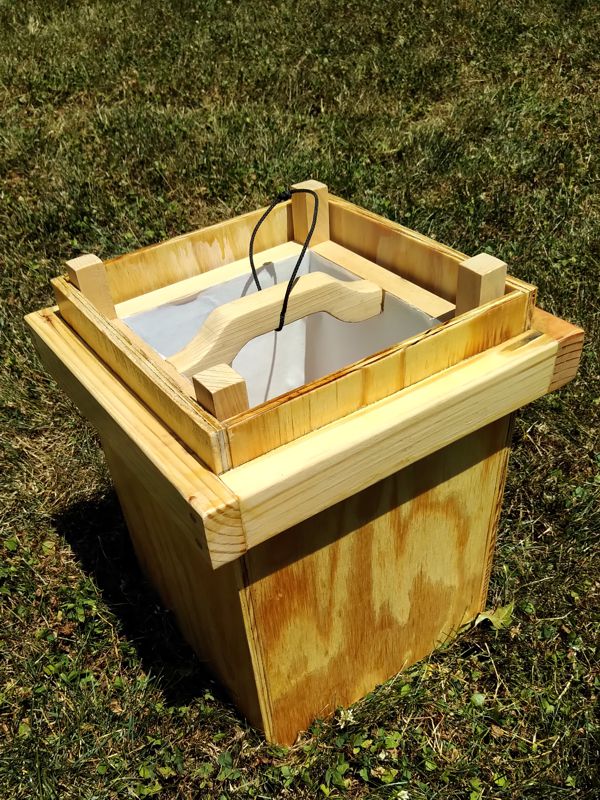
Anyway, it’s just an empty box, made of plywood. These were some of the last medium-size plywood bits I had around the shop. If I want to do more quick projects like this, I might have to start buying new plywood, despite the current inflated prices. The hardwood rim provides some reinforcement, and gives you something to grab as a handle.

Empty Lantern Box

There’s just enough room inside to insert this particular lantern. The lantern actually sticks up a little past the sides of the box. I just didn’t have four pieces that were tall enough. You might even notice that the thicknesses of the sides are not even the same. It hardly matters.

Lantern in its Box

Once you are finished placing the lantern in the box, you can add the lid. The lid is tall enough that it rests on the handle rails instead of on the legs of the lantern. It’s not a very tight fit. Normally, I wind up making lids too tight-fitting, but this one is kind of loose. I might add some kind of closure so that the lid does not fall off if the box gets tipped over.

Closed Lantern Box

I put some polyurethane on the outside of the box, to protect the lantern if the roof of our storage trailer leaks or the box gets left out in the rain.

bookmark_borderSecond Kanmuri Box

Back in October, I was idly searching eBay for Japanese antiques, and I found a kanmuri for sale at a very reasonable price. So, I bought it. This one is not as old or as nice as my other one, but it was less expensive and is in better shape. I won’t be as afraid to wear it or lend it to others. However, it should still have a better storage container than the corrugated cardboard box in which it was shipped to me.

I made two separate boxes to hold the parts of the first kanmuri. This was partially because of the shape of the tail, and because the body of the first kanmuri does not break down into parts. This second one comes apart much better, so I could build a single flat box to hold the parts.

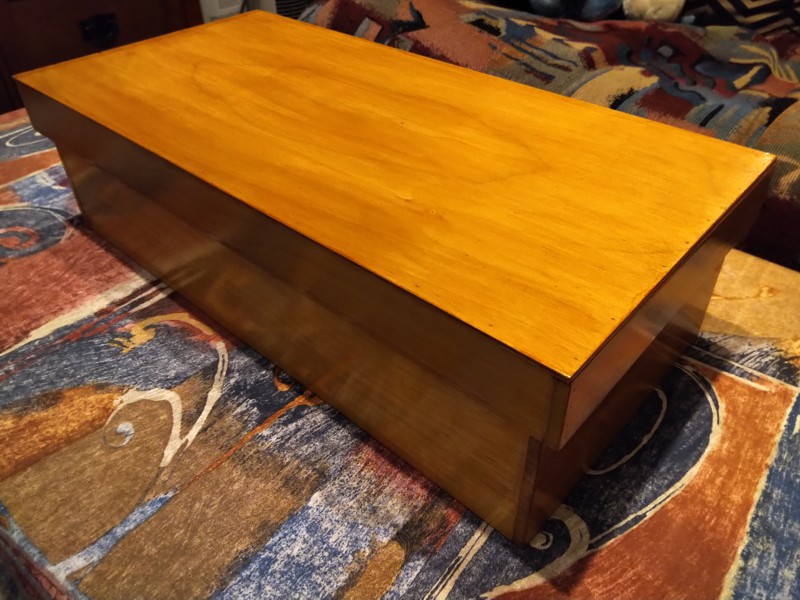
Second Kanmuri-bako, closed

This kanmuri-bako is a simple rectangular, lidded box. The top and bottom are thin birch-faced plywood, and the edges are maple scants. I put a couple of coats of shellac on the outside for protection, but I left the inside unfinished so that the wood can absorb and release moisture as needed.

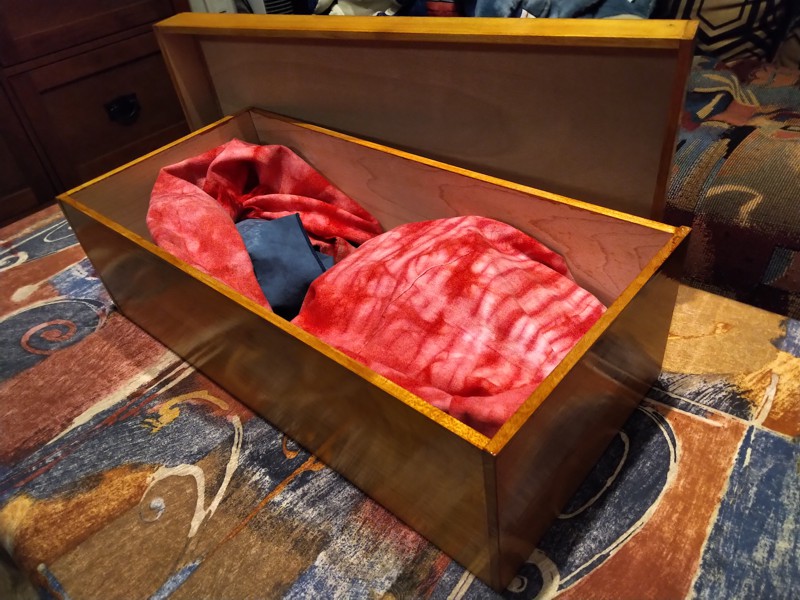
Second Kanmuri-bako, open

Inside, there is enough room that the pieces of the kanmuri can be individually wrapped to protect them from rubbing. There is actually enough room inside that I am able to store some other formal accessories in there to keep everything together. I can fit a shaku in the bottom, my sekitai, and my hirao. There’s probably enough room to add my gyotai if I ever need to.

Second Kanmuri

Because I just realized that I never posted to my blog about the first kanmuri, here is a picture of the assembled second kanmuri. the tail removes easily. When you remove the horizontal pin, from the hat part, the upright tube can also be removed.

bookmark_borderBox for 4×6 Index Cards

I use index cards for a lot of things. I used to have a printer that would accept 3×5 cards on manual feed, so I’d print out all kinds of useful information onto cards for handy reference. I even made a box to hold printed and blank 3×5 cards on my desk so that I’d always have them within easy reach. That printer is long gone, and my current printer will only take things as small as 4×6 cards. So, it was time for a new box.

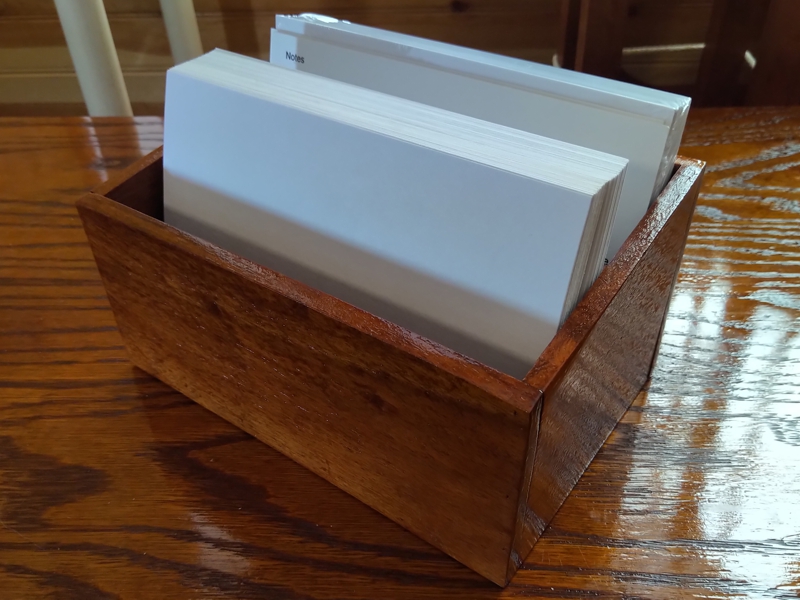
Full 4×6 Box

A friend gave me some thin wood scants, I think they might be mahogany, and I had enough to make this box. There is no fancy joinery, it’s all held together with glue and 23-gauge pins. There is even a divider down the center to keep the clean cards separate from the used ones.

Empty 4×6 Box

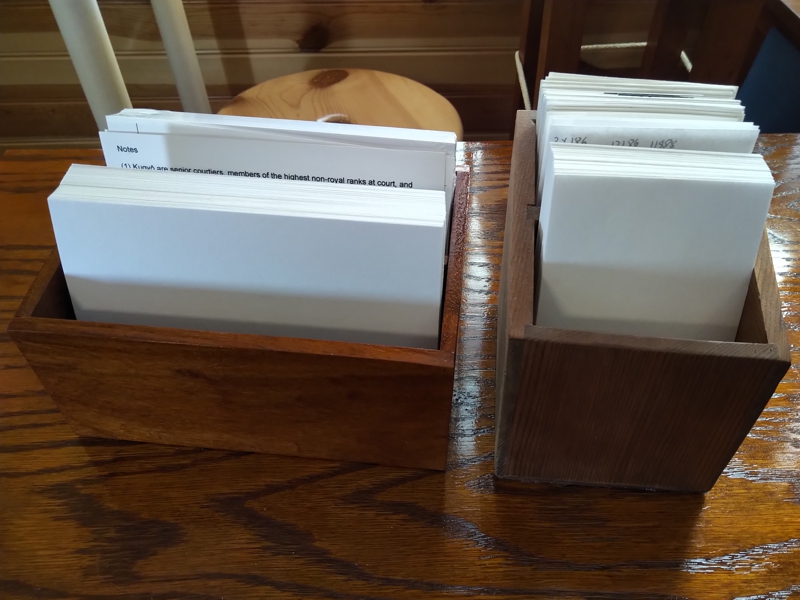
It is finished with a couple coats of blonde shellac, which really brightens up the wood color and gives it some polish. I put some cork squares on the underside so that it won’t scratch up my desk. You might notice that it holds the cards in landscape orientation. Given the shapes of the wood pieces I had, it was actually more economical to do it this way than portrait. The 3×5 box was portrait, and made from cedar.

4×6 and 3×5 Boxes Compared

bookmark_borderStorage Box for Stickers

Over the past few years, I’ve had a number of custom vinyl stickers made by StickerGuy.com. If you get on their mailing list, they send email every couple of months about specials, and for smaller stickers the price for a minimum order of stickers is usually less than $30. It’s kind of an extravagance, but sometimes the monthly special is for a set of colors that are useful for some SCA heraldry or other shenanigan. Anyway, having all these banded bundles of stickers around is starting to get annoying, so I built a box to organize them.

Box for 2.75″ stickers

I still have some thin wood scants left over from long-ago projects, so it was a pretty simple thing to split some to size and glue up a little box. The interior of the box is 12 inches long, 2.8125 inches wide, and 2 inches deep. There are no fasteners or fancy joinery. This box won’t see much abuse, so I’m hoping glued butt joints will be sufficient. The wood is kind of special, I guess. The label said it was mahogany. I think it was intended for the dollhouse building boom of the 1990s.As you can see, this box is nearly full, so I may need to make another one some time.

bookmark_borderKakejiku Storage Box

If I want to be able to take the Hitomaro Kakejiku with us when we go camping or whatnot, it is going to need a storage box to protect it in transit. Such things exist in the Japanese tradition, so I made one.

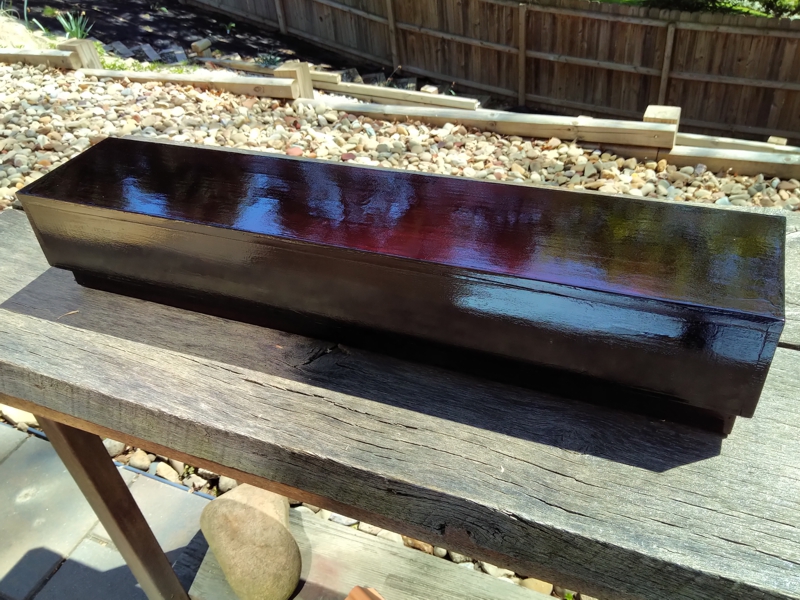
Kakejiku-bako, closed

It’s made mostly of poplar. I had an abundance of quart-inch poplar in my stock of surplus wood, so this was an easy choice. The top of the lid is actually 3/4″ poplar, to give the whole thing a little heft. I rabbeted the top so that it would fit inside the walls of the lid, and not appear thicker from outside.The inside is unfinished.

Kakejiku-bako, open

There are small blocks of cedar at either end of the box that cradle the ends of the scroll rod and keep it centered in the box. You can see the rabbet for the lid top and the interior blocks in this process photo.

Kakejiku-bako in progress

The outside is finished with several layers of garnet shellac with a black dye added. That’s what gives the final finish that deep mahogany color. I was hoping this mixture might be a good substitute for black lacquer. It is not, but as its own thing it is very nice.