bookmark_borderBanner for Illadore

A good friend of ours, Mistress Master Baroness Illadore de Bedegrayne, was being elevated to to Order of the Pelican in the SCA, so I decided she needed a new banner to display during her pre-elevation vigil (which was not really a vigil, but there was a tent, so banners were needed).

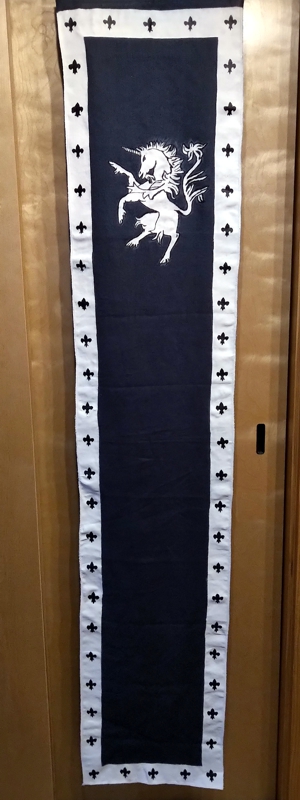
Banner for Illadore de Bedegrayne

This banner was made with acrylic fabric paints on blue linen. The unicorn rampant in the center was one of the more difficult charges I have painted, and the repeating fleur-de-lis border was challenging.

Stencils

I printed out a stencil for the Unicorn. That helped me to get the outline and fill that in with white paint. Then, I cut the stencil apart to help me get the internal lines of the design in the right places.

Stamp

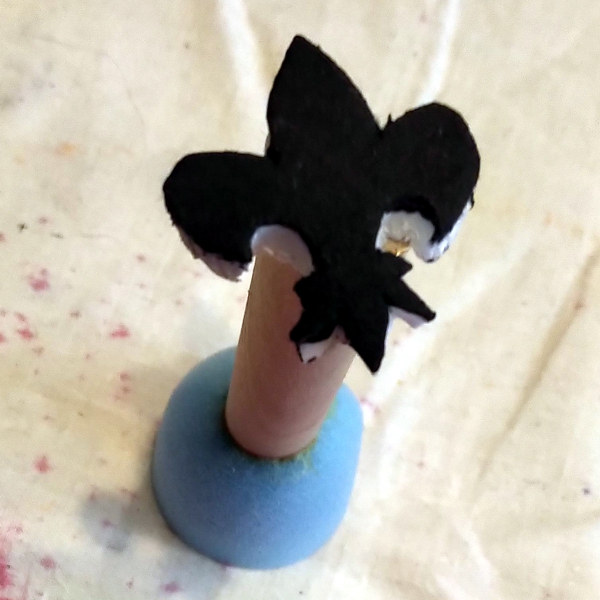
I made a stencil for the fleurs-de-lis, too (you can see it in the “Stencils” photo), but it turned out to not work so well with the dauber, due to how non-flat the fabric is after painting with the white base coat. I wound up cutting a small stamp from some craft foam, and that worked great. I still needed the daubers that I bought. One became the handle for the stamp, and the other was used to apply a nice coat of paint to the stamp for transfer to the banner. This work so much better than the stencil that I will certainly use this technique again for the annoying repeating patterns that Europeans seem to be enamored of.

bookmark_borderNew A&S Minister Banner

Back in February, I was elected the new Baronial Minister of Arts and Sciences. I decided that this office needed a new banner to display at events, so I made one.

BMDL A&S Banner

This hata-jirushi style banner is made with acrylic fabric paints on navy blue linen. I’m not super happy with the way the comet came out, but I think the A&S badge is perfect. I should get some glow-in-the-dark paint to do the candle flame and the comet. That would look awesome, I think.

bookmark_borderBook Review – “Once Upon a Time In Hollywood”

I’m a great big slobbering fan of Quentin Tarantino’s films, so when I saw that he had released a “novelization” of his most recent film, “Once Upon a Time… In Hollywood” I added it to my shopping list.

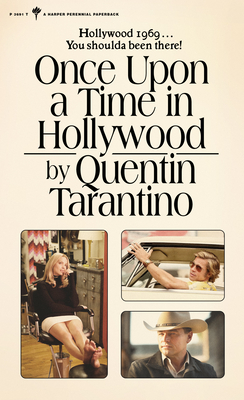
Cover image courtesy of alibris.com

I greatly enjoyed reading this book, but one thing you need to know about it is that it is not the same story as the film. First of all, since it is a book there is a lot more of the story told from inside the heads of the characters. You see the world through their eyes and histories, rather than through your eyes and Tarantino’s camera. There are long expository sequences recounting the history of cinema and television, as regarded by different characters. These sequences inform the actions of the characters, but this exposition is not present in the film.

Actually, the book is edited so that the entire “point” of the story is different. If you utilize my theory that a well-crafted story ends on the point, then the end of the movie indicates that what Rick Dalton really wants to be is a real hero (like his friend Cliff Booth is), but the end of the book indicates that what Rick Dalton really wants to be is a real actor. This is a big difference.

Some of the Charlie Manson stuff from the movie is present in the book, but much of it has been edited out. Rick Dalton even makes some different choices in the book than he does in the movie, or at least that is what is implied. Anyway, the book is different than the film. I enjoyed both, but they are not exactly the same. I wonder if the book is the movie that Tarantino kind of wishes he could have released, but the movie is the movie that he knew he had to release to avoid bad reviews. Maybe Tarantino is just making fun of the way that novelizations are almost always different from the films.

The design of the book is really cool, mimicking the design of movie novelizations from the sixties. There are even ads for sixties books and movies in the back. I wish there was an ad for Red Apple cigarettes. I have so many old SF paperbacks with cigarette ads in them.

bookmark_borderTie-Dye T-Shirts

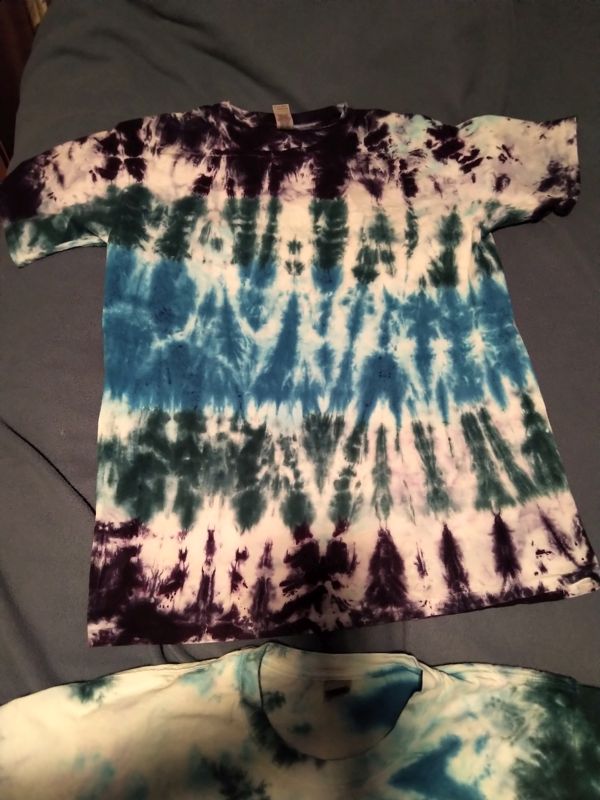
A few weeks ago, we visited some of the sweetie’s relatives, and she did a big batch of tie-dyeing as an activity with the nephews. We tried out all kinds of different techniques from the Dharma tie-dyeing guide and made a huge mess. Here are the two that I made for myself.

My Favorite

For this one, I crumple-pleated it along the vertical axis, then bound it up using rubber bands. Then, I squirted dye all over each horizontal band with the squeeze bottle. These are heavy-weight 100% cotton shirts, so the dye took really well. I really like how the crumples continue across the bands, and I like how organic the shapes are.

The Other One

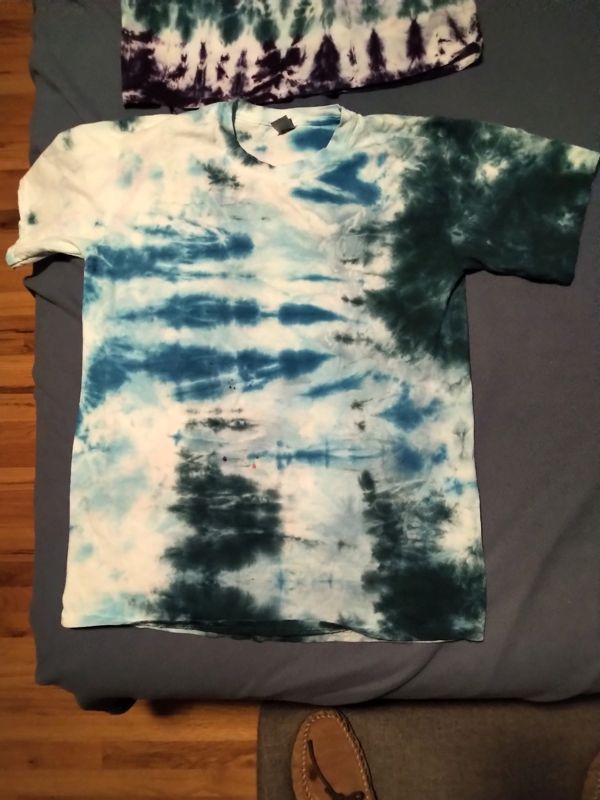
This one is nice enough, I suppose, but I just don’t think I got enough dye in it.

bookmark_borderOne Year of the Shourou

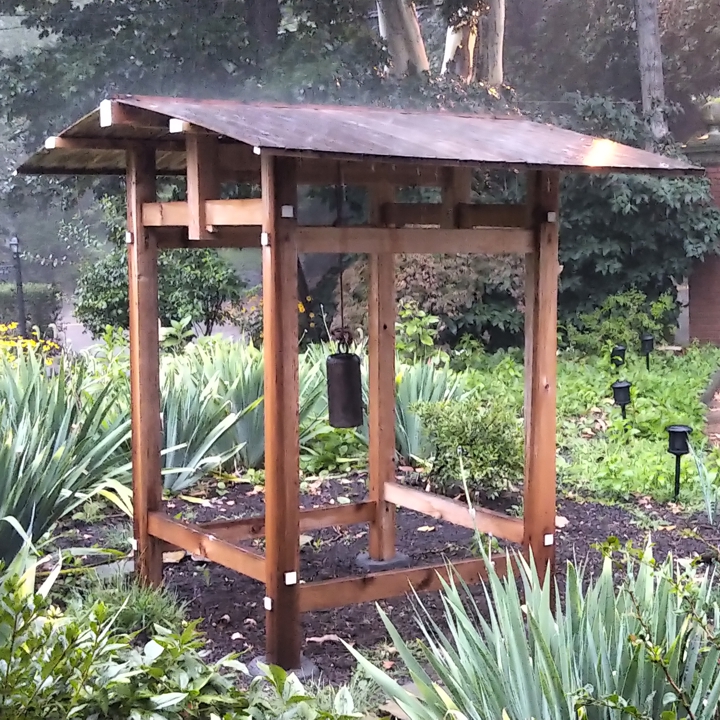
I assembled the bell tower back in August of last year, and finished up working on it in September. Since then, it has survived snowstorms, rainstorms, windstorms, cold, heat, and everything. It has made my sweetie’s front garden even prettier for a full year!

Here it is, surviving yet another deluge

bookmark_borderGarage Beam Trolley

Back when I was doing some part-time work for Mr. Arimoto, one of the miscellaneous tasks I helped him with was assembling a new woodturning lathe. This was a serious lathe, with a heavy base and a heavy lathe body with a large heavy bed. To lift the top into position on the base, we used a rolling gantry that held a steel beam suspended overhead, and a wheeled trolley with a pulley underneath that rode back and forth on the beam. It made the whole operation possible.

To own something like that, you need to have someplace to keep it when you’re not using it. I don’t really have a place to put a big gantry system, but one day I was browsing in a tool catalog and saw that you can buy a beam, trolley separately, and install it on an existing I-beam. Ding! There is an existing exposed I-beam in the garage! Sometimes we are moving heavy pots of dye onto and off of hot plates, or I am trying to position heavy lumber or machinery all by myself. This would be super handy.

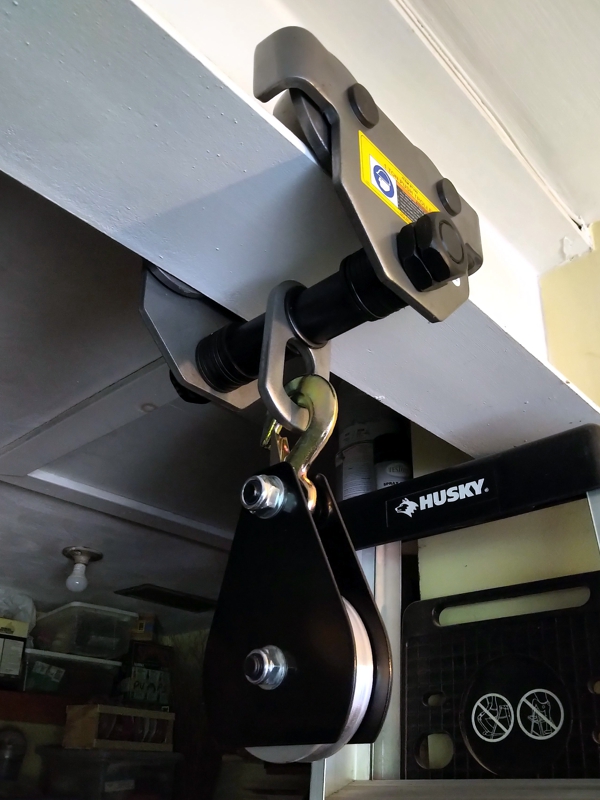
Beam Trolley and Pulley

One trip to the Harbor Freight store and some ladder work, and now we have our own gantry system. HF stuff isn’t always the best quality, but I won’t be using these items anywhere near their advertised weight limits, so I expect it will be OK. This beam runs the full width of a 2-car garage, so it can help us transfer things across a wide area. We could use it to lift heavy loads out of a pickup truck if we ever bought heavy things or had a pickup truck.

bookmark_borderBook Risers for a Friend

A fiend of ours contacted me about making some book risers. This firend has just moved to a new house that has some built-in bookshelves that are deep and tall, which is nice for hardbacks but inefficient for paperback. My solution is to stack books vertically and sideways.

My solution, with edge tags

Not everybody like this solution, though. They like to be able to see at least a portion of all the spines, even though it is less efficient.

What most people want

To achieve this, though, you need some kind of riser. I know people who use foam blocks, or cardboard inserts, but plywood is way stronger and more durable, so this friend contacted me.

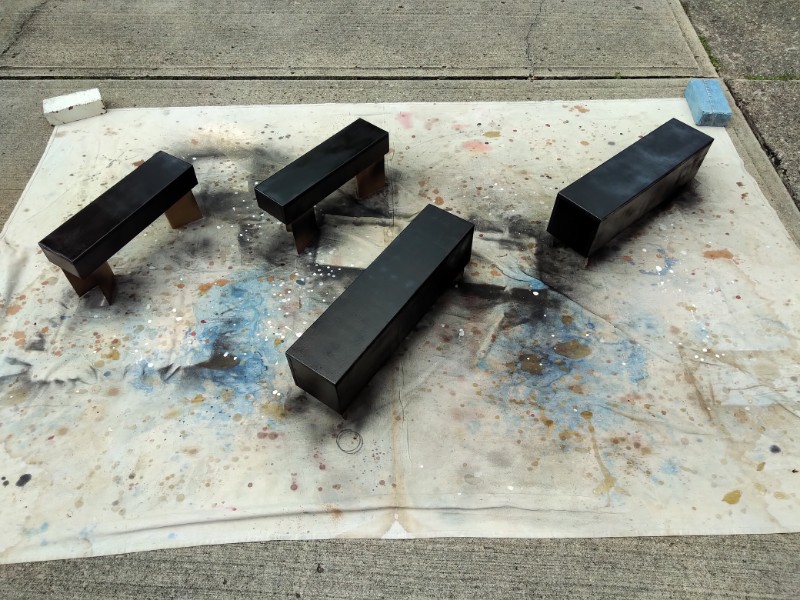
Risers being painted

Here they are being painted matte black in the driveway. They are basically just open-bottom boxes. There is an extra support piece in the middle, just to keep them stable. They are made from half-inch plywood, with simple butt joinery, glue, and 23 gauge pins. Two different sizes, one for paperbacks and one for trrade paperbacks. They are clear-coated to keep the black from rubbing off, and felted on the bottom to keep from scratching the shelves. They are not perfect, but since once they are in place it is possible that nobody will ever see them again, that’s probably OK.