bookmark_borderSmall Tabletops for Folding Stools

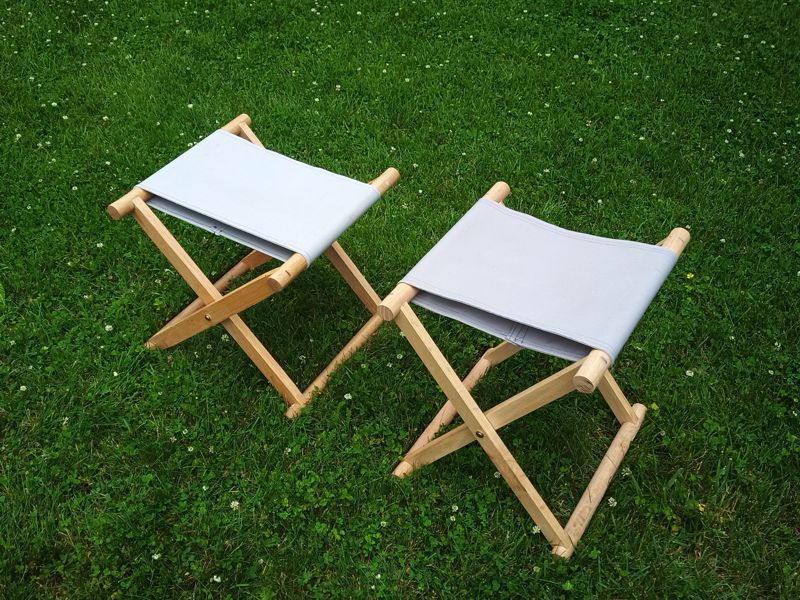
So, I’ve made a bunch of these Shogi folding stools, and I thought it would be handy if I used up some surplus lumber to make a small tabletop that would turn a stool into a table.

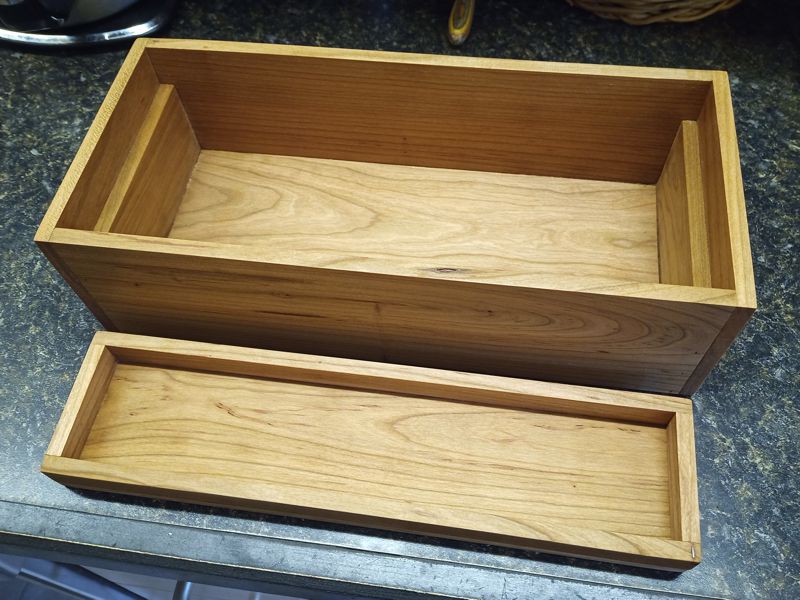
I didn’t have a real plan, so I just cut two pieces of 1-by-8 and edge glued them together to make a square, then I nailed some miter-cut 2-by-4 trimmings around the edge to make it into a tray. A little polyurethane and it was ready to go. It was fine, but I realized (too late) that if I’d made it rectangular instead of square, then the rim pieces would slide down over the ends of the stool pieces and it would never slide off.

It took me some time to get around to executing my brand new plan and make a second tabletop, but I finally declared this project done when the second coat of polyurethane was dry. You can see that making it just a little larger makes it a lot more secure.

It almost looks like a real table, and not just a tray sitting on a stool.

bookmark_borderShibori Clothing

A few of us did some shibori dyeing in the garage recently. The last time we hosted this, one of our friends brought a bunch of white cotton clothing she had found at the store. After that, I made some shirts from cotton muslin so I’d be ready for the next time we did dyeing. That was like two years ago, but better late than never. Here is the ensemble of both shirts.

The brown shirt kind of looks like an accident in a bleach factory, but the pattern is much more interesting in person. I used my famous pajama pattern, and even rememebered to do the top stitching in cotton thread so it would pick up the dye, After laundering, I opened the button holes and sewed on some buttons.

The blue long-sleeve tee shirt looks a little more tie-dye traditional. I basically scrunched the shirt up sideways and then put a bunch of rubber bands down it to hold it together. I like that it came out symmetrical and smiley. There were actually two different kinds of blue in the dye bath, but I think the “peacock” blue really took precedence.

bookmark_borderUtensil Box from Cherry Planks

We had a plastic bin at the back of of kitchen utensil drawer that held chopsticks and other miscellaneous items. I got tired of having to dig for chopsticks, and my father had coincidentally gifted me with some cherry grilling planks. We love cherry wood here, and I wasn’t going to just set fire to it, so it’s projectin’ time.

I made a box that’s as wide as the utensil drawer, and a smaller tray to hold chopsticks so that they do not just fall to the bottom and have to be dug out. This construction turned out to be a little too tall, so I shaved some off the top and eventually cut the bottom completely off. Here are the pieces.

The tray slide back and forth, or it lifts right out for easy access to the utensils underneath. Of course we have more stuff than actually fits in the bin, but that can be moved elsewhere.

I finished the whole thing with some salad bowl oil finish, which only takes 3 days to dry, but makes the wood look attractive.

Learn to make things, because people who buy things are suckers.