bookmark_borderBlue Stripe Hitatare Sugata

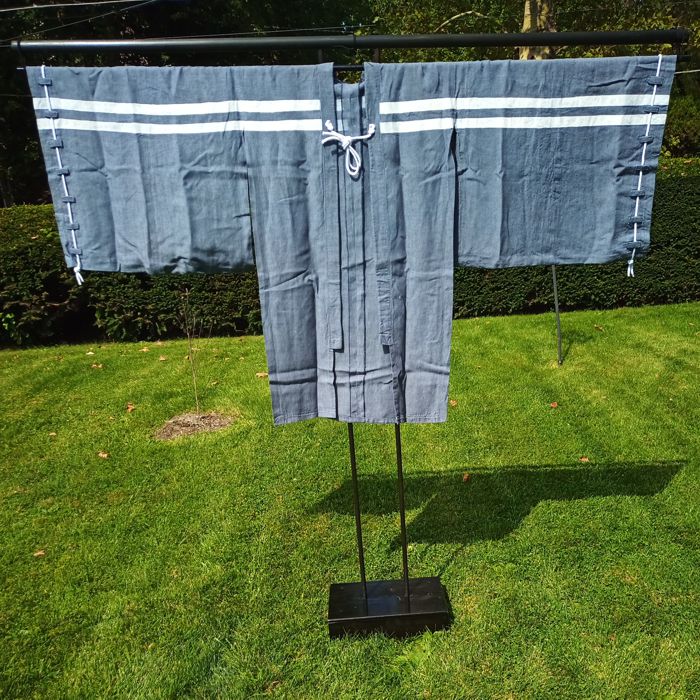
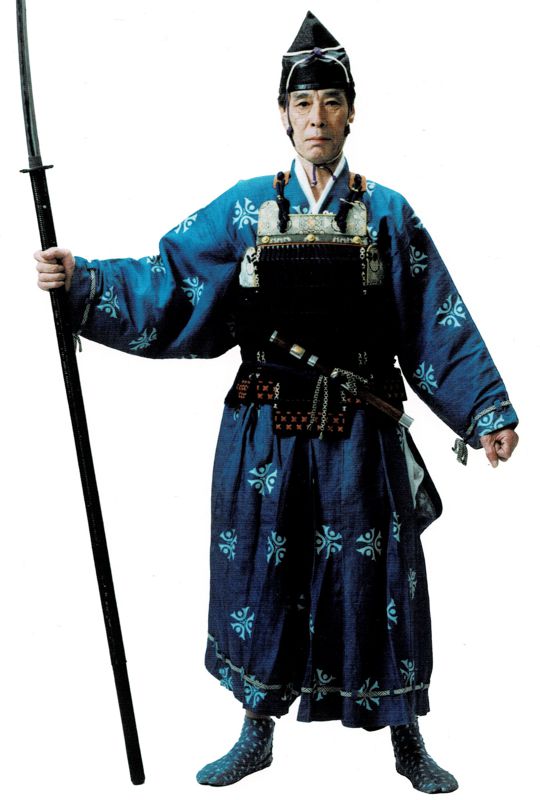
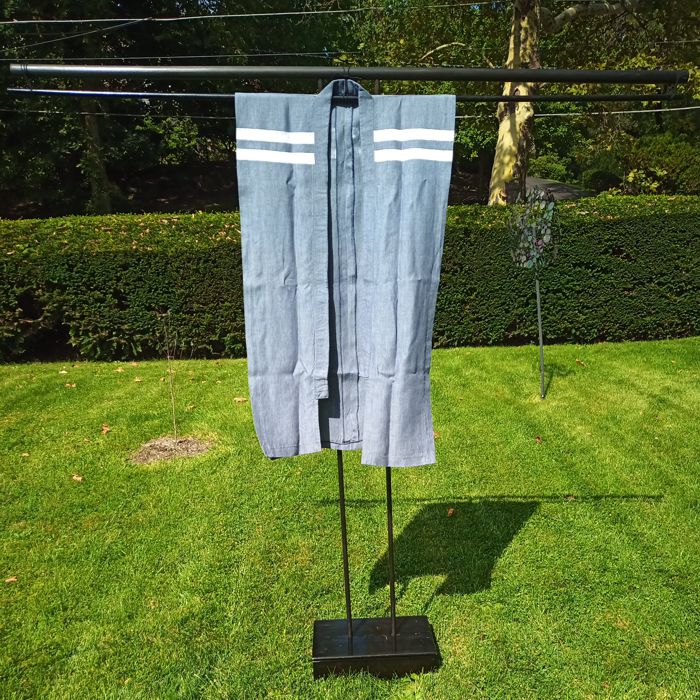
I completed this project back in early May of this year. I wore it to War Practice and to court at Pennsic, but I am only just now getting around to documenting it. Sorry I didn’t get any pictures of me actually wearing this outfit. Anyway, I wanted a less-formal and lighter-weight hitatare than my others. This one is made from a mid-weight linen, instead of the heavy-weight linen and hemp from which the others are constructed. I painted some white stripes on the fabric so that it wouldn’t look like a bedsheet. Here is the view from the front:

The assembled hitatare sugata

From the back, you can see that there are also stripes in the back, and that the hakama do not have a koshi-ita panel on the back. Some hitatare of late period had these panels, but since I do not tend to add them, this garment does not.

The hitatare sugata from the back

The sugata part of this post’s title of course means basically “outfit”. The hitatare itself is the upper-body over-garment. You have to make the body panels quite long if you don’t want the tails pulling up out of the hakama waistband.

The hitatare alone

Here is a close-up of the painted stripes. I have stopped using the “Jacquard Neopaque” acrylic fabric paint for most things, and I have switched over to “Jacquard Textile Color” fabric paint. This does not have the same vinyl-esque feel as the Neopaque, but it works well and still resists bleeding into the fibers. I applied the paint after the garments were constructed, so the stripes would match across the seams.

The stripes

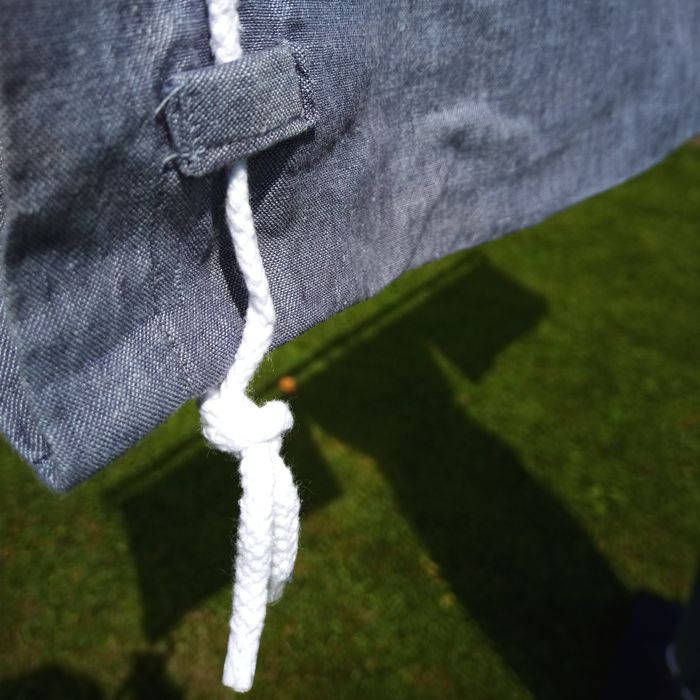
At the sleeve ends, the sleeve cords run through “belt loop” style attachments. There’s a hitatare in the Kure red book that uses these attachments, and I have found them to be durable.

A hitatare sleeve end
“Lower-Class Samurai” on page 29 of the Kure red book

Here’s a close-up of one at the bottom of a sleeve. You can clearly see that I have not bothered to braid my own cords yet for this outfit. It uses store-bought cotton braid. The belt loops are made by starting with a rectangle of fabric that is twice as long and four times as wide as the eventual loop. The ends of the rectangle get folded in to the center, followed by the sides getting folded in to the center. The loop is then folded in half along the length to make a short 4-layer strap, and stitched along the long edge to hold it closed. Stitching it on to the garment seals the ends of the loop.

Detail of the hitatare sleeve

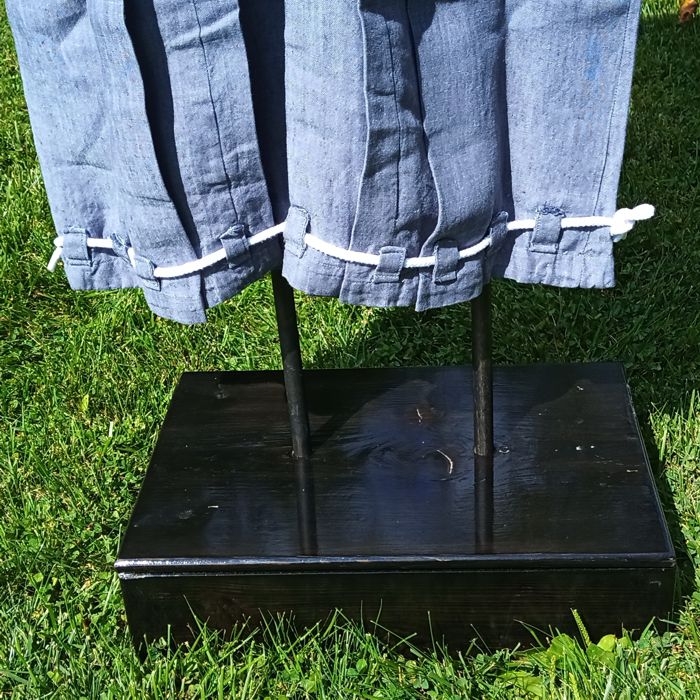
Similar loops are at the cuff end of each leg. I only put loops on the outsides of the pleats, so they hold the pleats in place. I’m not sure if this is historical or if the exemplar just has narrower legs.

The hakama cuffs

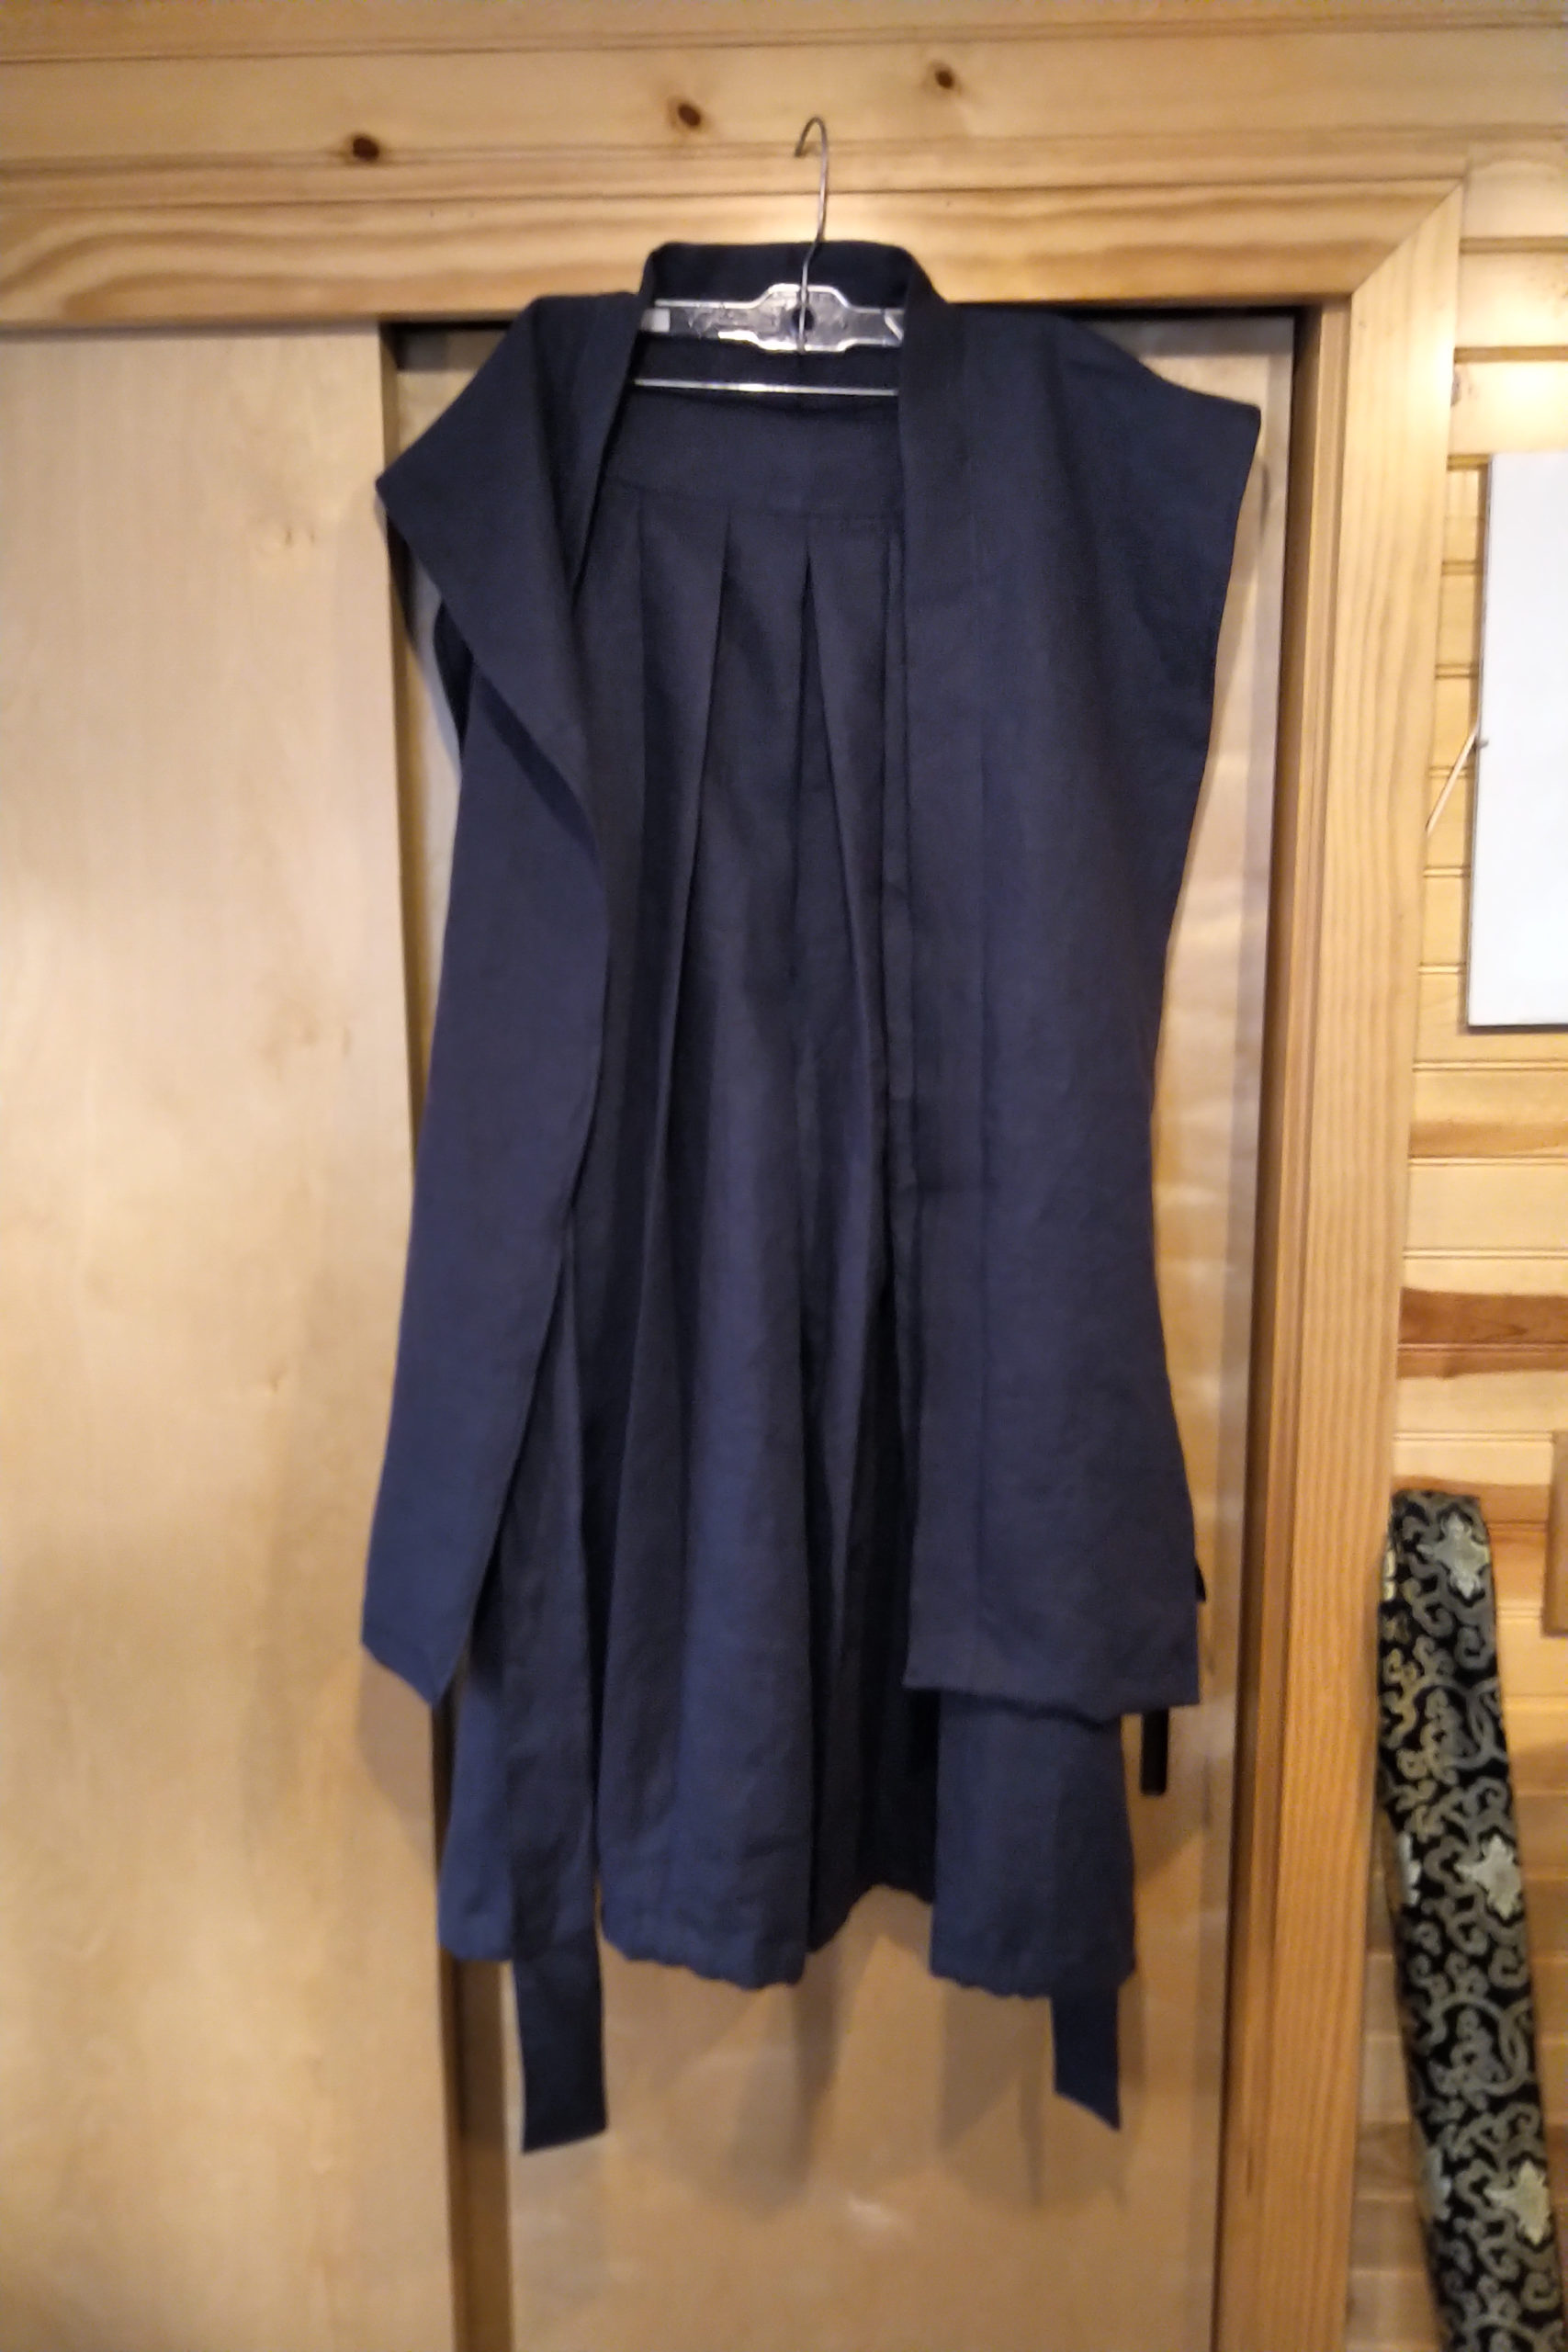
I also made a kataginu that matches the hakama so that I don’t have to roast if it is very hot. A kataginu is basically a sleeveless hitatare.

The matching kataginu

So there, now I have four hitatare sugata. This one went through the post-Pennsic laundry without falling apart, so I consider it to be a success.

bookmark_borderNew Older Japanese Tool Chest

Most of the Japanese toolchests I make follow the pattern established by Toshio Odate, which makes them very traditional, but very modern.

From Page 10 of Odate’s
Japanese Woodworking Tools

So what were Japanese toolchests like in the medieval period? Similar in some ways, but a lot less sophisticated.

From the circa 1309 emaki
Kasuga Gongen Genki-e

In this fourteenth century illustrated scroll, two apprentices take a break from working on the construction site of a new temple. One leans against a tool chest that is open, showing some tools inside. We can estimate that this chest is about 3 feet long, about 1 foot wide, and six or seven inches deep. The end handles and clever locking mechanism are missing, but the cross battens keep the lid from falling in. The wood seems very thin, represented by a single line whereas the battens are shown with rectangular ends. No joinery or fasteners are visible, which makes them something of a mystery. Butt joinery is used on the modern chest, so we can assume it was used here, too. No edge to the bottom of the box is visible, so the bottom piece is most likely fully captive. Nails are used on the modern chest, so it’s likely they are used here, though they may be wooden nails or pegs.

Here is my interpretation of the fourteenth century toolchest:

My New Older Japanese Toolchest

I ran a 6-foot 1×8 and a 6-foot 1×12 through the planer to shave it down to a half-inch thick. I cut the bottom, lid, and two ends from the wide wood. I cut the sides and battens from the “narrow” wood, ripping the 7.25″ width into 2″ battens. Then, I nailed it all together.

My New Older Japanese Toolchest, Opened

I deadened the nails for the lid, so it should hold together pretty well. The whole thing is 29 inches long, which was about the biggest chest I could make from the two boards with which I started.

What did I learn? My chest isn’t long enough, and it’s possibly too deep. The proportions just don’t look right. My battens should be made from thicker wood, and should be both narrower and closer to the ends of the lid. Because I used thinner wood, this chest is a lot lighter than a previous attempt. Very little wood is wasted, unless you count the one third of the lumber that got turned into shavings.

bookmark_borderKataginu Kamishimo in Blue Linen

It has been a while (like, more than a year) since I made a basic medieval Japanese men’s garb outfit for myself, and my old stuff has started to look a little worn. So, I decided to make these hakama pants and kataginu vest out of some nice dark blue linen.

kataginu kamishimo linen blue
Hakama and Kataginu in Blue Linen

When the tops and bottom of an outfit are made from the same fabric, it is referred to as a kamishimo.

Sorry this photo just shows them hanging together on a hanger. I’ll try to wear them sometime soon and get a better photo.