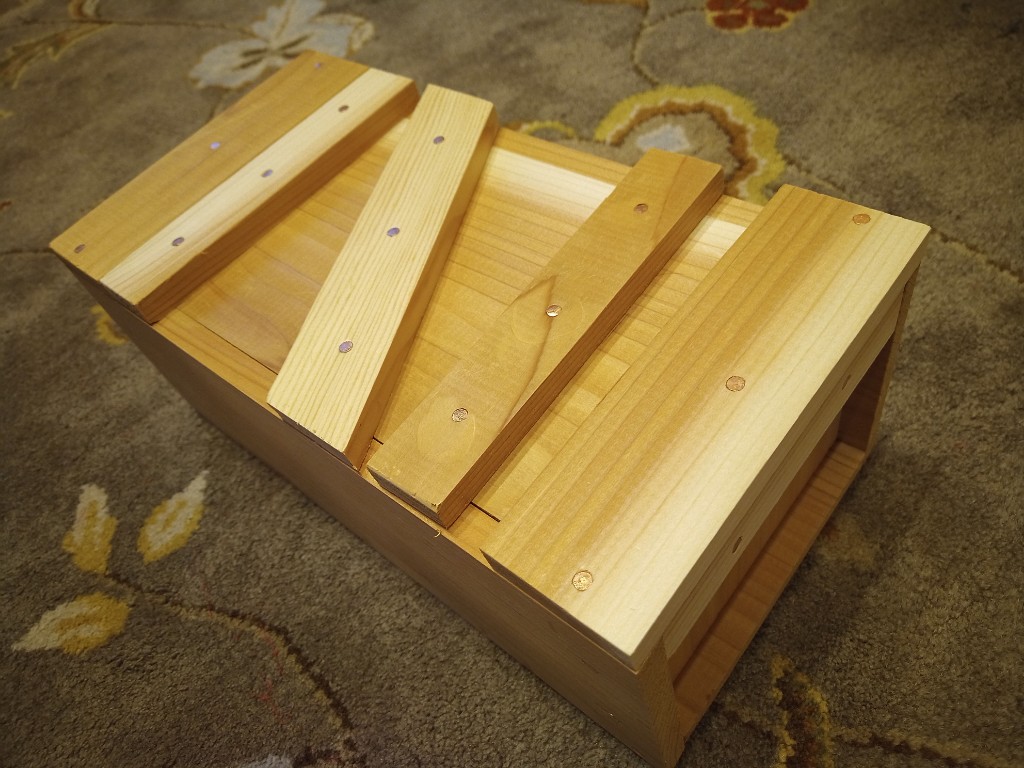
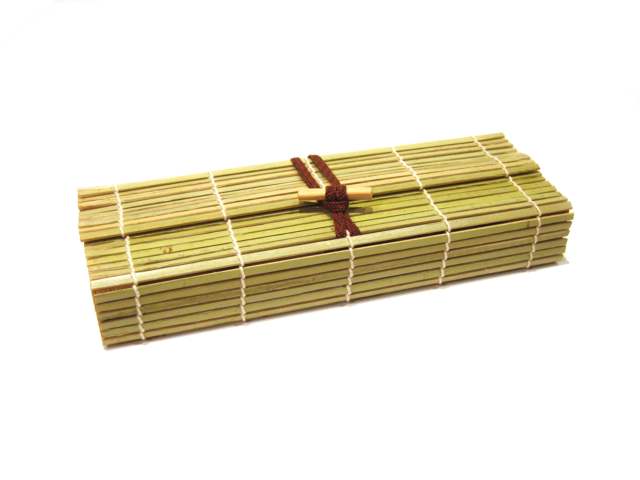
As you know, I have made quite a few Japanese style tool chests over the years, in several different styles. In addition to being useful for toting woodworking tools, they come in very handy when I need to take kumihimo supplies somewhere. If I have a a lot of supplies, a large or medium size chest is good, and if I only need a few small things I can use my little bamboo box. What I felt I was lacking was a box for somewhere in the middle. I had not yet made the Edo suzuribako, so I made this small chest from some half-inch thick cedar.
Small Cedar Tool Chest
You can’t really tell the size of that without context, so here it is with a pair of fabric shears.
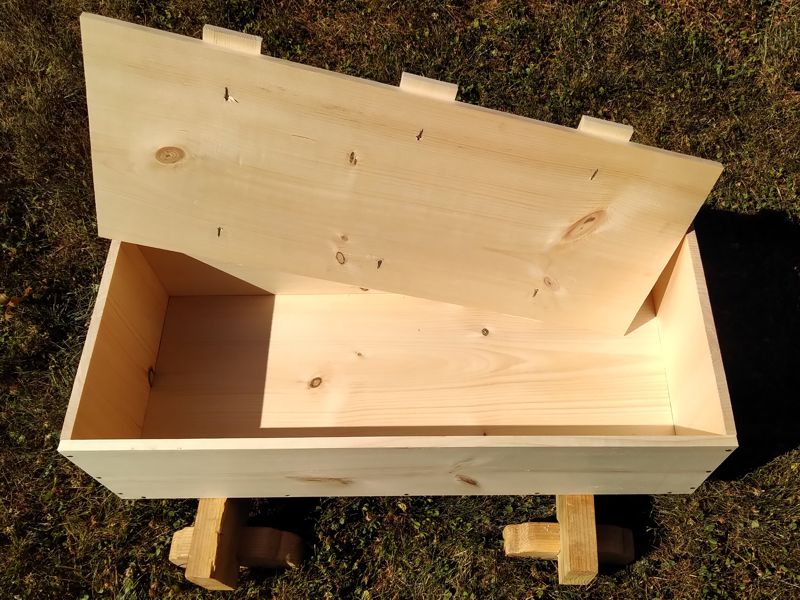
Small Cedar Toolchest Open
Overall, the chest is only 12.5″ long, 6.5″ wide, and 5″ tall. That is small enough to fit into the “double height” drawer slot of the small chest of drawers I have not documented because it is still kind of a work in progress.
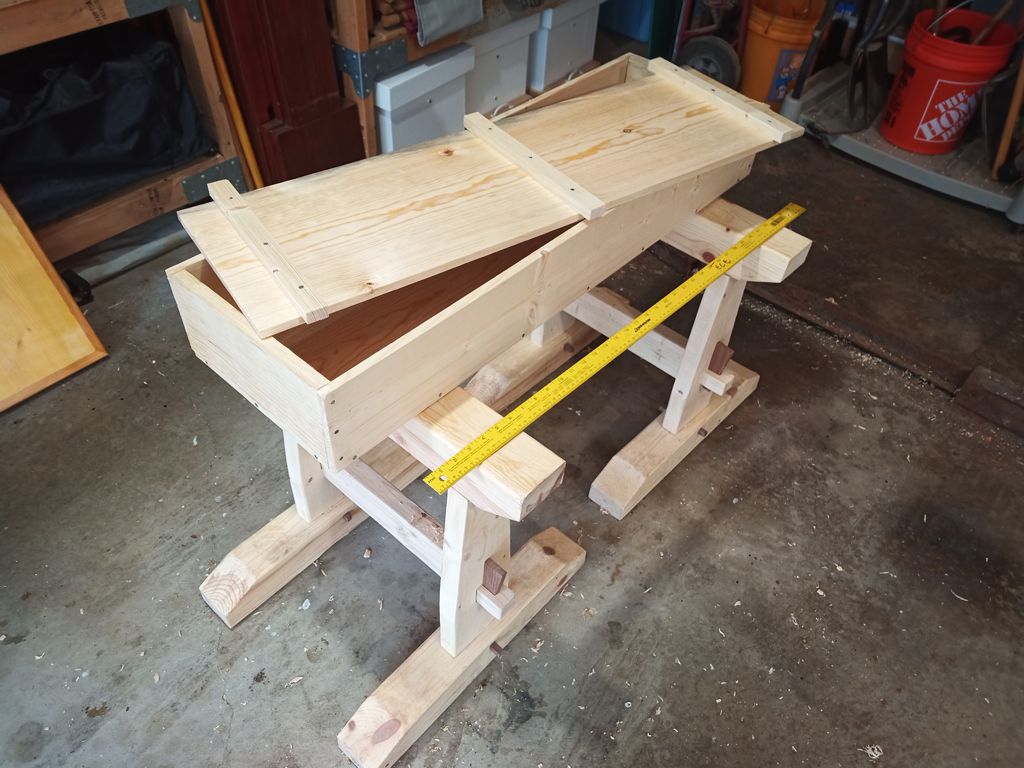
I decided to try to make a sort of medium-sized Japanese tool chest, according to the more modern style. The main purpose of this experiment was to try to make a chest that used less lumber, that could then be sold for less money than the full-size tool chests.
Medium-sized Japanese Tool Chest in Pine
I started with two 6-foot 1-by-10s, and I have a little bit left over for other projects. I planed the 3/4-inch lumber down to 5/8″ to decrease the bulk, and I ripped all of the skinnier pieces from the wider lumber. that’s why the sides are the height they are; rip a 9.25″ 1-by-10 in half and after planing off the saw marks you wind up sides 4.5″ tall. Deeper tool chests, I have found, result in to o much layering of tools. That is, things get buried. The box is about 2-feet long, which makes the whole thing a nice size to fit in car trunks and the like. The cost in lumber and nails is about $40, and I’m thinking of selling these for $100. What do you think?
I have been putting off the next step in this long-running experimental archaeology project more because I wanted to work on it at a particular event than because of my normal level of procrastination. I planed down the 1by lumber months ago, then I cut and assembled the chest at Aethelmearc War Practice. I started this project working on the Mark Zero “proof of concept” chest at War Practice back in 2018 or 2019.
Anyway, this is the fourth try at making a tool chest that looks like one you can see in the Kasuga Gongen Engi-e. This emaki illustrated scroll is from the 14th century and shows scenes from the history of a Kasuga shrine, including the shrine’s construction.
To better match the size and look of the Kasuga chest, I started with 1×6 lumber instead of the 1×8 I used on the Mark 2. It’s only about 39 inches long instead of the fifty-something inches of the Mark 2. I also used the thicker battens like I discussed, which I think worked out well.
Here is what the four chests look like laid out in a row:
I think I really have the look now. The size an proportions may not be exactly right, but it’s pretty much there. I’ll maybe work on a few tweaks at some point in the future.
It’s long enough that I can get some of my longer saws in there, just deep enough that things don’t get buried under several layers, and still wide enough that some of my organizertills fit in there sideways to keep things from sliding around.
Took a second swing at this project. Here it is up on sawhorses in my workshop/garage:
14th Century Japanese Toolchest
It’s huge! It’s 4.5 feet long and a foot wide. It fits in the trunk of my car ok if I fold the rear seats down, but it’s way too big. Probably at fault is my desire to use 1by8 for the sides. To keep the length in proportion to the height it’s just way too long. Maybe I’ll try again sometime with 1by6 instead. That would make it only about 40 inches long by my reckoning. Compare the image below with the original painting.
Toolchest with Lid Askew
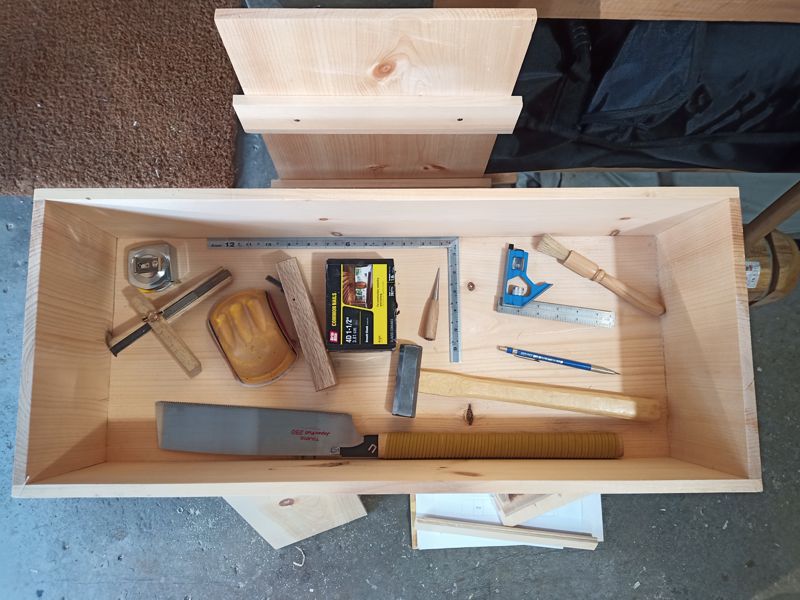
I’m also pretty sure I should be making my battens narrower, and probably from the full 3/4″ thickness of board instead of my 1/2″ planed-down thickness. As a bonus, here is an image of all the tools I needed to construct this Mark 2 chest, stored in the Mark 1:
Tools to Make a Toolchest
There’s not much you need, really, to build a simple chest.
Most of the Japanese toolchests I make follow the pattern established by Toshio Odate, which makes them very traditional, but very modern.
From Page 10 of Odate’s Japanese Woodworking Tools
So what were Japanese toolchests like in the medieval period? Similar in some ways, but a lot less sophisticated.
From the circa 1309 emaki Kasuga Gongen Genki-e
In this fourteenth century illustrated scroll, two apprentices take a break from working on the construction site of a new temple. One leans against a tool chest that is open, showing some tools inside. We can estimate that this chest is about 3 feet long, about 1 foot wide, and six or seven inches deep. The end handles and clever locking mechanism are missing, but the cross battens keep the lid from falling in. The wood seems very thin, represented by a single line whereas the battens are shown with rectangular ends. No joinery or fasteners are visible, which makes them something of a mystery. Butt joinery is used on the modern chest, so we can assume it was used here, too. No edge to the bottom of the box is visible, so the bottom piece is most likely fully captive. Nails are used on the modern chest, so it’s likely they are used here, though they may be wooden nails or pegs.
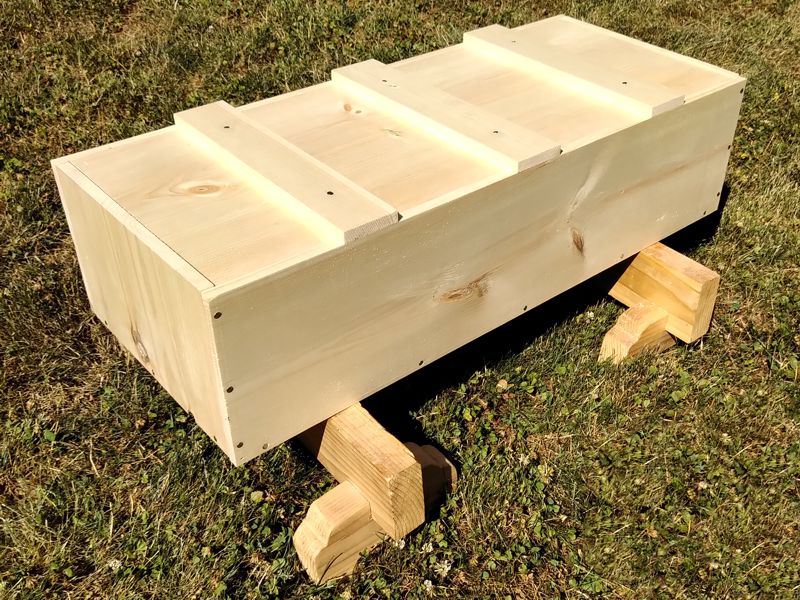
Here is my interpretation of the fourteenth century toolchest:
My New Older Japanese Toolchest
I ran a 6-foot 1×8 and a 6-foot 1×12 through the planer to shave it down to a half-inch thick. I cut the bottom, lid, and two ends from the wide wood. I cut the sides and battens from the “narrow” wood, ripping the 7.25″ width into 2″ battens. Then, I nailed it all together.
My New Older Japanese Toolchest, Opened
I deadened the nails for the lid, so it should hold together pretty well. The whole thing is 29 inches long, which was about the biggest chest I could make from the two boards with which I started.
What did I learn? My chest isn’t long enough, and it’s possibly too deep. The proportions just don’t look right. My battens should be made from thicker wood, and should be both narrower and closer to the ends of the lid. Because I used thinner wood, this chest is a lot lighter than a previous attempt. Very little wood is wasted, unless you count the one third of the lumber that got turned into shavings.


