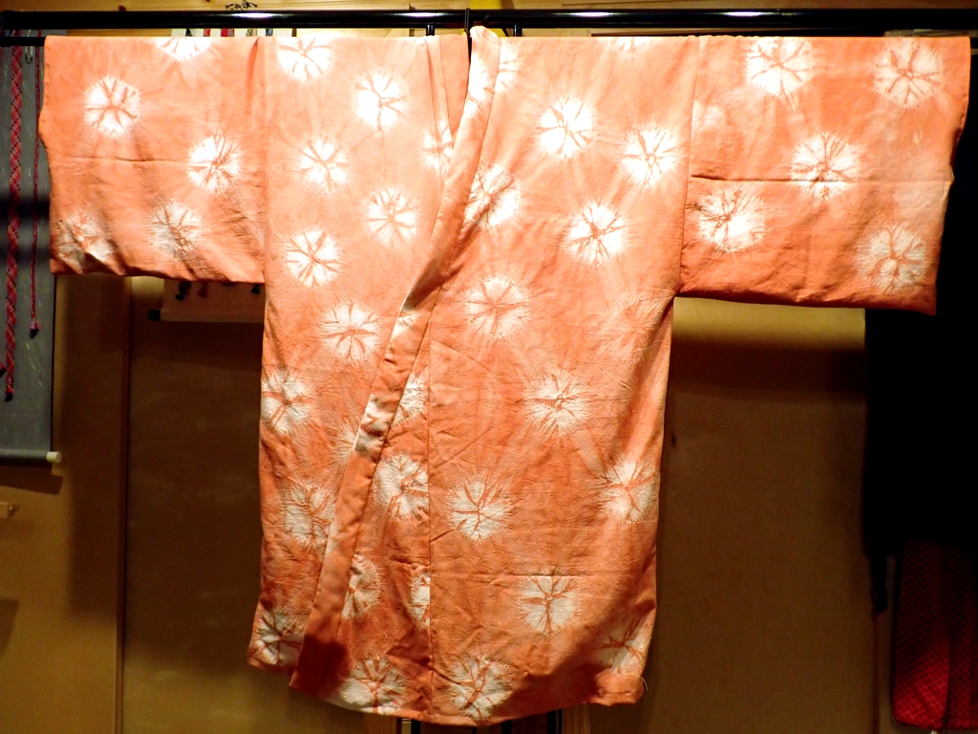
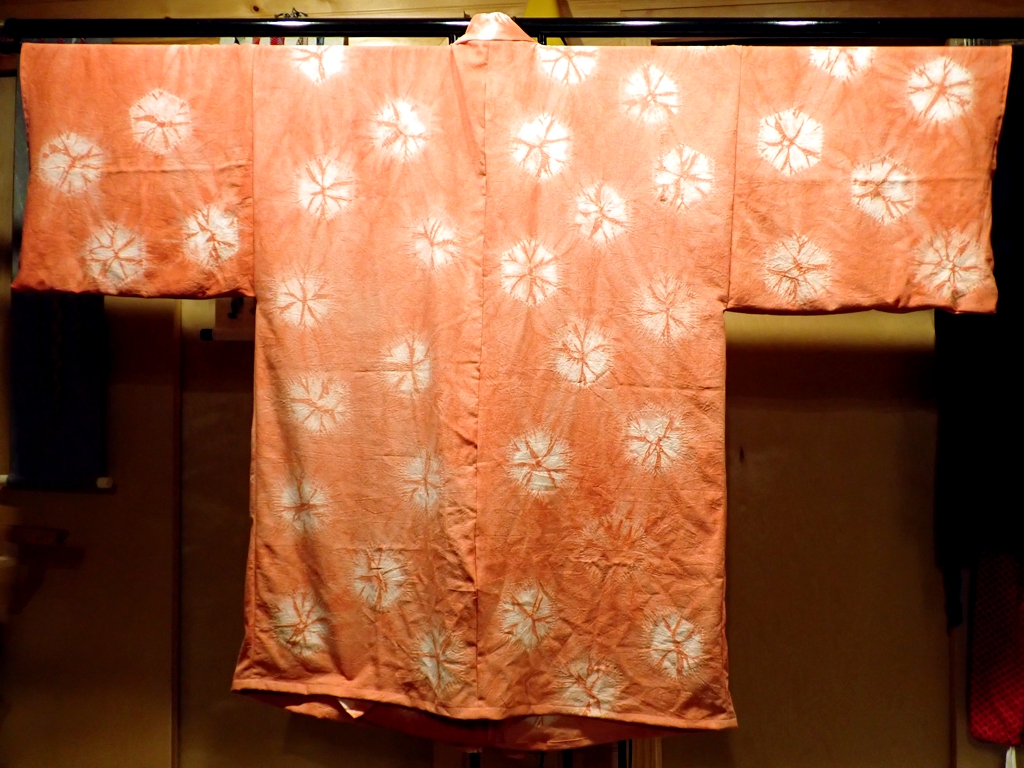
This kosode is made of linen that has been hand-dyed in madder, using a stitched-resist shibori technique to create hexagonal patterns in the fabric. From purchase of fabric to completion of garment took more than a year, though obviously I did not work on it constantly for all of that time.
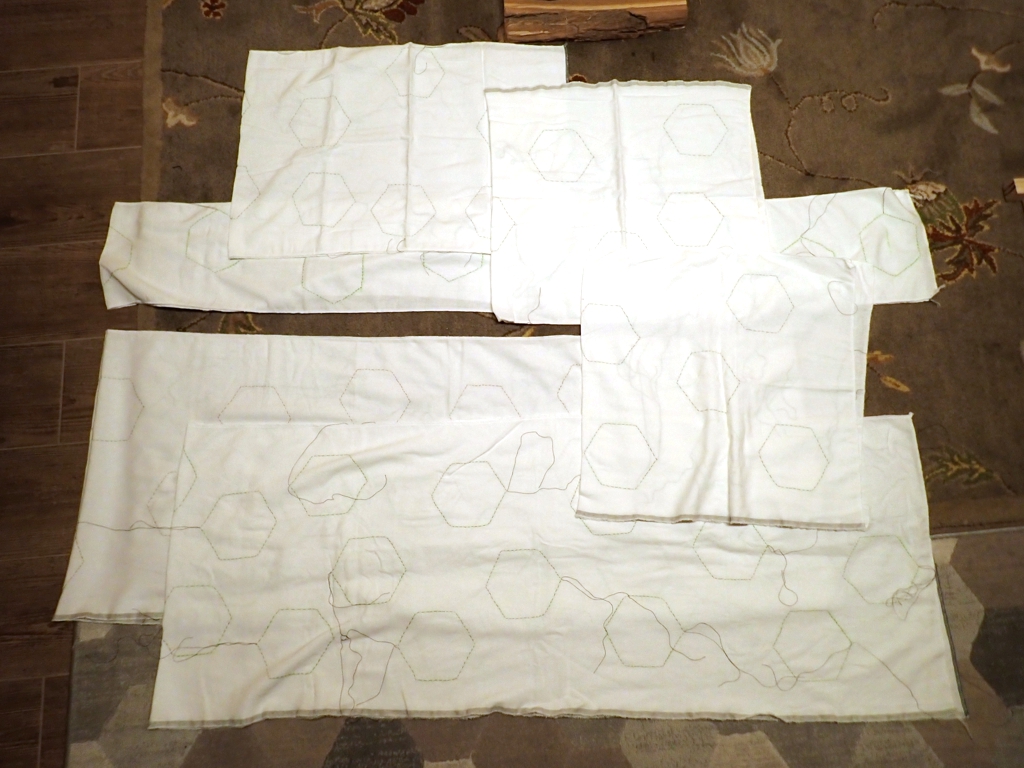
I started by purchasing some soft white linen from a merchant at Pennsic. This soft linen uses shorter fibers, which means it will not last as long, but I like the texture and have found that it works very well for shibori dyeing. I then cut all my pieces and serged the raw edges to create false selvedges and to keep the cut ends from fraying during the rest of the process. This was the easy part.
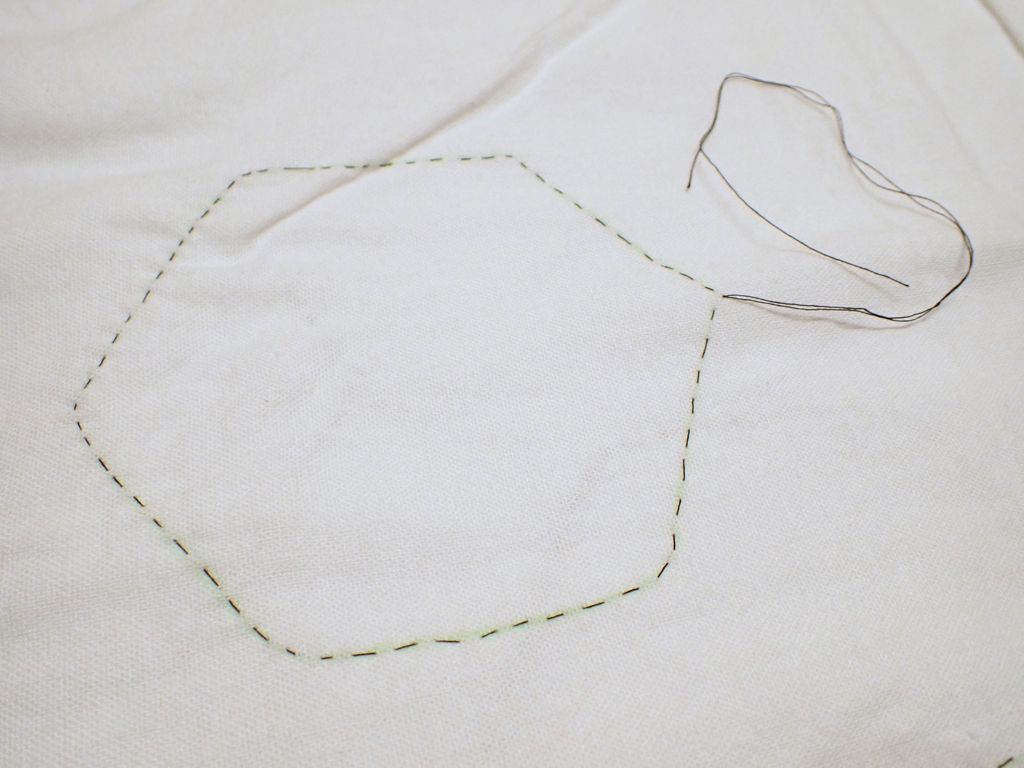
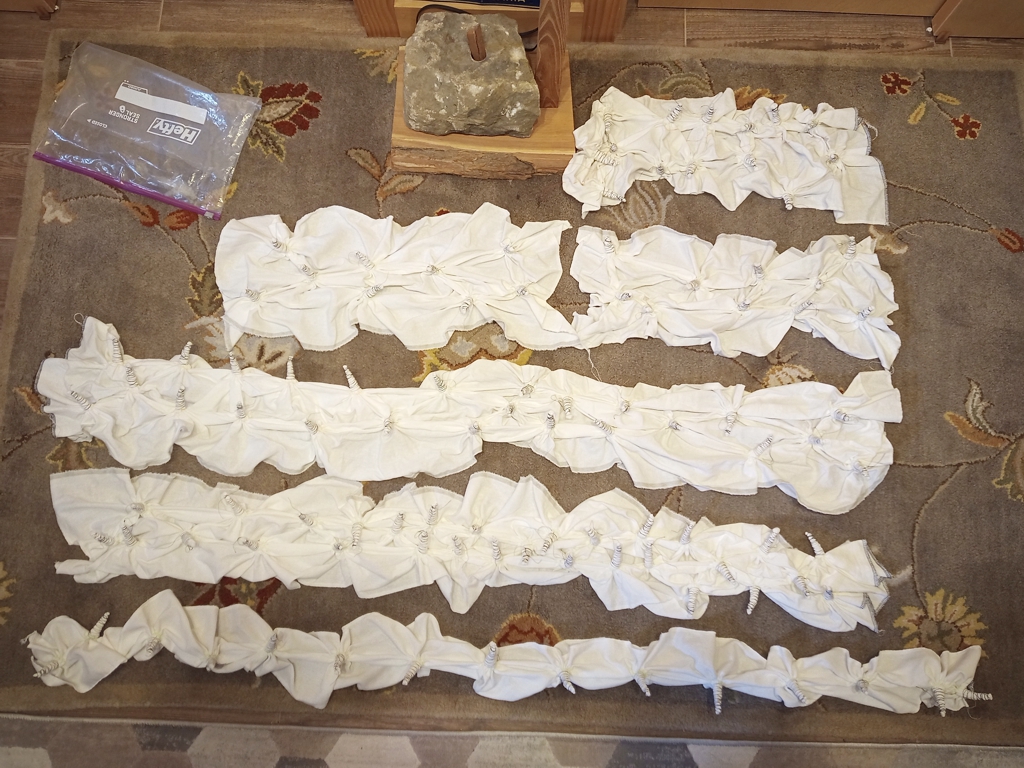
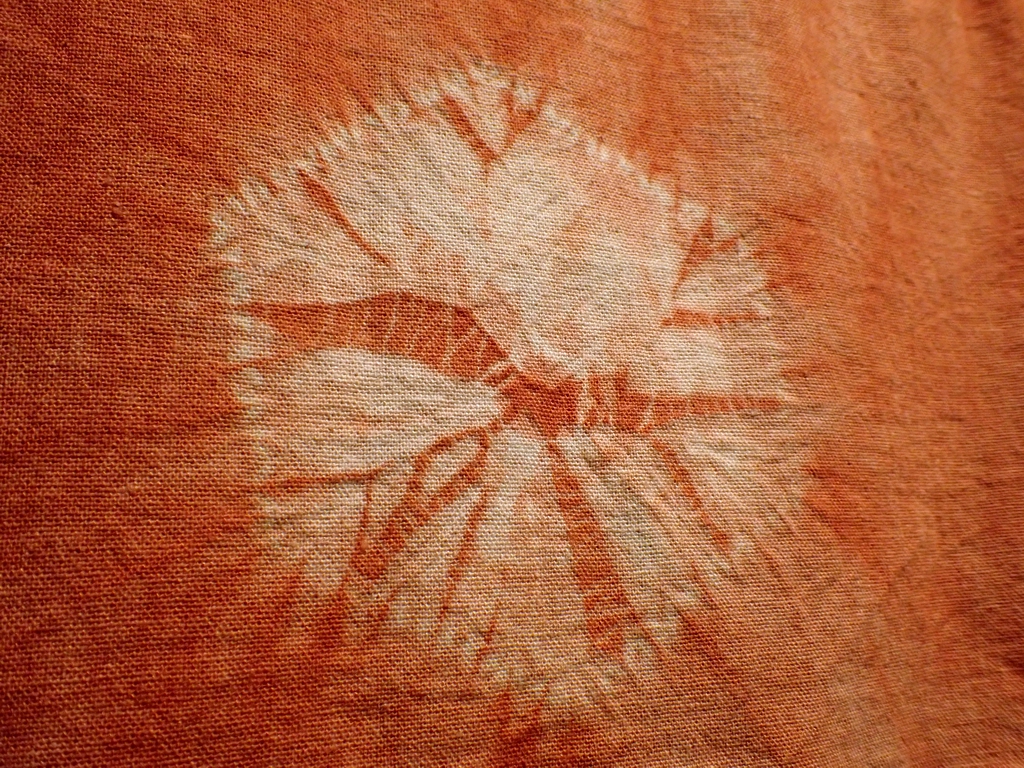
Then, I started adding my hexagonal resists. The process for this was to trace a pattern hexagon with chalk, then hand sew a running stitch around the chalk using about three times as much thread as needed. Once all of the pieces were stitched, the hexagonal stitches were then drawn up, and the ‘extra’ thread was wrapped around the small bundle of fabric this creates. I stitched, drew-up, and tied 103 separate hexagons. You can see in the above photos two places where the stitching broke or the binding came loose during the dyeing process. Such is life.
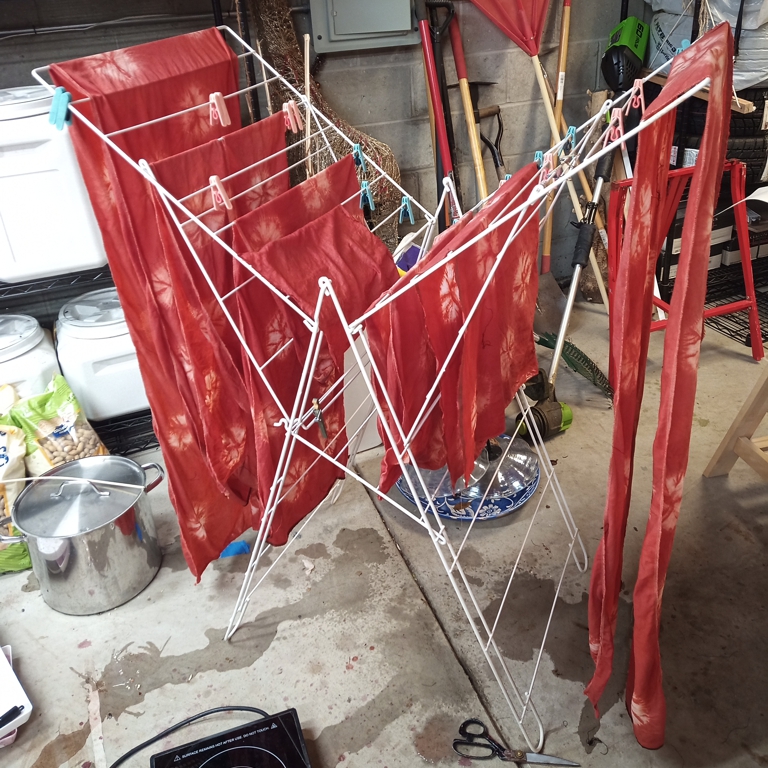
The next step was dyeing. My friend Rei kindly offered her assistance and the use of her dyeing studio full of equipment. I bought my own madder powder, and reimbursed her for the (considerable) cost of mordants and other chemicals. It took a full day in the studio (~10am to ~6pm) to prepare the dye baths (I used 4 pounds of madder powder for 2 pounds of fabric, plus a little alizarin to boost the red), stimulant bath, and mordant bath, soak the fabric in the baths, and undo all of the stitching so that the fabric could dry overnight. This process would not have been possible without Rei’s knowledge, amassed references, equipment, and time. Thanks Rei!
Once dry, I laundered and ironed all the pieces, then sewed it into a kosode. It is large, and kind of heavy actually. After washing, the hexagons became even more defined, and the color gradations across the fabric from all the wrinkling and folding caused by the bound hexagons give it an interesting visual texture. I’m very happy how this all came out. Every bit of money and time I spent on this project has been worth it to me.

