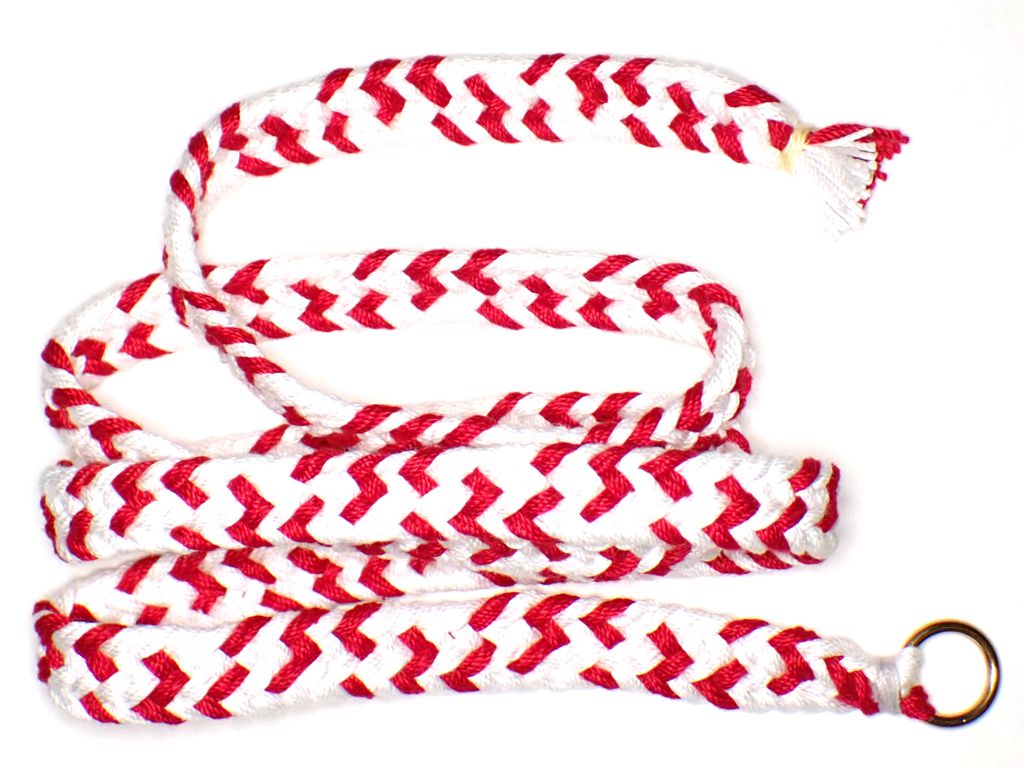
I had been doing a lot of sankakudai braiding recently, and had an event coming up where I had very little to do except watch tournaments, talk to artisans, and wait for things to happen. So, I decided to experiment with interesting patterns on the shigeuchidai, using some heavy cotton to make 9-strand shigeuchi braids.
6 ends of cotton crochet thread per strand 3 red and 6 white, RWRWR and WWWW
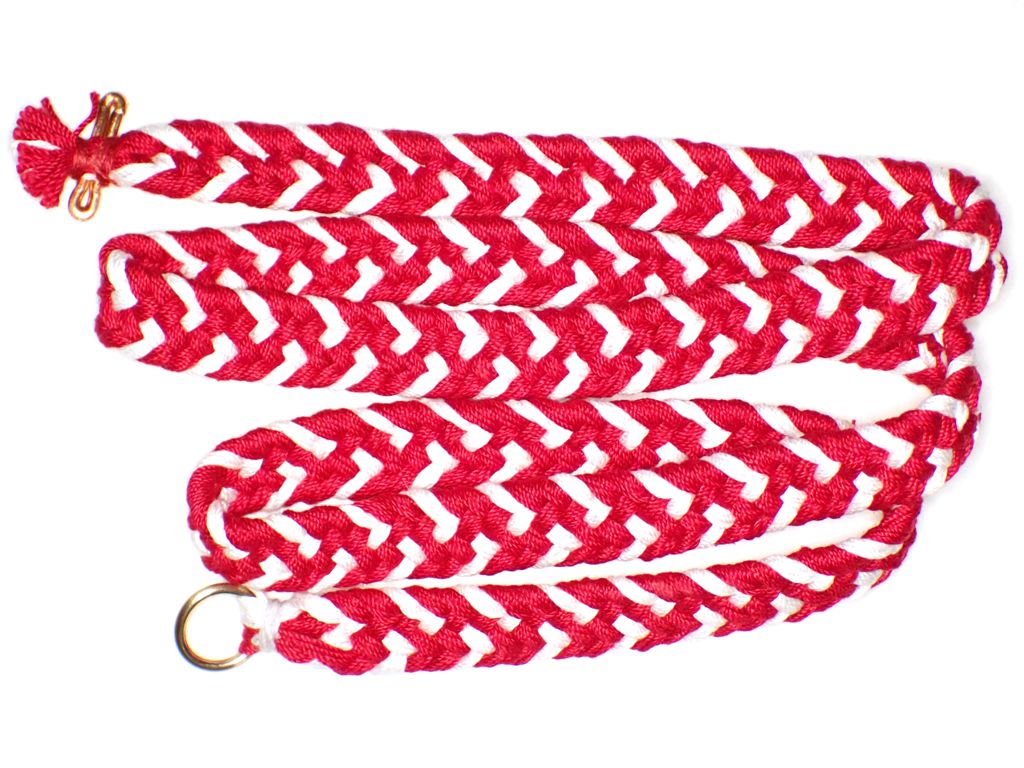
8 ends of cotton crochet thread per strand 3 white and 6 red, RRWRR and WRRW
I had fun just sitting and braiding, plus people walking by would ask questions about the shigeuchidai and kumihimo, so I could tells stories and explain explain the different braids and equipment.
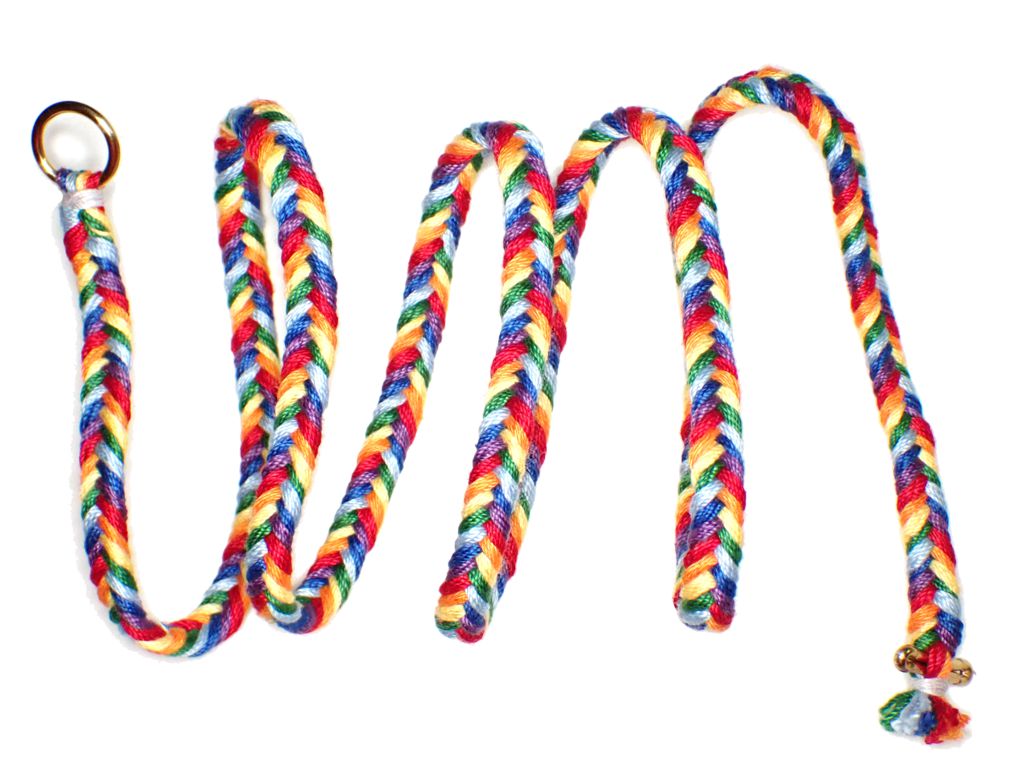
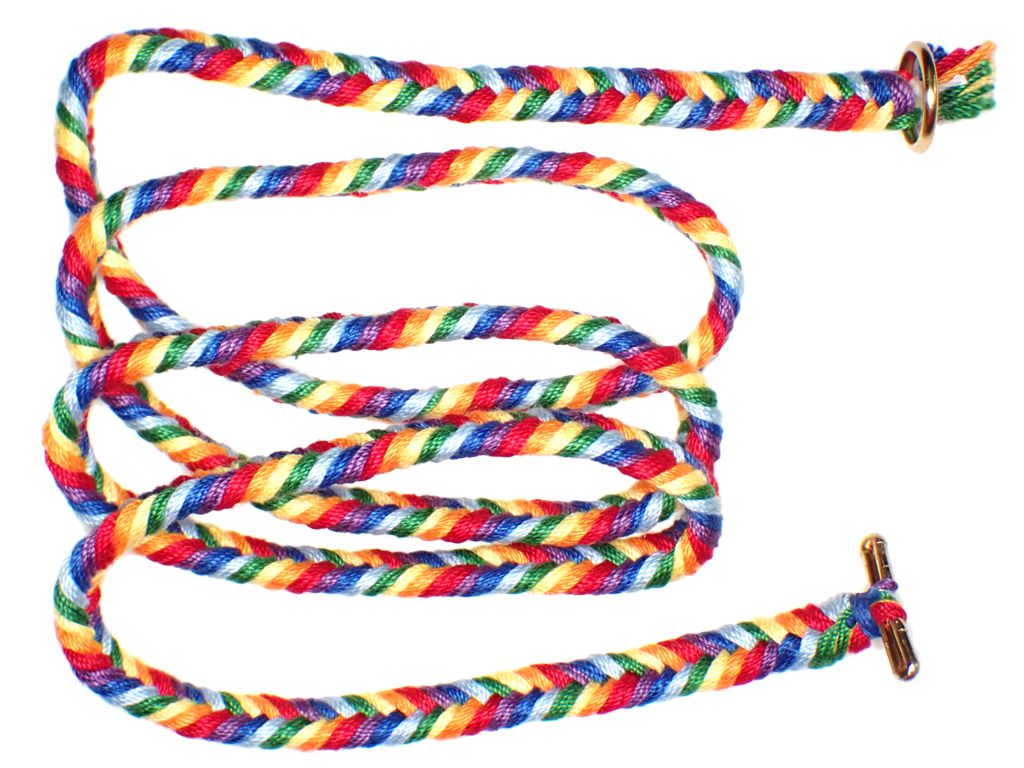
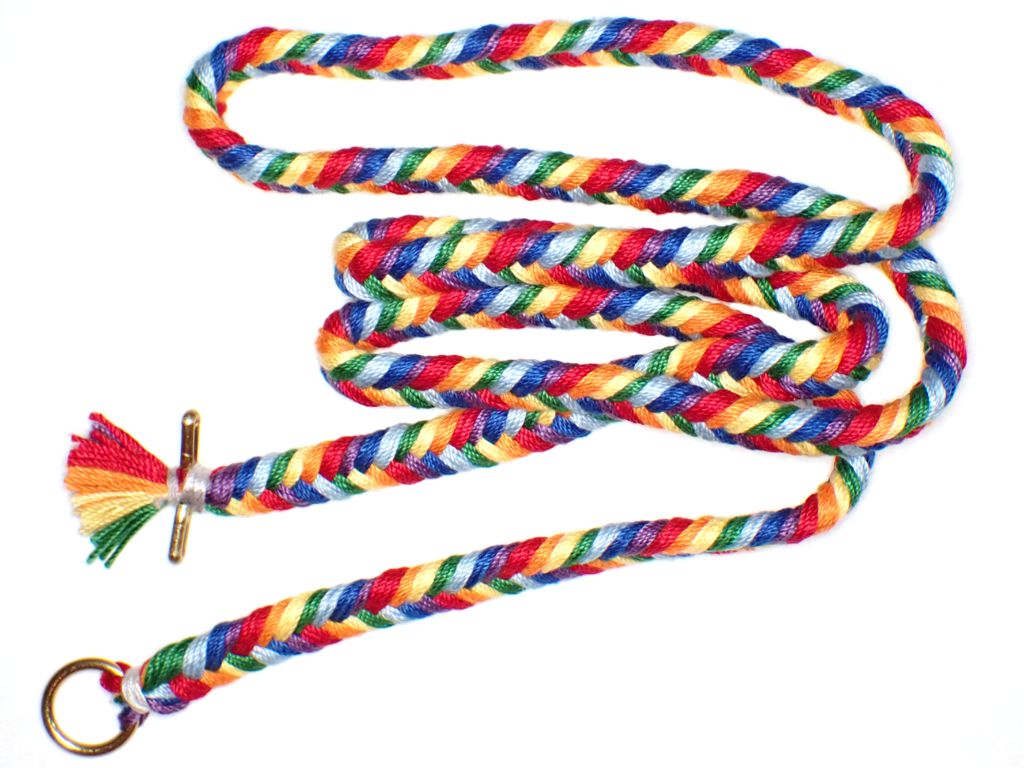
When the call went out before Pennsic for largesse items to be gifted to the East Kingdom, one of the suggestions was “rainbow” color schemes. I did all my braids in purple and gold to match East colors, but the rainbow idea stuck in the back of my mind. I later realized that as possibly the only person in North America to own a traditional Japanese sankaku-dai, I was maybe the only person in the SCA who could create braids in the classic 7-color “Roy G. Biv” (red, orange, yellow, green, blue, indigo, violet) rainbow pattern. Seven-strand braids are possible on other braiding stands, but they are fast and smooth on the sankakudai.
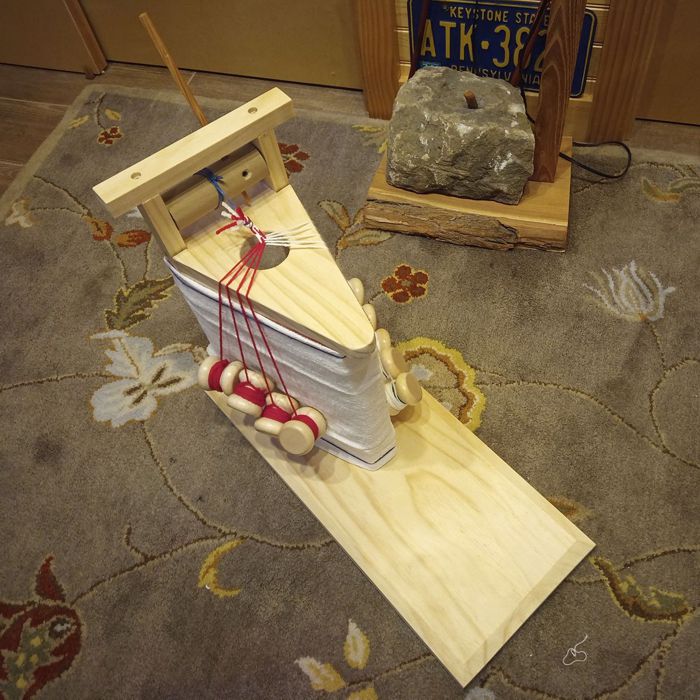
Sankaku-dai set up for 7-strand rainbow braid
To work a 7-set braid on the sankakudai, you lift the top strand on left, and move it over the other left-hand threads to become the bottom strand on the right. Then you do the same from right to left. When the point of braiding gets too close to the tip, use the roller to pull it back towards the torii. When the tama get too close to the mirror of the dai, extend them as you would on a marudai. You can add twist to the strands or not, as you please. I have found very little difference in the resulting braid, but that may be because of the material I am using.
Here are the 3 rainbow braids I made in one evening on my sankakudai:
Sankakudai 7-set rainbow braid, 8 ends of crochet cotton per strand (twist applied)
Sankakudai 7-set rainbow braid, 8 ends of crochet cotton per strand (no twist)
Sankakudai 7-set rainbow braid, 10 ends of crochet cotton per strand (no twist)
Adding more ends per strand make a braid that is only a little wider, but much softer. I am really glad I tried this braid, and happy to add it to my repertoire. These braids are cheerful and friendly, and I know that people will enjoy receiving them.
As you know, most braiding in Japan is performed on braiding stands, called “dai”. A braiding researcher in Japan clued me in to the fact that this braid was made traditionally on three different braiding stands, but only one of those pieces of equipment is used today. The two other dai are rarely seen even in Japan these days, and most braiders outside of Japan have never heard of them.
If I lived in Japan, I could probably make an appointment to travel to one of the few braiding studios that still possess them. In the USA, if I wanted to experiment with these stands I was going to have to DIY them based on some of the few photos that exist on the Internet.
The first is a stand that appears to be specialized just for the shigeuchi braid, since it is called the “shigeuchi-dai”. The unbraided strands hang down over the sides of the dai, and are wound around weighted bobbins called “tama”. The strands are passed between other strands and moved from side to side and to create the braid at the center. The completed braid passes over the “torii” at the top of the dai and is wound around the roller at the back. For scale, this stand is about 2 feet tall.
The second stand is used for several different braids, but usually with an odd number of strands. It is called a “sankaku-dai” because of its triangular (san=3, kaku=angle) top. The strands are (again) passed from side to side, but over the top instead of across a gap. This stand is smaller, at about 16 inches tall.
Both stands are made from pine to keep them affordable, and assembled with screws to keep assembly (and disassembly) simple. Learning to braid on these dai has been fun and informative. My researcher friend in Japan tells me they are most likely the only dai of their kind in North America!
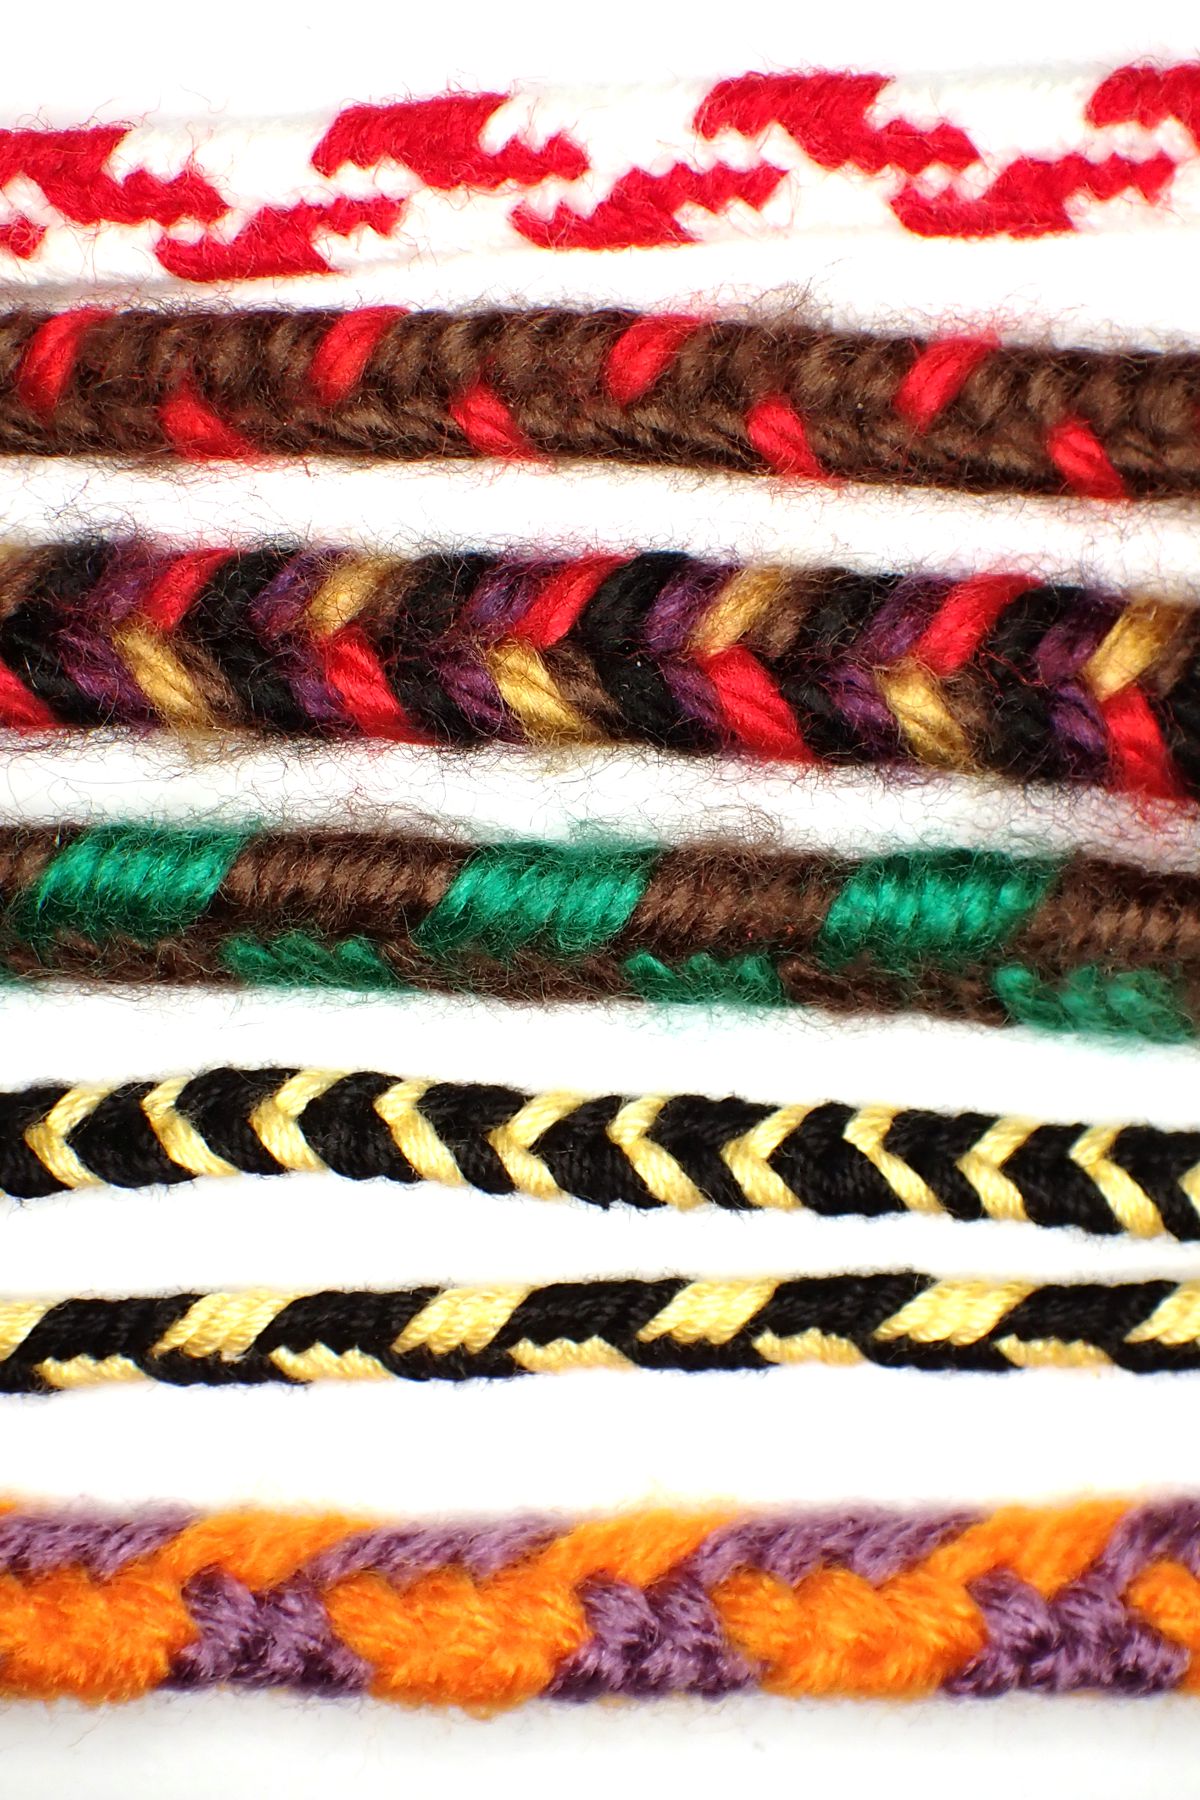
Here is a sampling of sankakudai braids in various materials and colors:
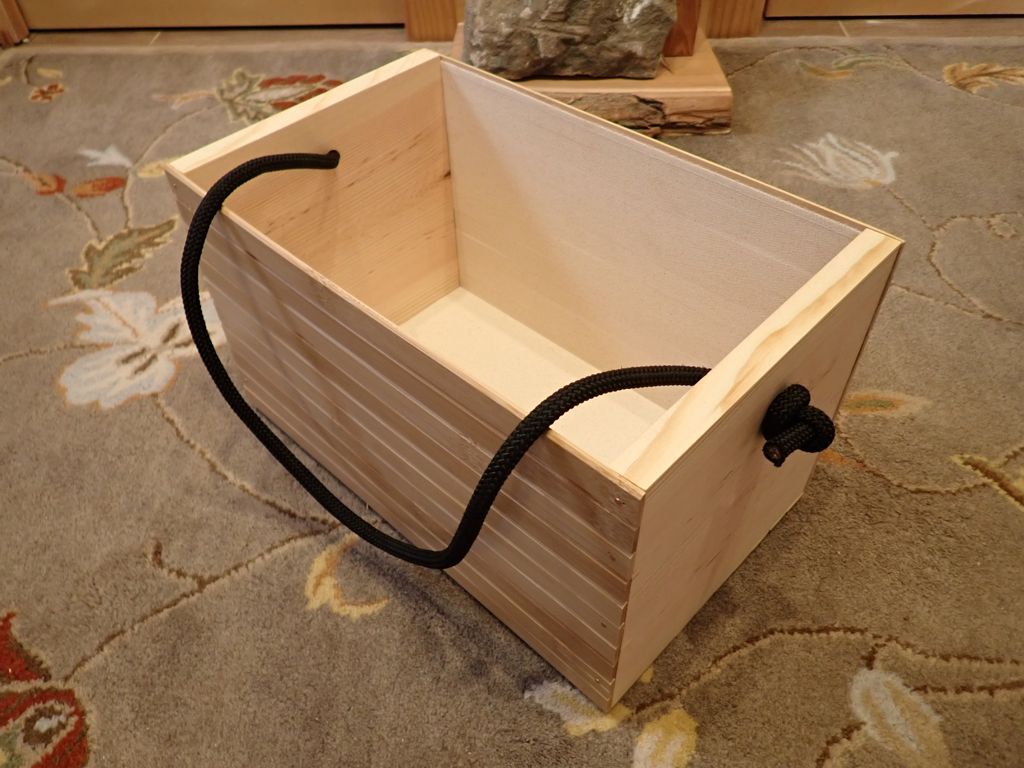
Having made the bamboo satchel, I still had one RÖDEBY bamboo thingy from IKEA. I’ve been using a collapsible box tote for the last few years to carry all my regular SCA stuff (papers and whatnot), and it is starting to show its age. I figure these bamboo things will be pretty durable over time, so maybe a more open-top design this time. This is much like the crates I used to make a lot of, but the fabric lining makes it a continuous surface inside. I just had to figure out the right size squares for the end pieces.
Bamboo Tote with Pine Board ends and a Rope Handle
The tote is assembled with glue and copper nails . The rope is attached by inserting it through holes I drilled in the pine board. There is no finish or anything other than what came on the RÖDEBY. Here’s what it looks like when I fill it up with my stuffs:
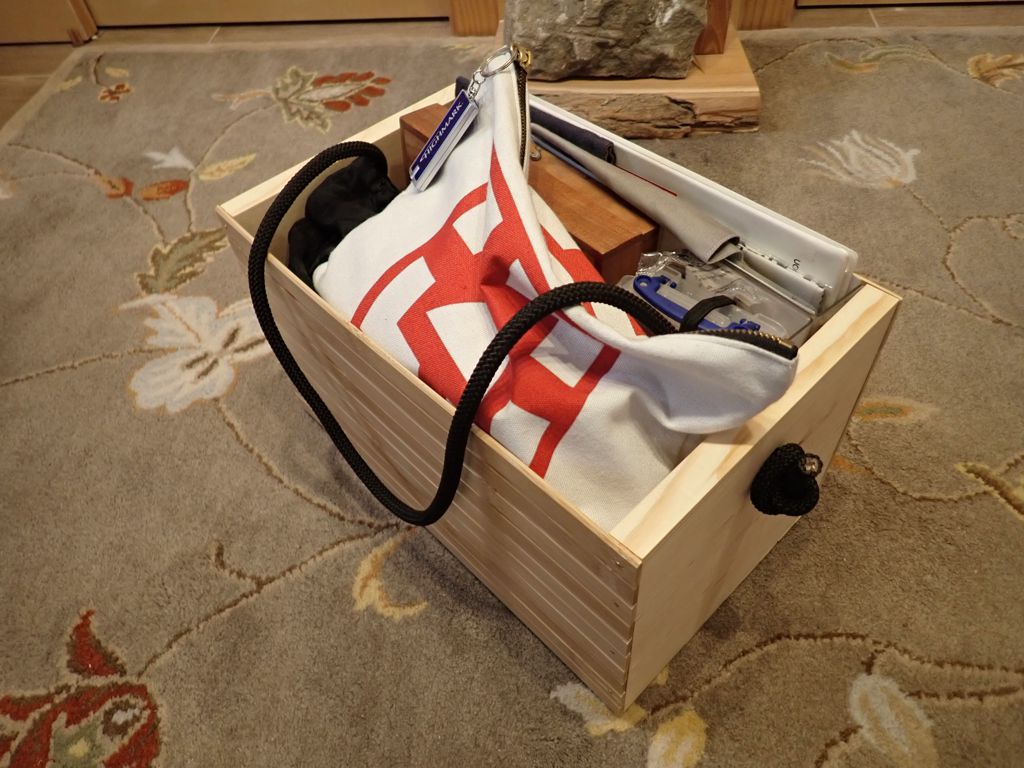
Bamboo Tote All Filled up with Stuffs
It is a little smaller than the fabric tote it is replacing, but that is OK. I often despair of how much stuffs I carry around all the time, so tighter limits are probably for the best.
This only took me an hour or so to put together, plus the time it took for the glue to fully cure.