bookmark_borderEmbroidery Frame

One of our friends is really into embroidery. She has taken classes all over the place, gotten certifications from international guilds, and all that fancy stuff. For larger-scale projects, she has acquired a couple of oak embroidery frames. These are great, but it turns out they are not big enough for some of the projects she would like to attempt. Woodworking friend to the rescue!

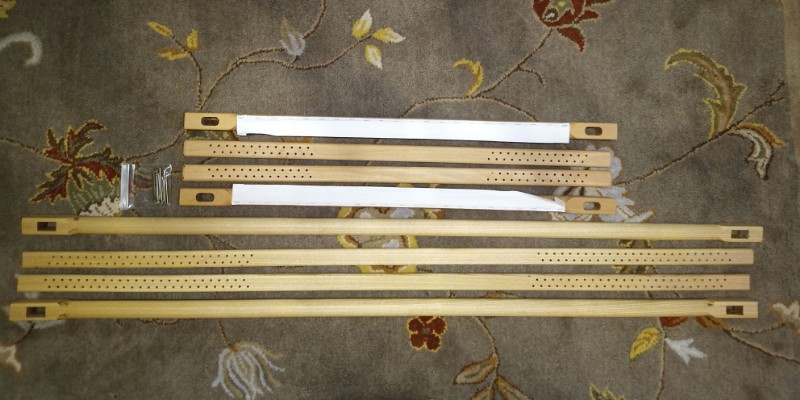
Pieces for two frames

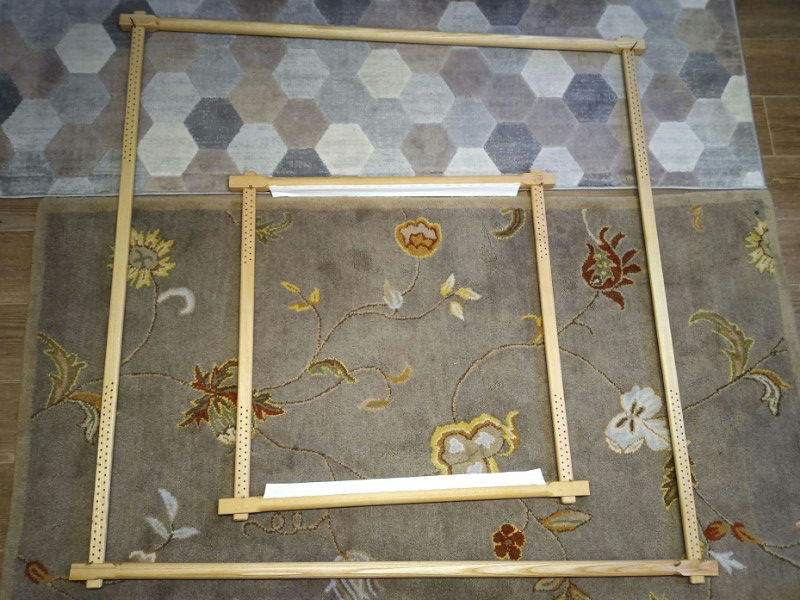
Each frame has four pieces. The pieces for the original are the shorter ones above. The pieces for my larger version are the ones below.

The pieces with the big mortises and the round middle portion are the rollers. You stitch the ends of the fabric to the twill tape along the rollers, and you can roll very long pieces of fabric up and work on them in sections. In the picture, I have not yet attached the tape to the rollers.

The pieces with many small holes are the stretchers. They fit through the mortises, and you put pins into the holes to keep the rollers separated and under tension.

Here is what the frames look like when they are assembled:

Assembled embroidery frames

You can see how much more workable area my copy provides. The pieces for the original frame are about 30 inches long, so she can work on panels about 2 feet wide. The pieces for my copy are 54 inches long, so she can work on panels about 4 feet wide. That is 4 times as much working area! I tried to make all the pieces interchangeable, so she will have even more flexibility.

Her original is made from oak. My copy is ash, which is a little less dense than oak but still strong, and less expensive. I started from a 1.5″-thick slab about 5 feet long, planed it down to the 1.25″ thickness I needed, and then rip cut the pieces I needed off of that. All the corners are rounded off with various router bits to make them more pleasant to handle.

The through-mortises in the rollers are rectangular instead of rounded, because I used a chisel mortiser and not a router. I had never done “rounded beam with square ends” thing before, so I had a little trouble with that, but I don’t think the problems are structural just cosmetic. I did get the hang of it eventually, but the first batch are a little shaky. I used the original stretchers as drilling guides for the new stretchers, so the holes are evenly spaced. I put two coats of Osmo PolyX on all the pieces as a finish. It’s the first time I have ever used PolyX, and I’m pretty happy with the results.

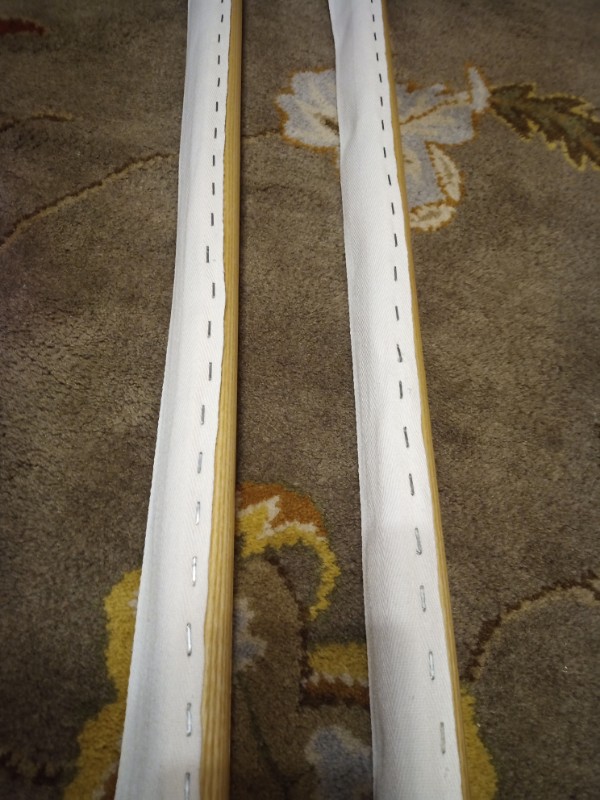
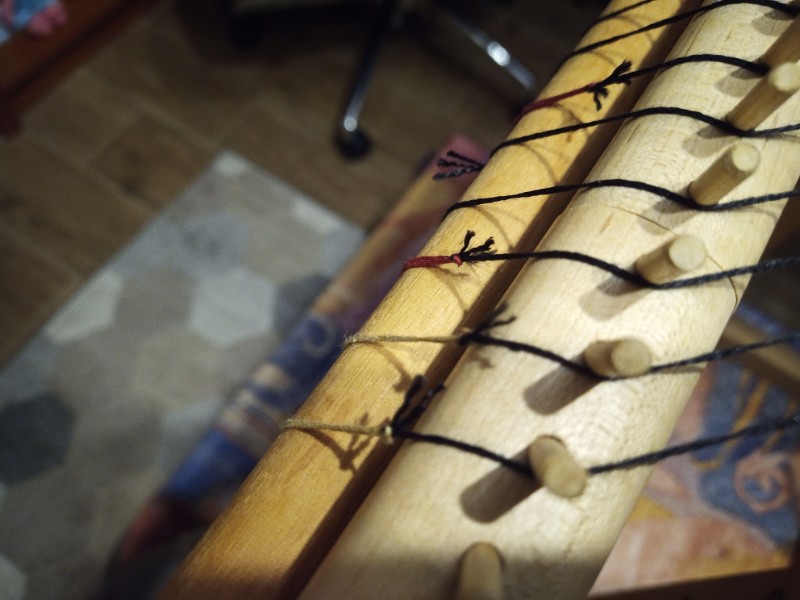
I did eventually get the tape for the rollers. I was just using a manual staple gun, so it was quite a lot of work to put a staple every inch on both rollers. My lines of staples are little crooked, but not too bad.

Twill tape stapled to rollers

Before anybody suggests it, no I will not make and sell these. I was happy to make one as a favor for a friend, but this is somebody else’s design I’m outright copying. I could probably come up with my own design if I needed to, but it would be pretty different.

bookmark_borderWarping Pegs

Many braiders who choose to work in silk buy premeasured bundles of silk threads. These bundles are usually designed to produce braids that are a good length for the obijime braids worn with formal kimono.

When sweetie and I braid, we are often aiming for other lengths, or specific colors that it is more economical to buy in bulk on spools. Then, we measure out our own bundles. Traditionally, this would be done on tall warping stands called bodai. We use a kind of mini-bodai that clamp to the edges of a table. I have made a few sets of these in the past, but I just made a nice set for Sharon.

Cherry Mini-Bodai

They are made entirely from cherry wood, except for the screws that attach the pegs to the bases, and the hookie thingies of course.

I bent the metal rod in a 4″ metal brake that I had to buy a 4″ bench vise to use. It was super easy doing it this way. The bends are exactly where I wanted them and used the mechanical advantage of the vise instead of brute force.

With the “2 and 1” pegs that i normally make, if you have a 4 foot table you can measure out 4′, 8′, and 16′ warps fairly easily. By making this “2 and 2” set, she can now add 12′ and 24′ to her repetoire for those longer or more complex braids.

bookmark_borderRoyal Eboshi

My sweetie made some fancy Japanese garb for the current Sovereign and Consort of our SCA Kingdom. She did all the work on both outfits except for one part. Eboshi are kind of my thing, so she let me make eboshi to go with his outfit.

Three Eboshi for King Arnthor

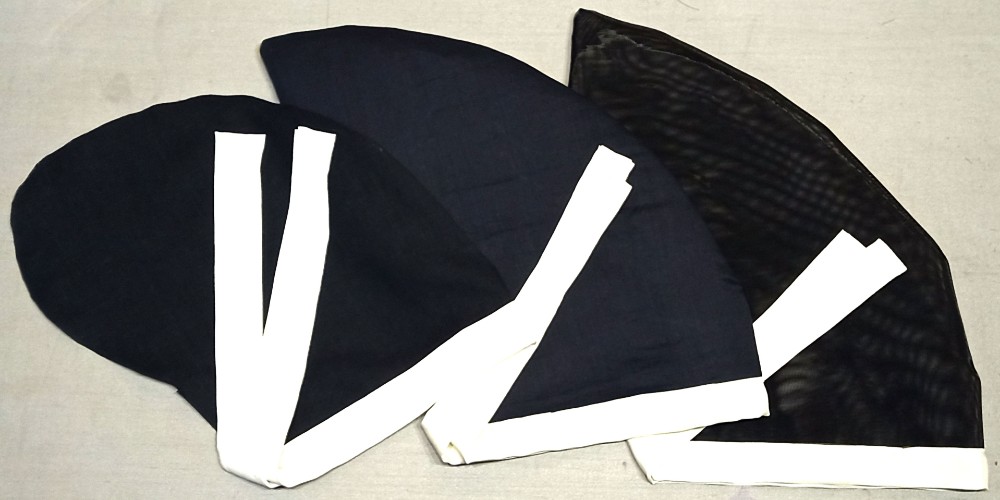
From left to right there is a soft linen nae eboshi, a tall linen hikitate eboshi, and a tall mesh hikitate eboshi. So far, I think I have only seen him wear the mesh one, but I think it is always good to have options. Here’s what the completed outfits look like:

These outfits probably would look awesome even without a hat, but the eboshi really sets the mood, I think.

bookmark_borderAchievement Unlocked: Takadai

I have been meaning to acquire a takadai braiding stand for years. They can be expensive, so I have been waiting until I decided that I was getting bored with marudai braiding, then I would probably make one. Braiding teacher Shirley Berlin broke the news to me several months ago that I would never really get bored of marudai kumihimo.

More recently, a friend of ours decided that she was ready to get rid of some surplus braiding equipment. She asked me if I knew anybody who was looking to buy a takadai, and quoted me a very good price.

So, I decided to bite the bullet and get started. Once I got it assembled, it looked like this:

Ready for setup

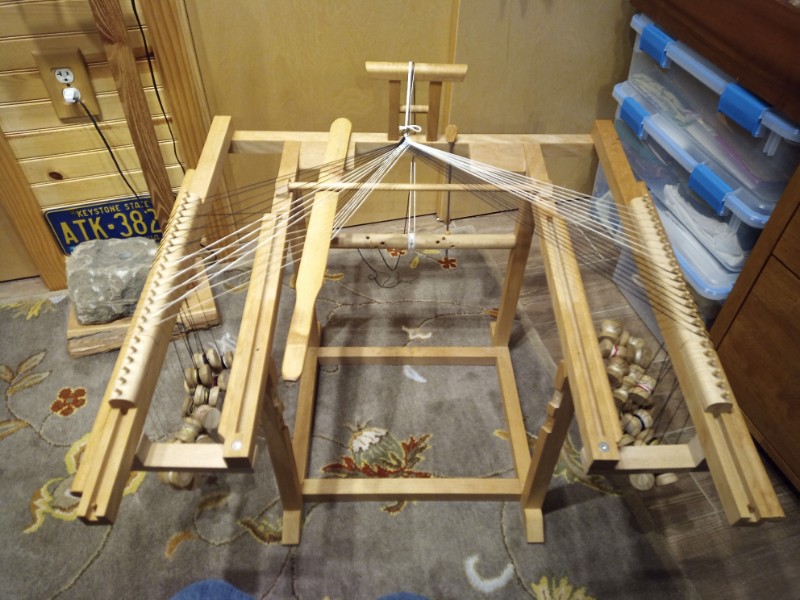
The piece of bamboo resting diagonally across the lower arms is the beater sword used to tap stitshes into place. The pegs on the left and right upper arms are mounted in koma that slide along slots in the arms. At the top of the takadai is the tori. Lower down is the roller and standing vertically is the long metal pin that secures the roller.

To set up the takadai, you measure out a sufficient length of material and a sufficient number of threads of material for your braid. The definition of “sufficient” will vary based on the braid you are trying to make and the material you are using. (I measured out 34 55″ long threads of white 30/2 silk yarn and 32 55″ threads of black.) Then you tie a leader cord to the roller, pass it up over the tori, and tie it to the gathered end of your material. Then you separate out threads of material and wrap most of it around tama bobbins. (I wrapped two threads on each tama, so 17 white and 16 black.) Lastly, you hang strands over the koma, one tama per peg, on both arms of the takadai. (I started with all the white strands on the right, and all the black strands on the left.

Working a braid

To work a braid on this setup, you create a “shed” on one side of takadai by pushing some threads down. (I was making a simple weave braid, so my pattern was just alternating over (down) and under (up).) Then, you wedge the sword into the takadai so that it holds the shed open. Next, you pass the topmost strand from that side through the shed, and make it the bottommost strand on the other side. While you remove the sword and close the shed, use the sword to beat the point of braiding and tighten the braid. Repeat this process on the other side. Keep repeating this side to side and a braid will start to form.

Braid forming on the takadai

When a koma at the top of an arm is empty, move it to the bottom of that arm and slide the other koma upwards. If a tama is getting to close to the arm, unwrap it six or seven inches. If the point of braiding is no longer over the round stick that holds the sword down, crank the roller a little to wind up the leader.

Braid getting long

Eventually, the braid will get long enough to wrap around the roller itself. Keep going. By this point, I was doing one full iteration (with the material returning to start position) about every forty minutes, making about 2.5 inches of braid.

Leaders starting to show

After even more time, the tama leaders will start to peep up over the edge of the koma. Now you are in the home stretch, but you are far from the finish line. Keep going until you are almost out of material.

Finished takadai braid

My braid came out 25 inches long and about an inch wide. You can see how the black and white strands pass back and forth through each other and themselves. Not bad for a first braid!