bookmark_borderKitchen Drawer Organizer Boxes

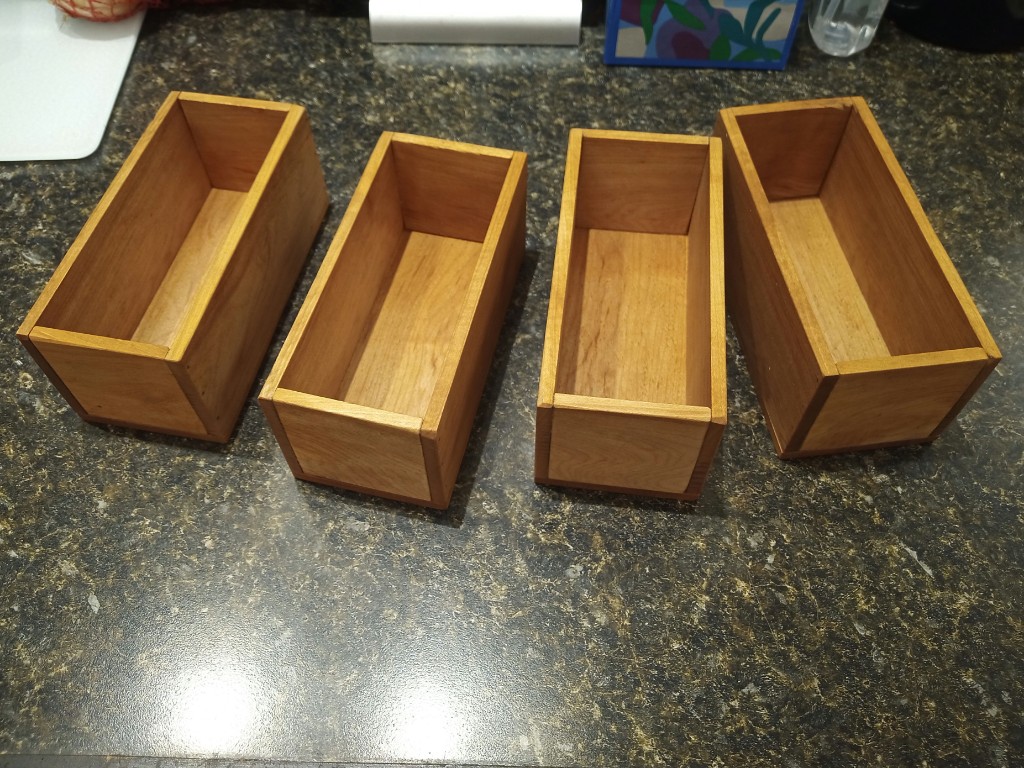
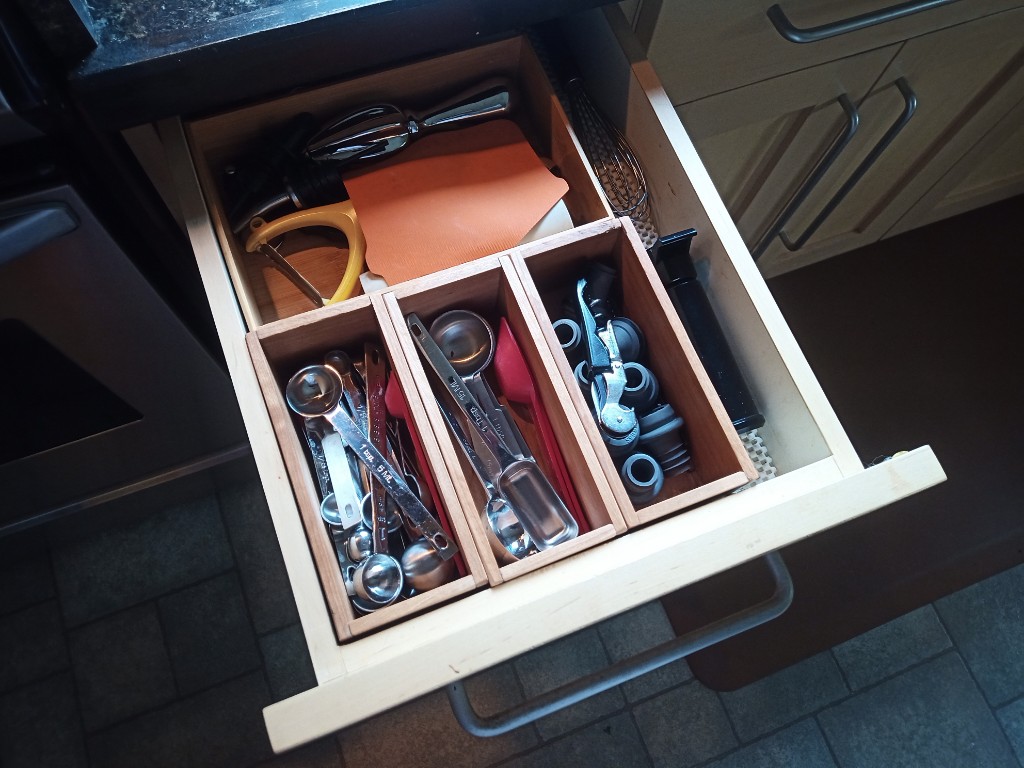
We’ve been using some of those little 3″x6″ bamboo boxes to keep measuring spoons and things organized in our kitchen drawers. The only problem is that some of the measuring spoons are too long to fit nicely in those boxes. Luckily, I still have some 1/4″ maple scants left over from something else. These new boxes are the same width, but they are 3/4″ longer and a little bit deeper to better hold our growing collection of measuring spoons and rubber vacuum stoppers.

Here is what they look like empty.
I’ve learned to always make one or two extra.

The joinery is just simple butt joins, glued together and then pinned. The floors of the boxes are applied to the bottom of the walls, and similarly attached. I put a some mineral oil on them just to protect the wood a little bit from kitchen spills and the like.

Here is what they look like in the drawer and filled with stuff.

bookmark_borderLarge Bodai

I’ve made several sets of small warping pegs, called bodai in Japanese, in the past, and even made this full-size pair some time ago. The only problem with those round bases is that they are too light. Subsequently, I made this new pair of bases for those bodai. Each base is weighted with 6 5-pound blocks of steel.

The benefit of these is that they can be placed an arbitrary distance apart, even if no tables or other clamping surfaces are available. If you need a 12-foot warp, just place these 12 feet apart and warp away. they can also be used as fixed points for kute-uchi loop-braiding if that’s more to your liking.

The new bases are made of pine. The bases are 7.75″ square and 6″ tall. Given the 0.75″ thickness of the lumber, that leaves a nice size void inside for the steel blocks, which are 3″x6″x1″ each. The boxes are held together with screws, which is not very attractive, but I wanted to be able to retrieve the blocks later if I need them for something else.

bookmark_borderLaurel Hangesa

A kesa is a monk’s garment in the Japanese Buddhist tradition. It is the pieced-quilt kinda thing that hangs from the shoulder on a strap. Certain disciplines make this the only thing a monk wears, but most often it is seen as a kind of devotional garment or vestment. I don’t want to get too far into it, because you could spend many pages discussing the tradition and its changes over time. In modern times, there is a kind partial kesa called a hangesa which is essentially just the strap, worn as a collar. This is normally worn by lay members of an order to show their affiliation without implying that they are officially a monk.

In the SCA, we tend to wear medallions or belt favors to show our affiliations, but neither of these is really appropriate for Japanese persona. They may not be completely appropriate for SCA use, but I don’t think they are offensive at the level that, say, a full kesa would be.

Anyway, here’s a hangesa I made for myself to show affiliation with the Order of the Laurel.

I used some left-over black silk brocade from my elevation garb, machine embroidered some Laurel wreaths near the ends, and attached some red and white (Kingdom colors) silk braids to act as himo. I actually made this at least a year ago, but I have gotten quite a bit behind on posting projects here.

bookmark_borderEdo Suzuribako

I wanted a toolbox to hold my kumihimo (Japanese braiding) tools and supplies when I go traveling, so I made this one based on a Japanese suzuribako (scribal toolbox) from the Edo period. I had already made a bunch of pine trays custom-sized to hold 32 tama (weighted bobbins), so I made one more tray as the drawer, then designed the rest of the box around it. I didn’t want to spend the money to get an authentic set of hardware. I just bought hinges, handle, and hasp from the orange store. I might still add some corner braces to the outside if I can find some for a good price. The completed toolbox is 13″ long x 8″ wide x 7″ tall.

I bought two 6-foot 1x10s from the orange store and then planed them both down to 1/2-inch thick. even after trimming off the planer snipe this was plenty of lumber for the whole thing. All the joinery was cut on the table saw with a regular all-purpose blade. The corners of the drawer are miter cut and glued. Also, the two full-height corners of the box body have mitered corners. The floor of the tray is joined to the sides with 1/4″ x 1/4″ rabbets into matching dadoes. The two floors of the body are similarly joined, though the “front” of the box is flush and flat.

Battens on the underside of the lib will hopefully keep the lid from warping, and they provide solid anchoring for the hinge screws. The drawer pull is actually a “footman’s loop” from strapworks.com. I mostly used brass screws to attach the hardware. I did not like how the contrasting metal and philips heads looked, so I covered over all of the screw heads with “steel stick” epoxy putty. I could have done a better job with that, but it still looks better than screw heads.

Plenty of room inside stuff. Even though I planned the whole thing around the drawer, I had to sand quite a bit off the sides and bottom before it would fit in the body. As I have noted previously, sashimono (close fitting joinery) is really difficult.