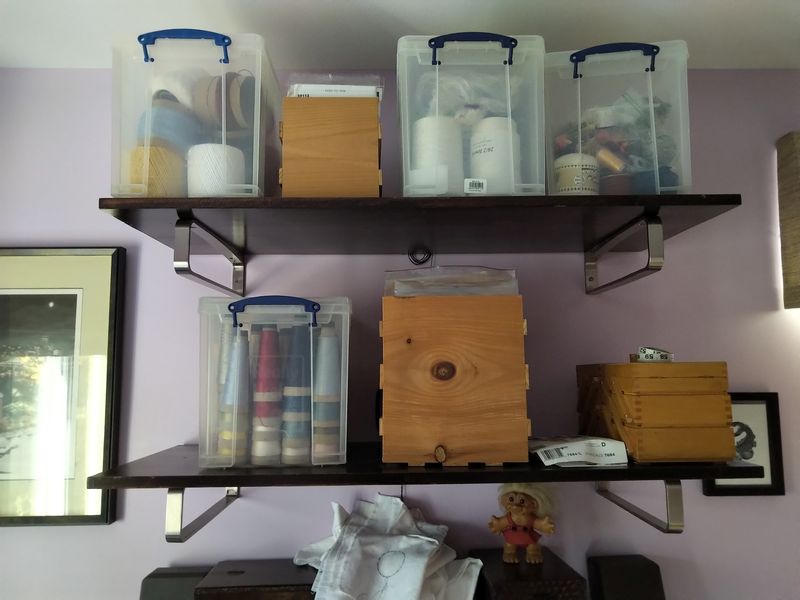
In our camp each year, there is always a pile of random stuff in one corner of our common pavilion. Things like empty storage boxes, bulk packages of paper towels, and random office supplies. Camp leadership asked me to noodle on the idea of shelves for that corner, so at least things would look a little more organized and not just piled up. I had some ideas, and luckily for me they already worked out!

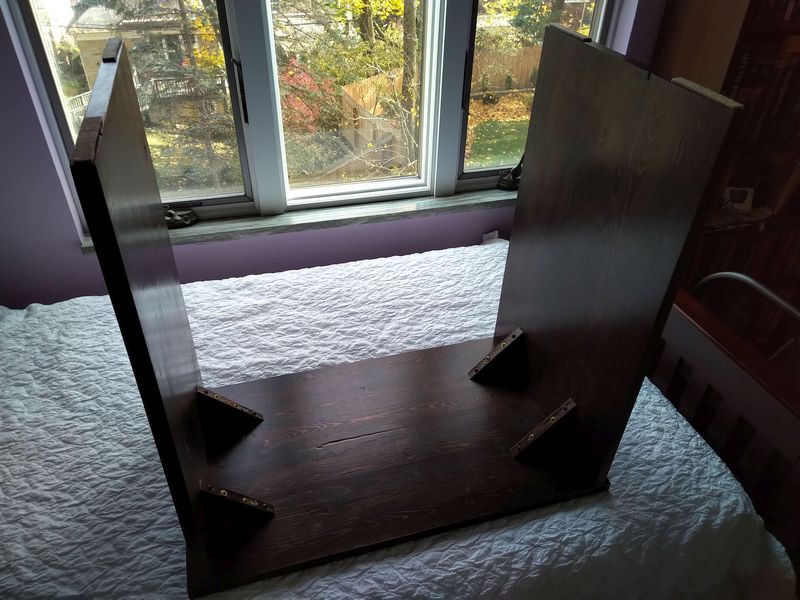
The lumber I had was three 48″ long stair treads. Stair treads are usually a full inch thick, so they should sag a lot less than the 3/4″ pine I usually use. I drilled holes near the corners of each shelf for the hardware to pass through. The base is cut from 2-by-4, and I added hand-cut half-lap joinery. The uprights are also cut from 2-by-4, and they have lag screws and dowel screws running into their ends to join them through the holes in the shelves and the base. Each upright is 18″, so the total height is about 5 feet tall.
Here is what they look like without picturesque stuff decorating them:

Here is the historical design I was imitating:

The original joinery in the book is shown as a double-shouldered mortise and tenon joint. I was pretty sure that would exceed my current capabilities and definitely deteriorate over time. I figured the hardware route was faster and more solid. It all joins rigidly together. Given that the shelves were a gift, that I only bought about $20 in lumber and $15 in hardware, and that I had all of the finishing materials I needed already, this was a very affordable project.