bookmark_borderHashi-maki from Surplus Fabric

In Japanese, what Americans call “chopsticks” are called “hashi“. “Maki” is the word for “roll”. Many years ago, I bought a pair of hashi that came rolled in a piece of fabric, secured with a cord and a bead, and this was such a handy thing to have that I realized these would make great gifts, and would be a good way to use up small squares of surplus fabric. I bought a couple packages of bamboo chopsticks at the Asian grocery, and away I went.

8 Hashi-maki, 2021 edition

Here are the products of that idea. The fabric came from my stash of surplus fabric. You may recognize some fabric from previous sewing projects. The beads came out of my stash of beads and baubles that have been given to me as tokens of appreciation over the years. The basic process is to sew two squares of fabric right-sides together, leaving one corner un-sewn, Turn the squares right-side out, and insert the ends of the cords in the unfinished corner. Top stitch all the way around, sealing the corner and securing the cord.

To use, place flat on a surface with the corded corner pointing to the right. Place a pair of hashi just to the left of the center line, oriented vertically. Fold the top and bottom corners over the ends of the hashi, so they can’t slide out of the roll. Fold the left corner over the hashi to the right. Roll the hashi up in the fabric, wrap the roll with the cord, and tuck the bead under the wrapped cords to secure the roll.

bookmark_borderAutumn Brushwork

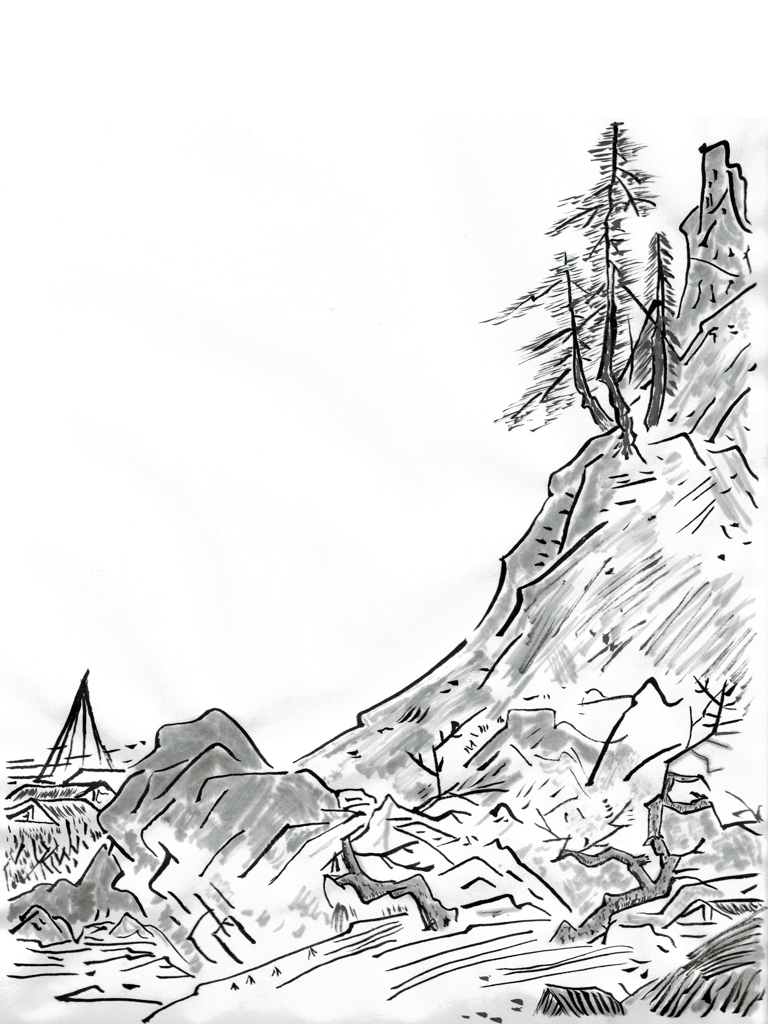
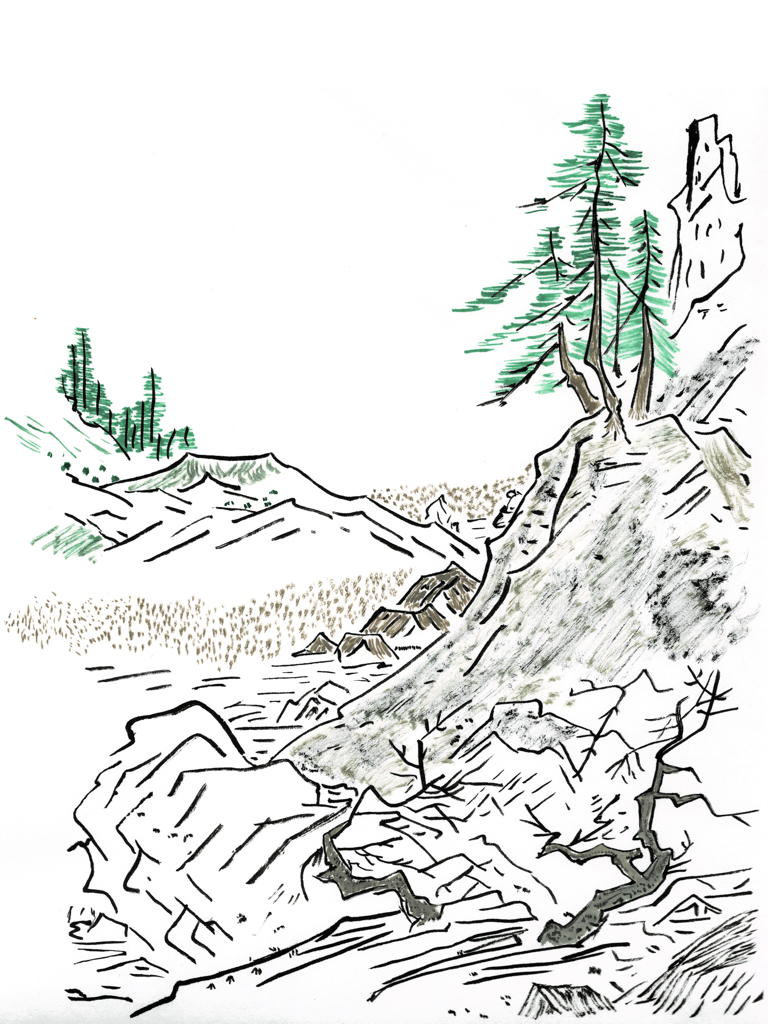
I did these two paintings more than a year ago (possibly two), but never even scanned them in, much less posted about them. They are more explorations of the artwork of Sesshu, the late-period painter who blended Chinese and Japanese art styles in sweeping landscape paintings. They are both copies of a panel in “The Autumn and Winter Landscapes”, a pair of hanging scrolls from late in Sesshu’s working life.

This first copy, as usual is an attempt to be faithful to the mostly monochrome style. I may have used a gray paint for the shading instead of a dilute ink, because it is way more predictable. I also left out most of the background of the original image, in an attempt to leave space for scroll wording. This image is nearly the full height and width of the paper!

This second painting is an attempt to add a little more color, mostly muted. I put much of the background back in, leaving out the sailboat on the water, but re-adding the hill (island?) beyond and its village. I think the leaves on the pine trees came out terrific, and the stippling for the fields is very good. I’m very happy with the way the dry-brushing for the rocky hillside worked out.

bookmark_borderIn a hole in the ground there lived a Hobbit.

The water meter for this house is out front, underground, beneath a kind of manhole. Whoever installed the cover thought that plywood would be a good support for cast iron. Eventually, of course the plywood rotted away and the cover assembly fell into the hole. Last year, I replaced what was left of the plywood with some leftover Trex decking, but then I had this circle of Trex cut out from the middle, and a hillside full of pavers in back of the house…

Hobbit Hole, 1105A

It could probably use some more work on the stones, and maybe some iron banding across the front, but for now at least it is out of the garage.