
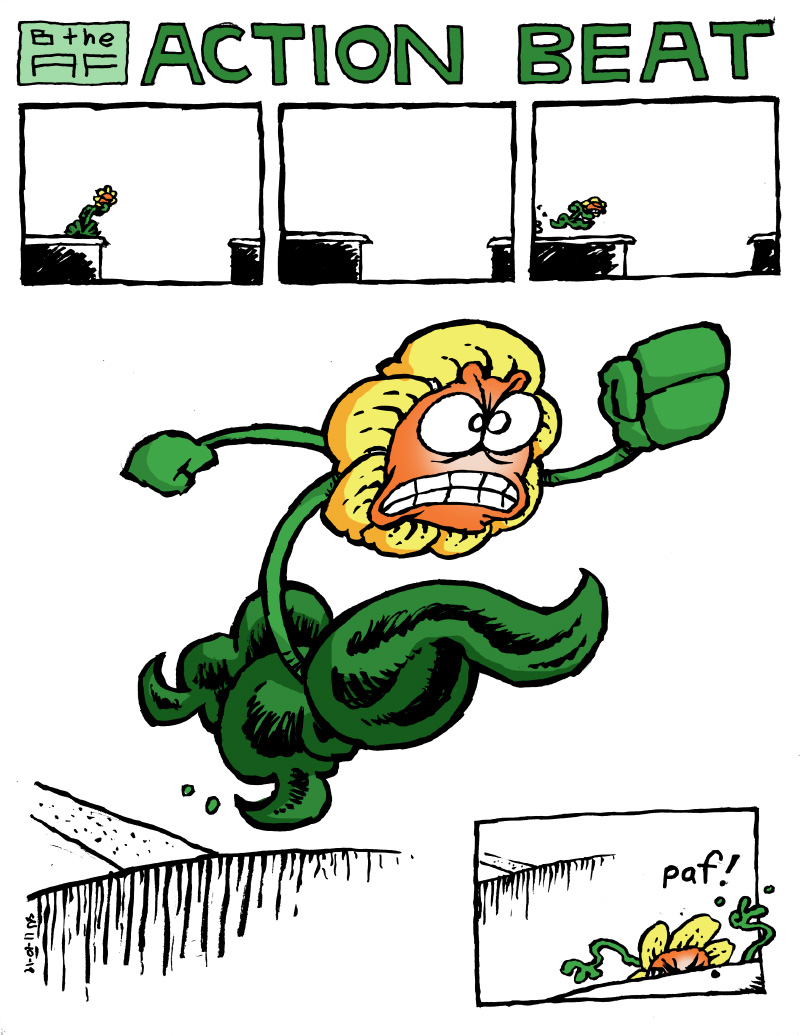
- Download the bitmap image that contains the part you want as embroidery.
- Crop and edit the bitmap image to isolate the part that you want.
- Simplify the color palette in the bitmap image to decrease thread changes.
- Convert the bitmap image to a vector format.
- Simplify the vector image to reduce the number of shapes and decrease shape complexity.
- Export the vector image to a common format.
- Import the common vector format into the digitizing software.
- Generate stitch patterns for vector shapes.
- Save resulting embroidery file.
- Copy the embroidery file to the thumb drive.
- Set up the embroidery machine and insert the thumb drive.
- Hoop fabric and mount hoop on embroidery machine.
- Load embroidery file and first color of thread.
- Press the “START/STOP” button.
- Wait, change thread colors when the machine asks you to, resolve any mechanical problems that occur.
- Try to fix problems with the physical expression of the embroidery pattern.
- Curse everything, and the horse it rode in on.
- Take a picture of the resulting embroidery.
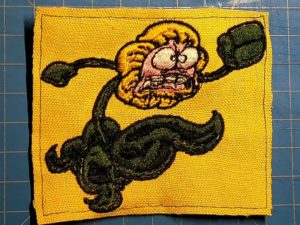
- Post about it to your blog.
bookmark_borderAction Embroidery

