
I would have tried to get these done before Pennsic, but since Pennsic was cancelled for this year due to nobody wanting to share a campground with 10,000 other people from all over the world, I procrastinated.

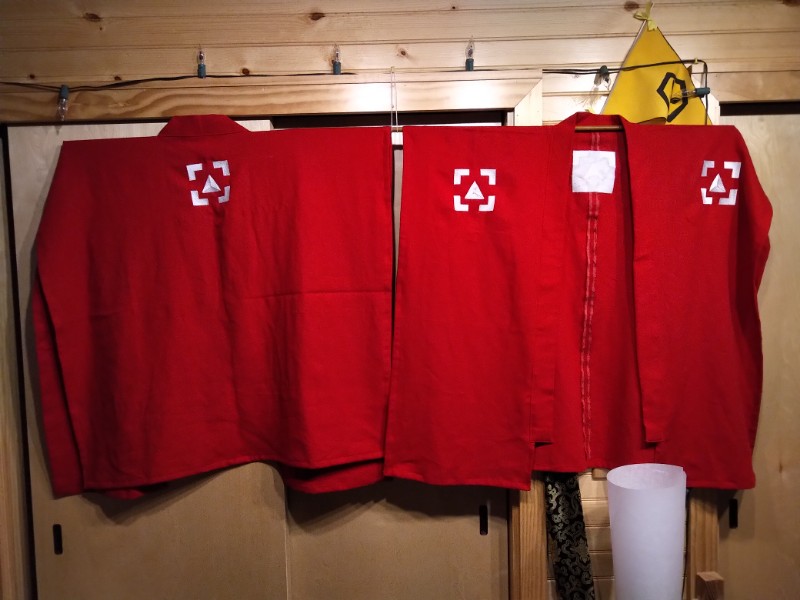
These were all machine embroidered onto some nice heavy golden yellow cotton duck fabric, and display the Baronial comet along with “Salve Accolens” (“Hello Neighbor”), the Baronial motto. Each is about six inches wide, and 18 inches long (they are doubled over in the photo). You can see I tried out a couple of different typefaces before deciding on this classy French Script, and if you look closely you can also see that I tried out some of the dozens of decorative top-stitching patterns that are available on my sewing machine but that I almost never use.


