bookmark_borderKotansu from Tama Trays

I am very excited to tell you about this next project because it has been “in progress” for a very long time. Once I made the tama storage trays, I started thinking about how to keep them all together in a tidy fashion. I could just put them into drawers, or I could make them into drawers. Sweetie and I have a couple of Japanese haribako sewing toolboxes, so I could base a small chest of drawers (kotansu) on the existing trays and that basic design.

Small Chest of Drawers, or Kotansu

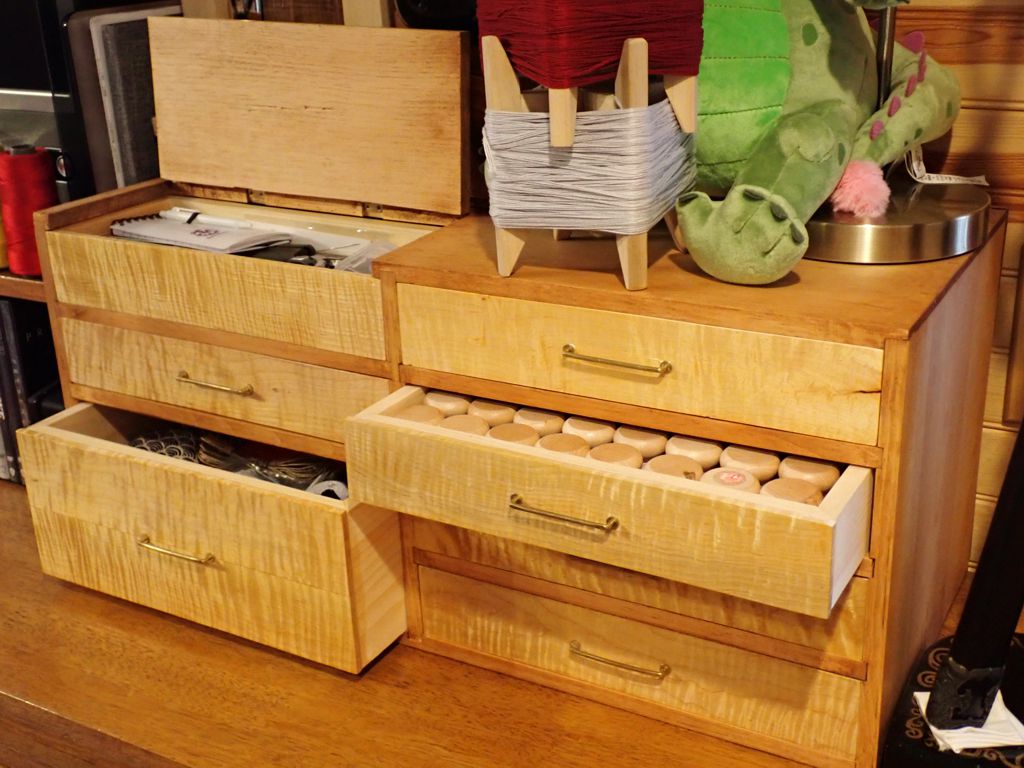
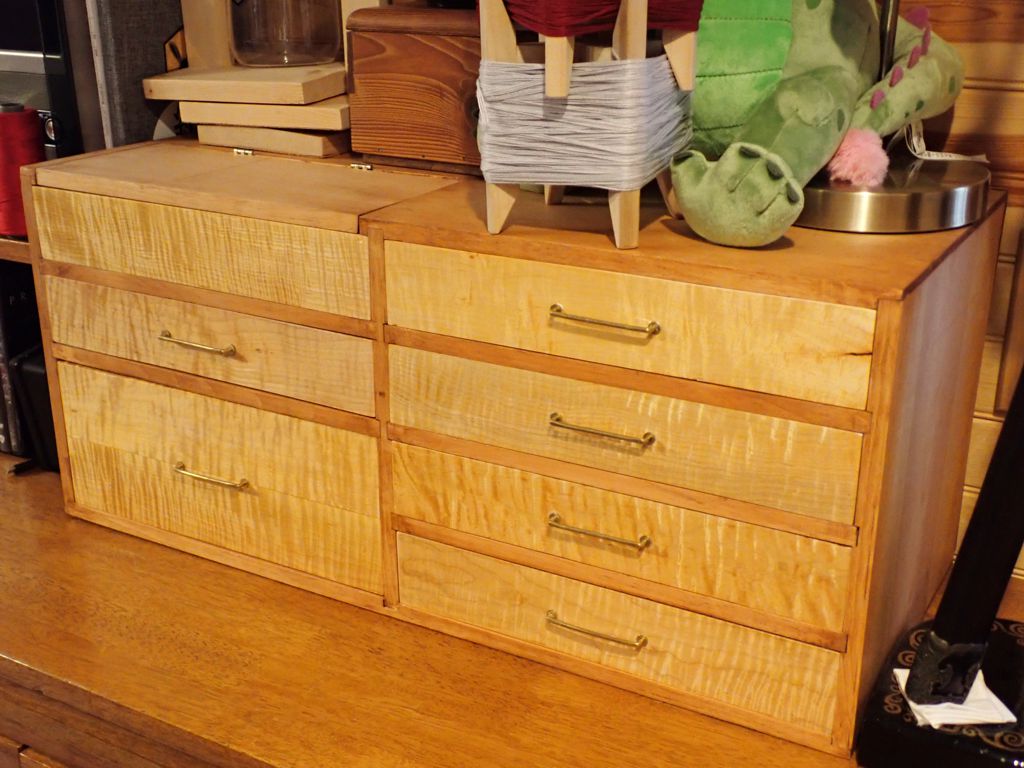
That went pretty well. I was able to make the carcass in a day or so. It is just pine common boards that I planed down to half-inch thickness to reduce bulk. Cutting the slots to hold the drawer supports in place was tricky, especially since I wanted to have the double-depth drawer in the lower left. There is also a not-drawer in the upper left which is actually top-loading bin with a hinged lid. I wound up cutting the lid for the bin with a traditional Japanese hand saw called an azebiki nokogiri which is designed to start cuts in the middle of a board. I bent the drawer pulls myself from brass rod. and installed them in the drawers in simple friction-fit holes. Since the carcass is deeper than the drawers, there are wood blocks behind each drawer to keep the drawer from sliding in too far.

The kotansu sat in an unfinished state for some time, until this summer when a friend of ours gave me some curly maple scants he had cut and planed for making knife handles. After cutting some of them to size to match the drawers, I finished them with shellac and glued them into place. Lining up the holes for the pulls was somewhat tricky, and fitting them closely to opening in the carcass took a lot of fine-tuning. Once the drawers were complete, I felt that the bare pine of the carcass was a bit too bright, so I gave it a light coat of wood stain just so it contrasted better with the maple.

Kotansu with open drawers

Now it looks like furniture! It is so satisfying to be able to finally call this project “done”. I made the original trays almost two years ago, and assembled the carcass about a year ago. Completing this third and final (?) phase is a big relief. I use the tools that I store in here all the time, which means I use this project all the time and having it look so much nicer is wonderful.

bookmark_borderKaminari Camp Shelves

In our camp each year, there is always a pile of random stuff in one corner of our common pavilion. Things like empty storage boxes, bulk packages of paper towels, and random office supplies. Camp leadership asked me to noodle on the idea of shelves for that corner, so at least things would look a little more organized and not just piled up. I had some ideas, and luckily for me they already worked out!

The lumber I had was three 48″ long stair treads. Stair treads are usually a full inch thick, so they should sag a lot less than the 3/4″ pine I usually use. I drilled holes near the corners of each shelf for the hardware to pass through. The base is cut from 2-by-4, and I added hand-cut half-lap joinery. The uprights are also cut from 2-by-4, and they have lag screws and dowel screws running into their ends to join them through the holes in the shelves and the base. Each upright is 18″, so the total height is about 5 feet tall.

Here is what they look like without picturesque stuff decorating them:

Here is the historical design I was imitating:

The original joinery in the book is shown as a double-shouldered mortise and tenon joint. I was pretty sure that would exceed my current capabilities and definitely deteriorate over time. I figured the hardware route was faster and more solid. It all joins rigidly together. Given that the shelves were a gift, that I only bought about $20 in lumber and $15 in hardware, and that I had all of the finishing materials I needed already, this was a very affordable project.

bookmark_borderPine Top Folding Table

You know those old folding tables from about 25 years ago? The kind with a chipboard top, wood grain printed vinyl surface, and rubber edge banding? The kind that look like garbage if they ever get wet? Well ours got wet several times and saw some hard use over the last 25 years or so and it really looked like garbage. Also, the edge banding shrinks over time and starts to come loose.

I really like how light, portable, and durable the newer folding tables are with their blow-molded plastic tops, but I don’t like that much plastic in my life. I mean… bletch.

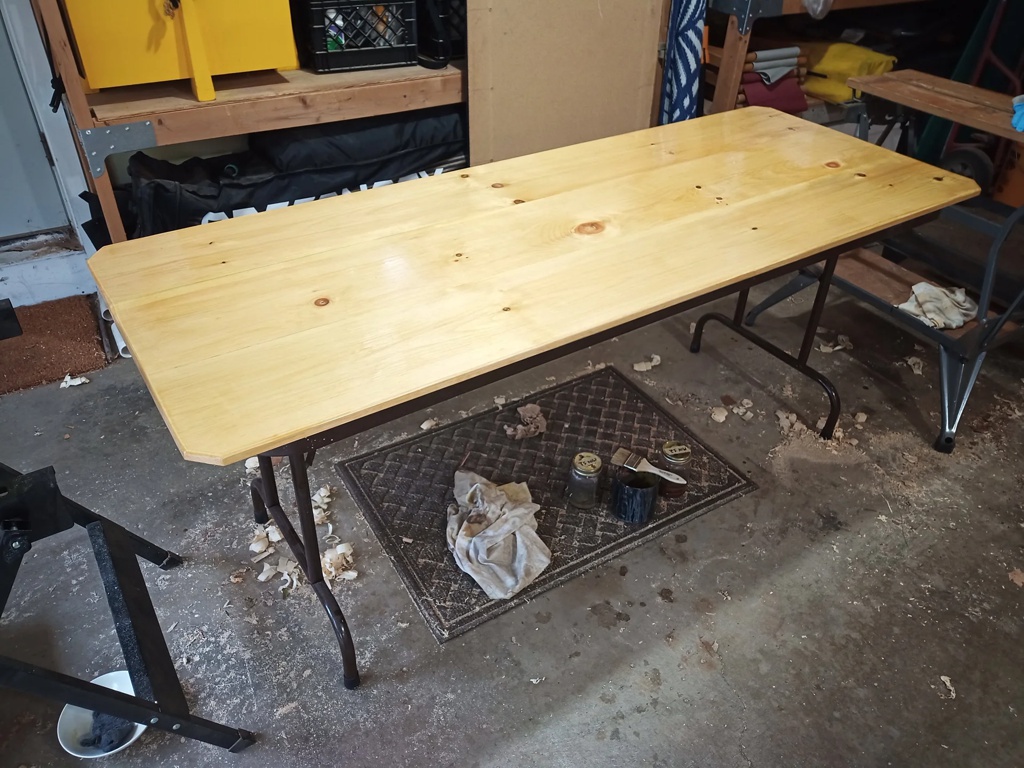
So anyway, I figured I could remove the hardware from my old 6-foot table, make a new top from some 1×10 pine common boards, slather it with outdoor-grade polyurethane, re-use the old hardware, and have a new-looking table. So that’s what I did!

I started by straightening up the edges of the boards with a hand plane to make joining easier. Then, I drilled dowel holes into the edges using a cordless drill and drilling guide. (I like the Kreg guide for this job, since it has a 3/4″ slot on the underside that clips right onto the edge of the board to keep the hole straight and centered.) Next, I put dowels in the holes to keep the boards aligned, and glued all three together into a single surface. Overnight in the clamps for the glue to cure, then scrape off the squeeze-out. (Kunz glue scraper, accept no substitutes.) Finally, trim the ends with a hand saw so they all match up.

Construction complete, it’s time for shaping. I trimmed off the corners with a hand saw, because they were likely to get all busted up anyway. Next, I rough sanded everything with the random orbit sander and some 100-grit to remove the last of the glue and smooth out any uneven joinery. I used a cordless trim router with a 45-degree chamfer bit all the way around the top and bottom to break the edges. I also filled any gaps, holes, etc. with wood filler I made by mixing sanding dust into water-based rice paste. Another round of power sanding with 150-grit and it’s starting to look like furniture.

For me, finishing always starts with sealing. I like to use (General Finishes) water-based sanding sealer because it soaks in and hardens without getting gummy. Then, a round of 220-grit power sanding to make things smooth and ready for polyurethane. I pay special attention to the end-grain at this step. The sealer enables me to get this as smooth as the edges!

Now, start with the underside and add a coat of poly. I brush this on by hand, which is a lot of work, but I have done this so many times that it is very satisfying and almost pleasurable. Make sure to wipe off anything that drips over the edges, then apply a super-thin coat of poly to the edges themselves. Once that was dry I flipped it over onto blocks and did the same to the top. This dried for maybe a week because I didn’t have much time in the evenings after work.

Yesterday morning, I hand sanded both surfaces with 320-grit to rough up the poly and remove bubbles and nibs. I have one of those sanding pads that take the same velcro discs as my sander, and I really recommend them. I applied a second coat of polyurethane to the underside (and a third light coat to the edges) and let that dry for most of the day. Then I attached all the metal leg and apron hardware. One thing I discovered when studying the old tabletop is that this is not a precision job. None of the hardware is straight or even to begin with, so don’t stress too much about measuring and aligning the legs and brackets. I drew a single center-line on the underside, perpendicular to the long edges, aligned the feet to that by eye, then drove screws through the brackets into the wood. Then, I lay the apron/frame down, centered it up by eye, and screwed it down. Now I could unfold tthe legs, flip the table over onto its own four feet, and apply a finish coat of polyurethane to the top.

Now I have the nicest looking cheapass folding table in the neighborhood.

Folding Table with a Pine Board Top

I figure I will probably spend the next few years sanding the top and applying more polyurethane every Spring until a durable surface is formed. Any dings or scratches can be repaired instead of tolerated. I have saved the hardware from a $50 folding table using only $54 in lumber!

bookmark_borderWall Desk

Back in December, we installed a murphy bed in the guest bedroom. The room is kind of small, so the guest bed was taking up most of the floor space in the room. A murphy bed leaves more of the floor open when it is not being used. I saw some nifty-looking wall brackets in the Woodcraft, and these looked good to the landlady, so I went for it and decided to install a wall-mounted fold-down desk.

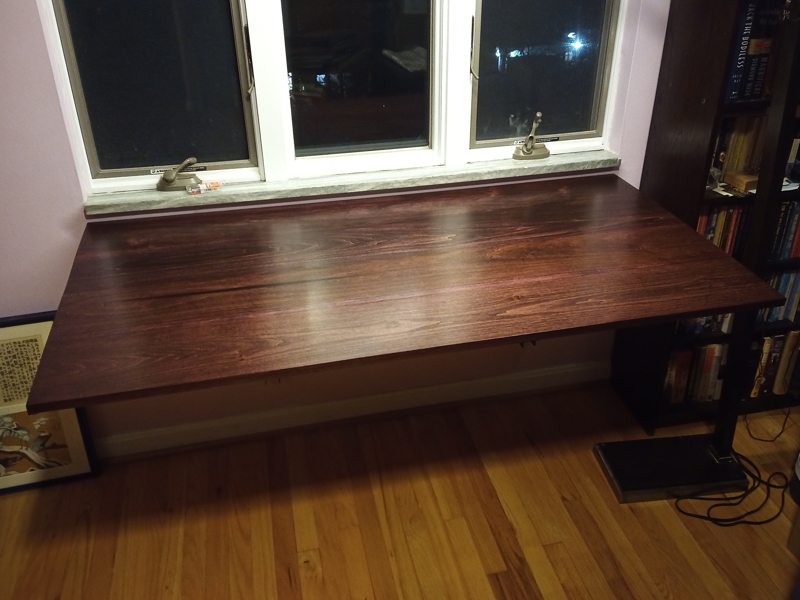
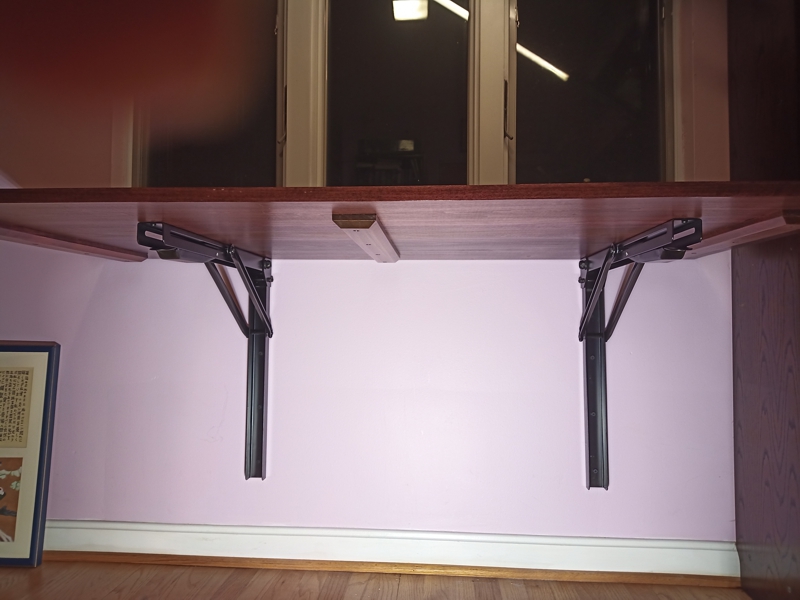
The desktop is actually four lengths of 1by8 that I edge-glued and doweled. Then, I cut the desktop to length, sanded, stained, sealed, and finished. After that, I just had to mount the brackets on the wall, and attach the desktop to the brackets. Easy peasy.

The desk when it’s folded up.
The desk when it is folded down
Battens for strength and stability

This can also be my entry in The Space under the Window.