bookmark_borderMore Brushwork

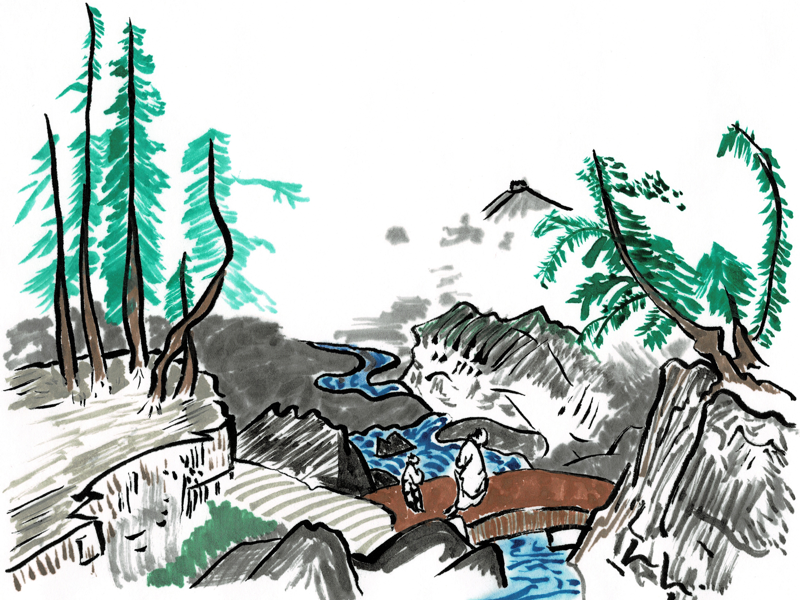
Next, I decided to copy another image from Sesshu‘s “Long Scroll of Landscapes”. Sesshu is one of my favorites, and I bought book about the Long Scroll when I visited the Tokyo National Museum during my first trip to Japan (for the TV show) in 2016. They have an excellent bookstore in the TNM, but I knew that I didn’t have a lot of room for books flying back, so I just bought this one. Anyway, the copies:
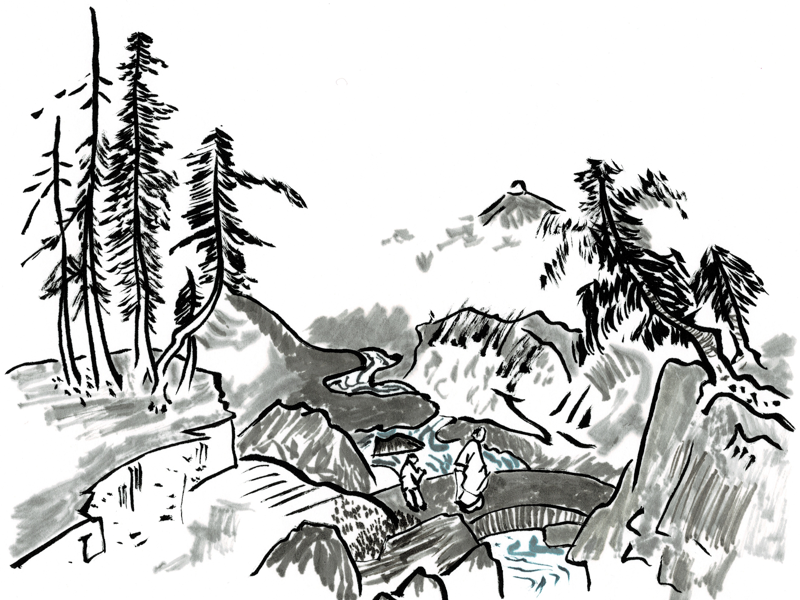
This first one is done primary with black ink lines, then some shading in paint (mostly gray) to simulate the light ink washes that Sesshu was great at and I am not.
For this one, I added a little bit of color, mostly from my smaller set of sumi watercolors. I’ve done this kind of thing before, and I really like the effect this produces. It’s less traditional than the pure ink style that Sesshu used, but I like it anyway.
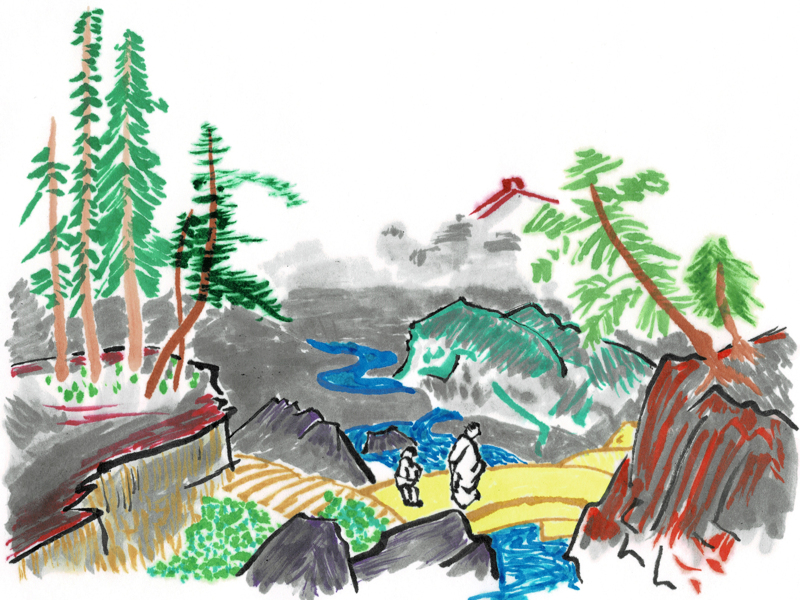
For this last one, I used entirely paint and no ink. Even the black lines a re black paint instead of ink. I was trying out some of the color variations in my larger set of sumi watercolors, some of which I had never used before. The overall effect is a little impressionistic, but I like the way some of the background washes came out.

bookmark_borderPicking Up the Brush

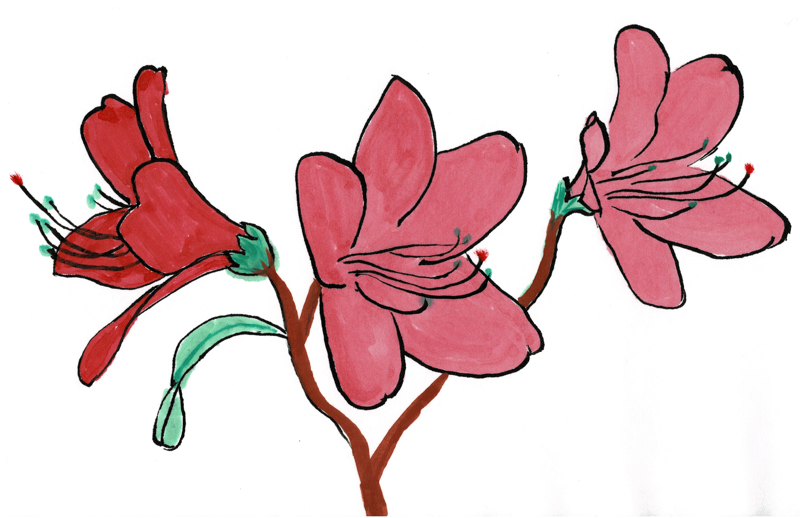
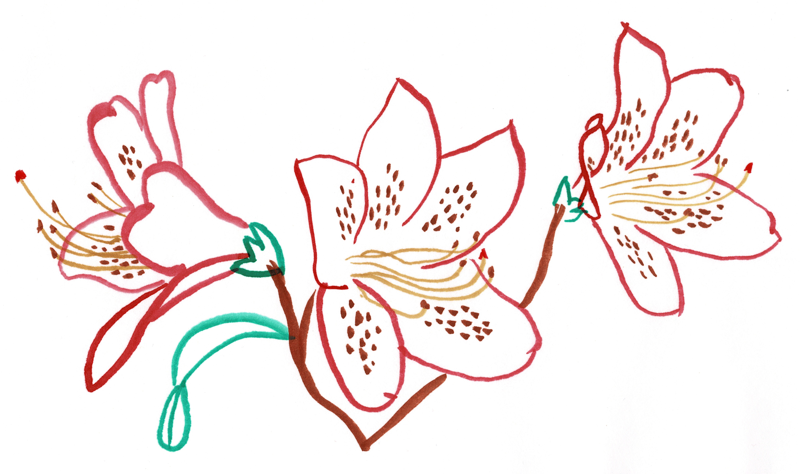
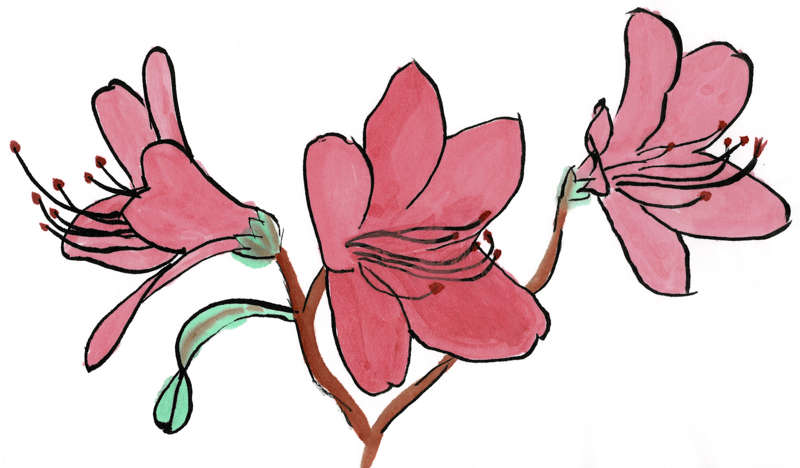
I was recently inspired to start painting SCA scroll blanks again, like I did (gulp!) six years ago. My first recent efforts were these, traced from a photo I took of some Azalea blooms in Sharon’s garden.

Original images are all about 8.5″x5.5″ in size. These are all done with Sumi ink and watercolors on 9″x12″ hosho paper. I’m still in love with my “Kolinsky small” brush from Kuretake. Preserve the kolinsky!

The third picture is probably the least “medieval Japanese” of all these, but I think it’s the most attractive. It is difficult to get good shading and depth in watercolor, and I’m just not good enough yet. The outline form is a little easier to achieve.

bookmark_borderKarabitsu Lid Repair

Going on 13 years ago, I made five white karabitsu to replace the plastic “tucker totes” we had been camping with up until then. They have held up pretty well, all things considered. I sold one of them as surplus, but the remaining four have been camping with us at Pennsic and other events ever since. I did fail to anticipate how often they would get used as seating, however, and the constant flexing of the lids had led to some deteriorations. One of the lids was damaged a few years ago, and repaired, so it was time to extend those repairs to the remaining chests. Here are the lids with their final coat of paint drying.

Paint drying on karabitsu lids

How to fix karabitsu lids: First, sand all the paint off the top of the lid. Then, cut a rectangle of plywood slightly larger than the top of the lid. Coat the lid with exterior wood glue, and clamp down the rectangle. Once the glue is dry, trim the edges of the wood with a router. Then, round off the corners using a different router bit. Now, it is time for finishing. I did two coats of primer (with Insuladd), three coats of flat white enamel, and two coats of gloss white enamel. That should be enough.

Next year, I’ll repaint the exteriors of the bodies. Some of the corners are looking a little beat-up.