
I have these two things that I have been carrying around in my backpack for years, One is a slim plastic pencil case for miscellaneous adapters and cables. The other is a small Bluetooth keyboard for when I have serious typing to do on my phone. These coexist fairly well in some backpacks, but in others they just slide on top of each other and take up way too much space. I needed to make something that would hold them vertical, yet still make it easy to grab one or the other and pull it from my bag without having to undo fasteners.

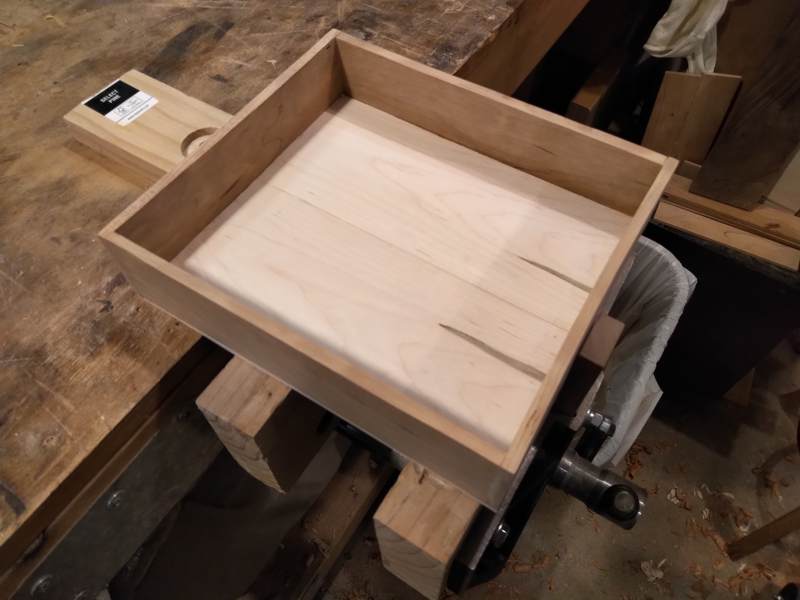
The faces, once again, are thing plywood from the scrap pile. The dividers, and the floor you can’t really see, are half-inch by 1.25″ trimmings from 2×4. I have a bundle of these sticks from making the stands for the 7-Pearls Banner Project. Quick work to cut everything to size on the band saw, glue in place, then secure with brads from the nail gun. (This Ryobi cordless electric nail gun is probably one of the most useful tools I have ever bought from them. This model is a little finnicky, and they don’t sell it any more. I haven’t tried the newer models.)
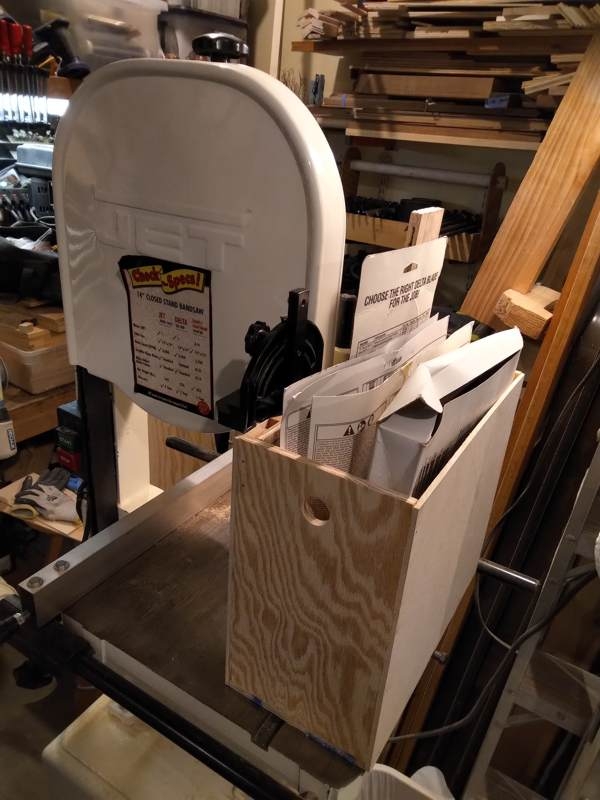
The only fancy thing about this slipcase, besides its 100% custom nature, are the grab slots I cut to make it easier to actually grab the items. The keyboard box sticks up, but the pencil case totally disappears inside. If I ever stop using the cardboard box for that keyboard, its slot will be more necessary. Here is the slip case in my backpack:

I’ve been wanting this for a while, so I’m glad I finally made some time to get this done.


