A while back, I bought myself a pair of overalls. Sometimes, especially when it’s hot, wearing pants with a waistband is uncomfortable, and I usually have to wear a belt with pants, which makes it even more uncomfortable. These overalls had a couple of narrow tool slots on the thigh, and several more on the front bib. I took to carrying around markers, pencils, etcetera in these slots, then started acquiring more tools that were narrow enough to fit in them. Pen-knife! Penlight! Scissors! Soon I had more tools than I had slots, and some of my overalls (by now I was up to three pairs) had fewer slots. I needed a way to organize these tools in my dresser and maybe even pack them for travel. Time to make another tool roll. I went into my fabric stash and found a suitable piece of canvas left over from the Natural Shop Coat project, and got to work.
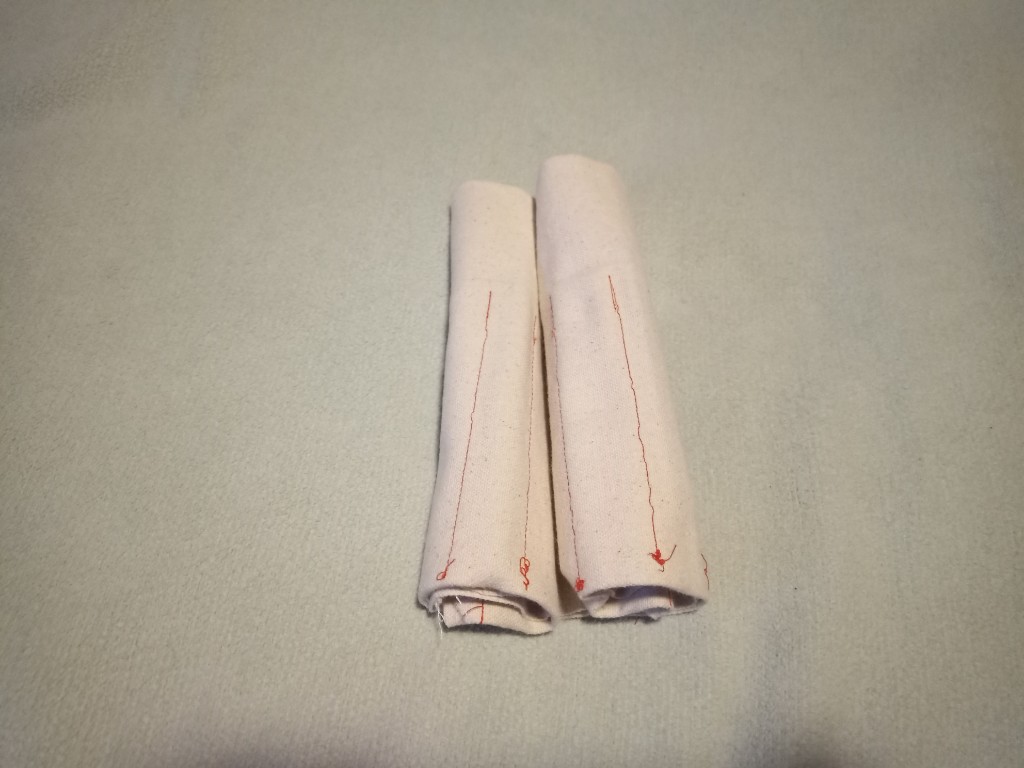
Here’s what it looks like all rolled up. You can see that I did not make any effort at all to hide the stitching. I don’t see why I would bother.
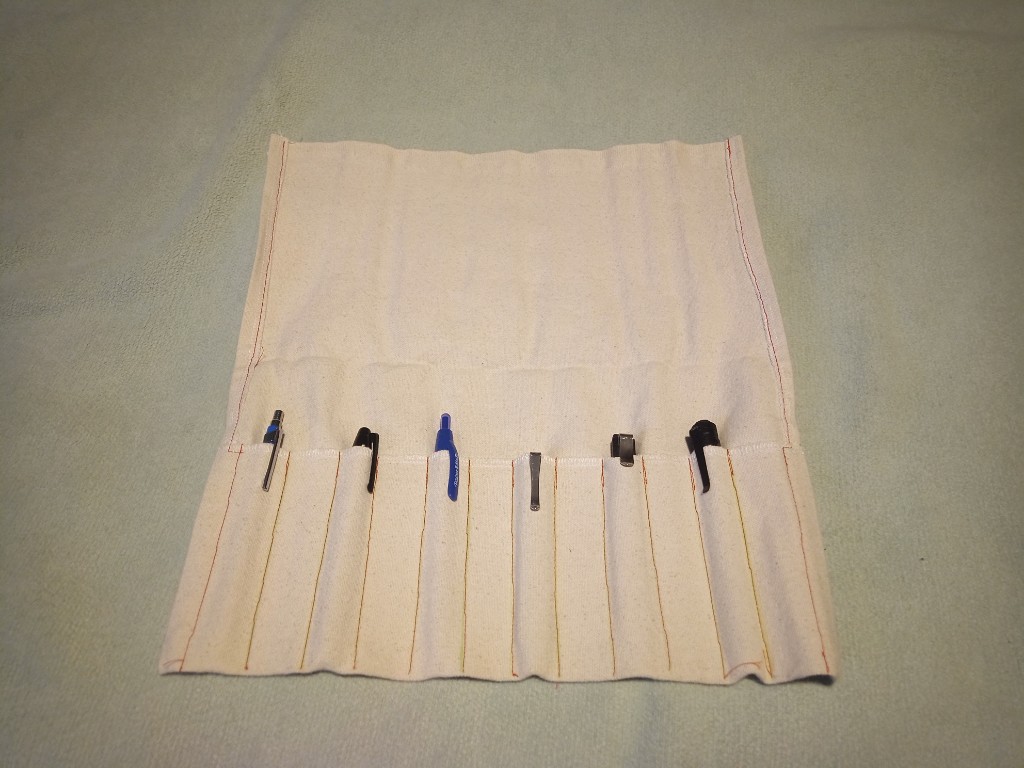
Unroll it and lift the flap, and you can see six tools filling half of the twelve slots of the roll. I could also put a craft knife, metal ruler, screw driver, and some other things in there if I want. There’s even room if I acquire more tools. I think the rule is that the tool has to have a pocket clip. I had to add a pocket clip to the scissors so they would qualify.
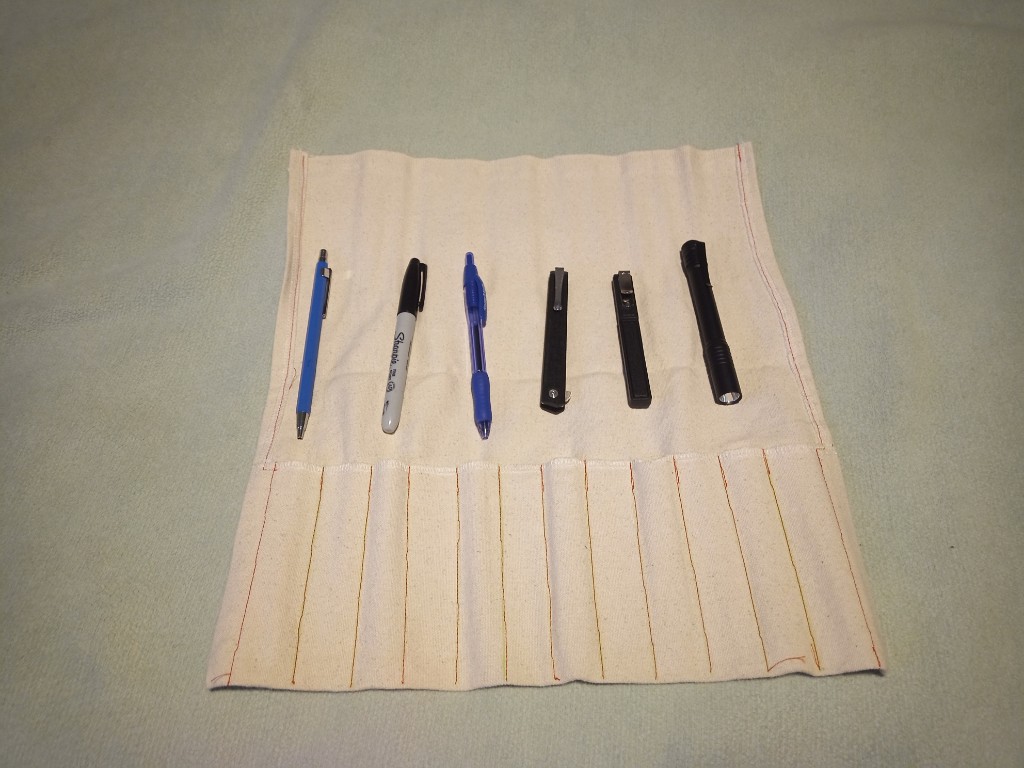
Here are all the tools I have in there right now: drafting pencil, marker, regular pen, folding knife, scissors. flashlight. See how handy this kit is?