One of the wonderful mid-century modern things that came with the house we live in now is a “Cado Royal” wall unit in the upstairs den. This is a really great wall-hung modular shelving and storage system, but the pieces are now collectible and so it’s a pain to expand an existing installation to accommodate, say, an ever expanding media addiction. So, once I had the plant shelf all done with some cherry lumber left over, I decided to try my hand at making my own shelf.
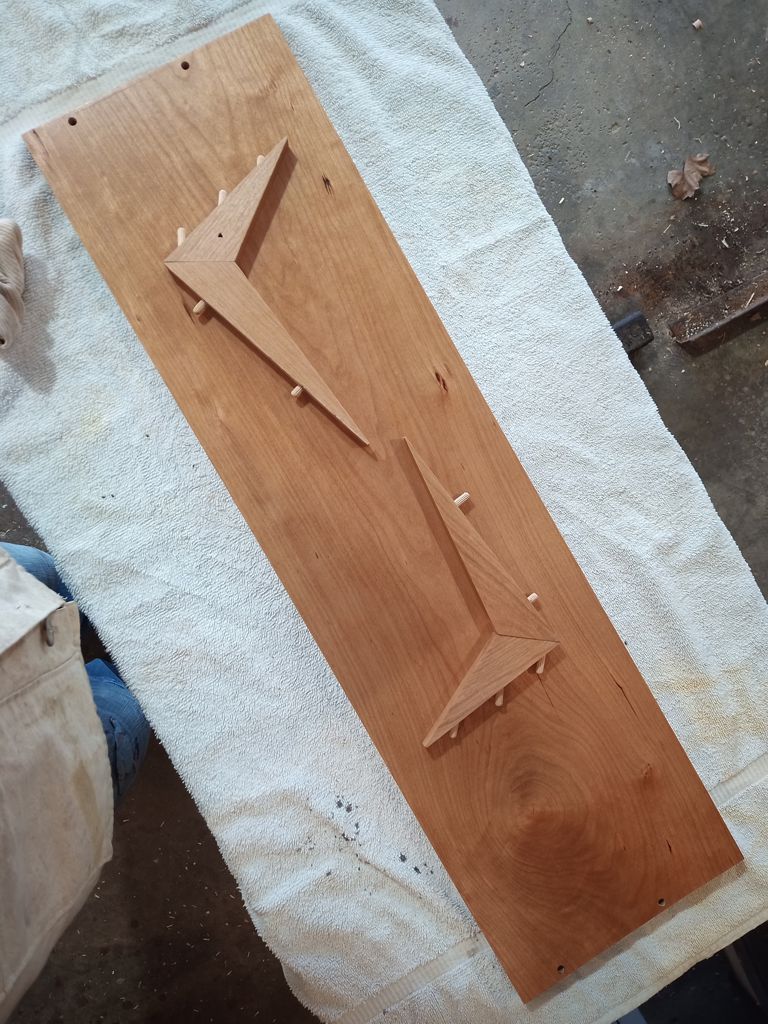
The angle-y, peggy things are the support brackets. The 45-degree dowels slide into angled holes in the wall standards. The 90-degree dowel stubs go into hole sin the underside of the shelf and hold the shelf in place. As you might imagine, accuracy of measurement and placement is vital to this system working as intended. Here is what it looks like with my new shelf added to the existing installation:
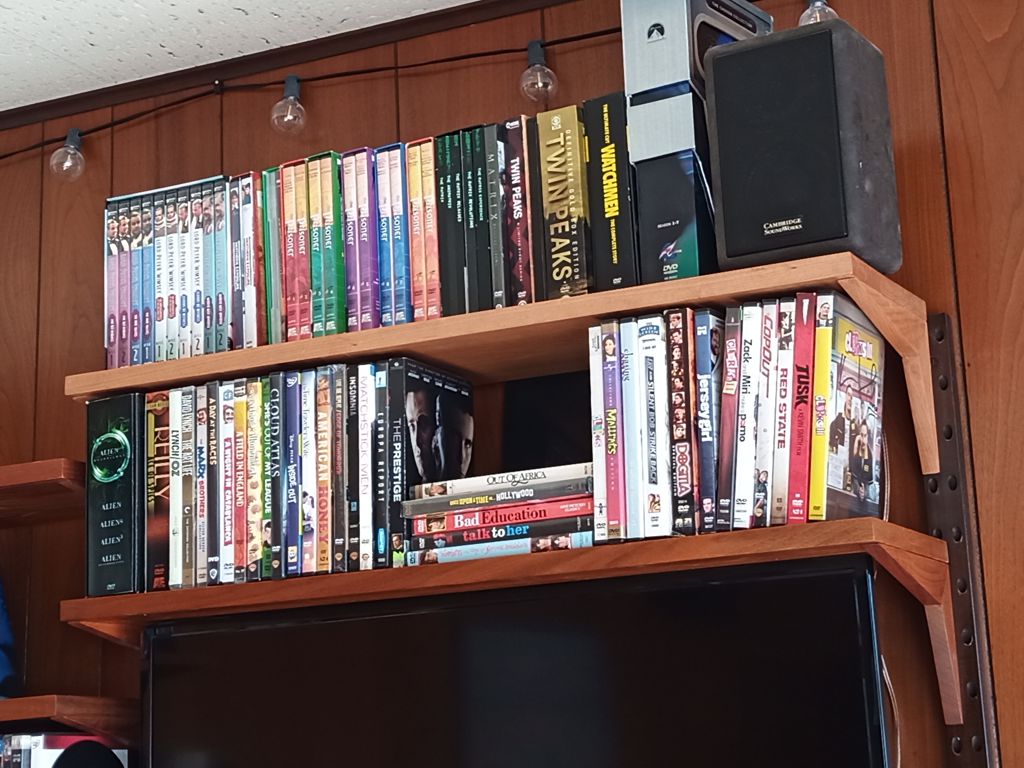
The cherry will darken over time to match the teak or whatever that stuff is that the existing shelves are made of. I think my shelf is actually nicer than the others. The existing shelves are all veneered, whereas mine is solid wood. The ends of the existing shelves don’t show any end-grain!