
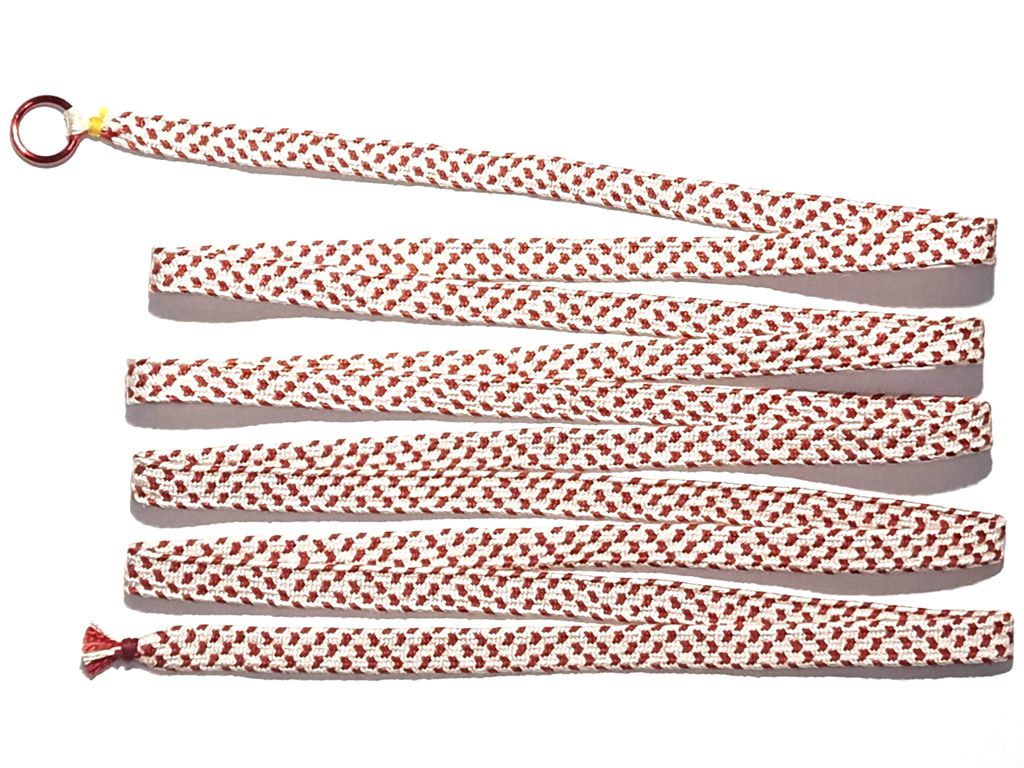
At the Braids 2025 conference in Cleveland, I am scheduled to teach a class on three braids for the marudai that use an odd number of elements. I realized that while I had a bunch of sample braids for those three, but none that I would consider to be “show quality”. They are mostly done in cotton or fuzzy yarn, and some of them have been attached to garments or other projects. to be “show braids”, they really should be done in silk thread and should be at least a couple of feet long. We still had plenty of reeled silk from the Georgia Yarn Company, so I decided to get busy braiding.


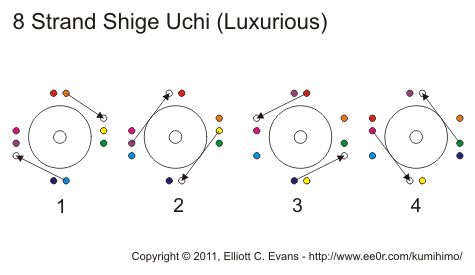
I braided each of these with about 16 ends of silk thread per tama. I say “about” because the lavender thread is ever so slightly thicker than the other colors. To get the 17-Strand braid relatively even, I had to go down to 12 ends of lavender pr tama. I had to work out the right patterns for each braid that would keep the colors together through the braid. That was somewhat tricky, but I now have a Jacqui Carey-style coloring grid for the 17-strand braid, which will be super handy in the future.
If any of these three braids interest you, please consider coming to the conference and signing up for my class! I am scheduled against some big names in braiding, so I would really appreciate support from the marudai braiding community.


