
Kichō are curtains that ancient and medieval Japanese nobles used inside rooms as movable partitions. The curtains hang from a stand, so they can be moved around as needed. You can think of them as the ancient version of “pipe and drape” dividers that you often see as trade show booths, but slightly more decorative, and for the home. They differ from other kinds of Japanese curtains in that the stand makes them freestanding and more portable. You will frequently see them in illustrated scrolls as backdrops, or screens to block a figure from view. They largely fell out of favor by the end of the Momoyama period (1573) and were replaced by the more solid shoji and more decorative byobu. Wikipedia actually has a whole List of partitions of traditional Japanese architecture, and you can learn more about differences there.
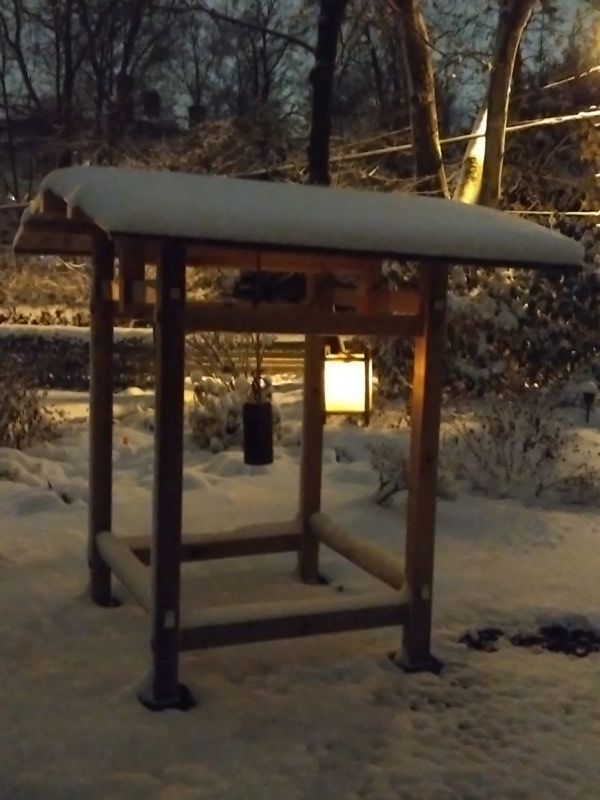
Anyway, I’ve had kichō on my to-do list for a while. I assembled a working stand a few years ago, and used it to display some projects in the interim, but only got around to constructing the curtains themselves until recently. There is a little more to it than you might imagine. Here’s what I wound up with:
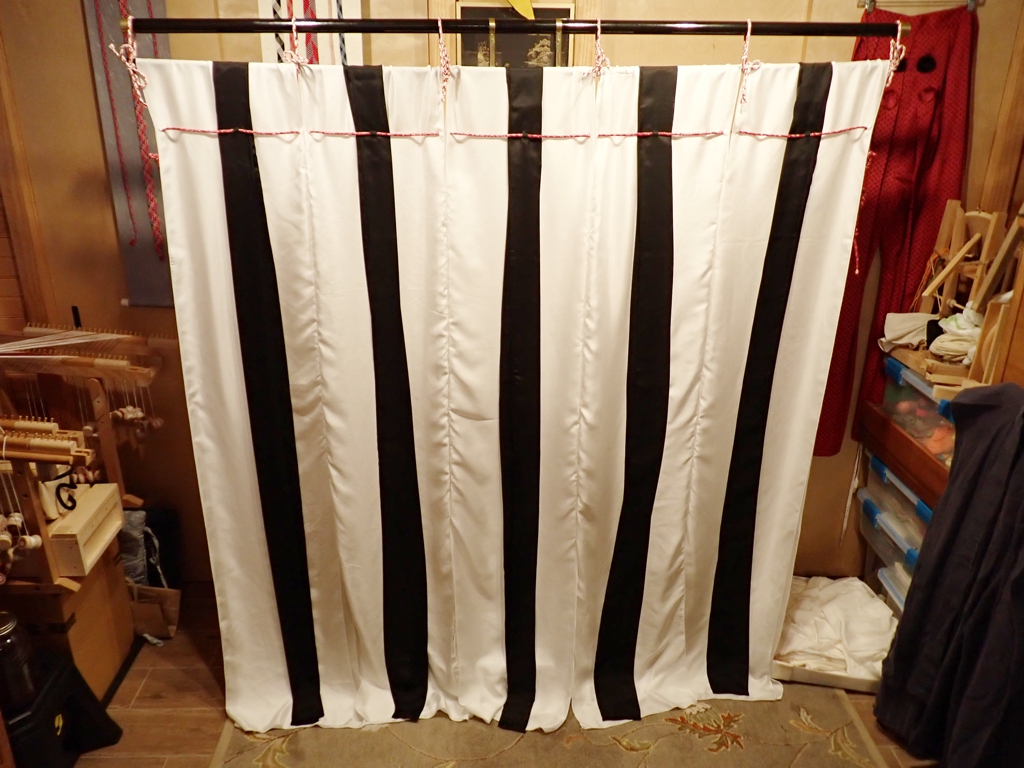
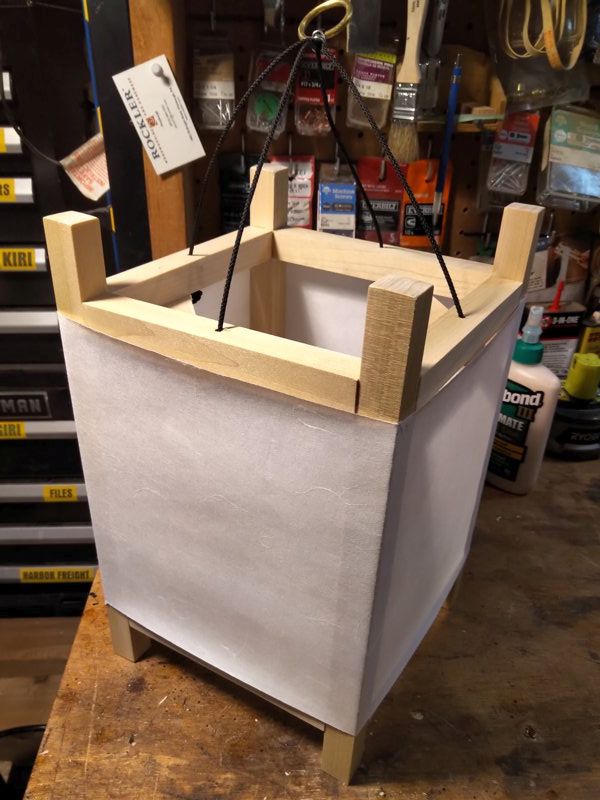
The white curtain bodies are twill weave silk from Dharma Trading, and the black “streamers” are black lightweight habotai also from Dharma. The curtains (or “katabira“) are double layer. Very often, the katabira would be decorated on the front panel, and plain on the back. I decided to skip the weeks that it would have taken me to decorate the fronts and skip directly to construction. Maybe I will get back to the decoration later. I made each panel by cutting 12-foot long 15-inch wide panels from the 45-inch wide fabric. I gave all of the panels a rolled-edge on the serger to simulate the selvedge that would be present on narrow-loom fabric.
The streamers (or “ribbons” according to Wikipedia) are half panels 15-feet long and 7.5-inches wide. I sewed the half-panels into tubes, turned the tubes inside out, and ironed them flat with the seams down one edge. I tucked in the loose ends and sewed them shut. The streamers needed to be longer because they are supposed to drape over the top and come a bit down the back. The slits for the lacing go all the way through both parts of the ribbons, and both layers of the katabira. I did not want to sew the dozens of buttonholes this would have required, so the slits are just cuts in the fabric that I made with my Clover Button Hole Cutter.
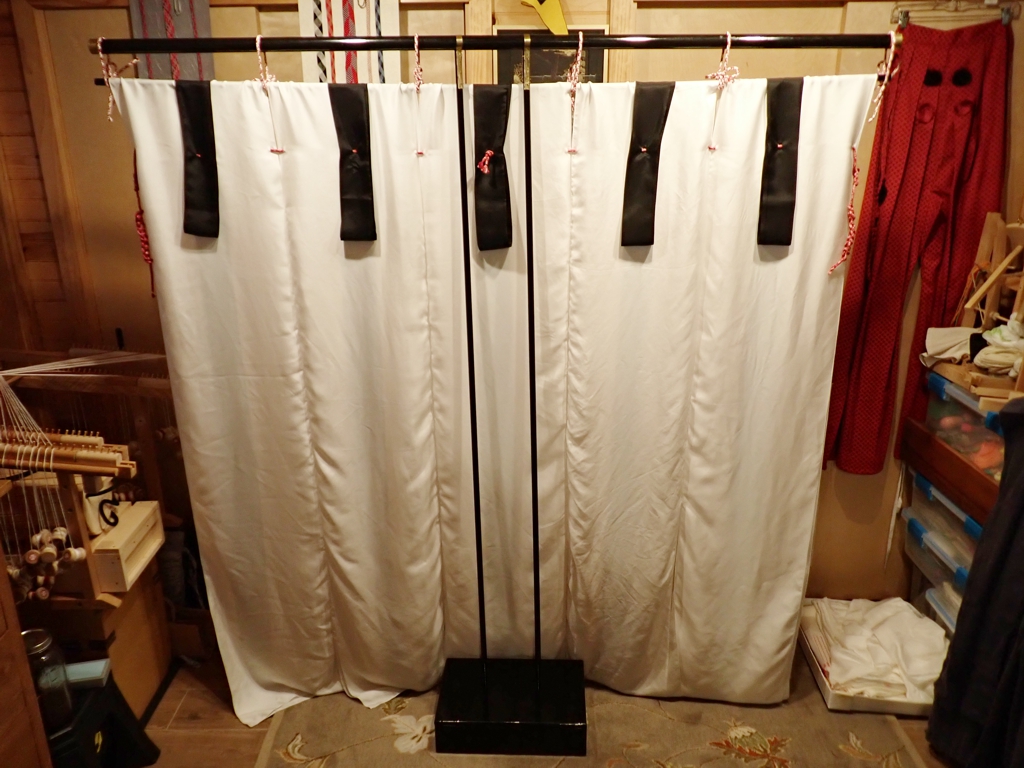
The lacing is basic edo yatsu braid that I made with some cotton yarn that I dyed as part of a group fiber activity back in the Autumn. I twisted up the hanks of yarn so that more dye got to some parts of the yarn than to others. The yarn itself is not super interesting, but I think it makes great pebbled-texture braids. Two lengths of braid lace the panels together, and shorter pieces of braid tie the rod that suspends the curtains (or “curtain rod”, if you will) to the crosspiece (or “te“) of the stand.
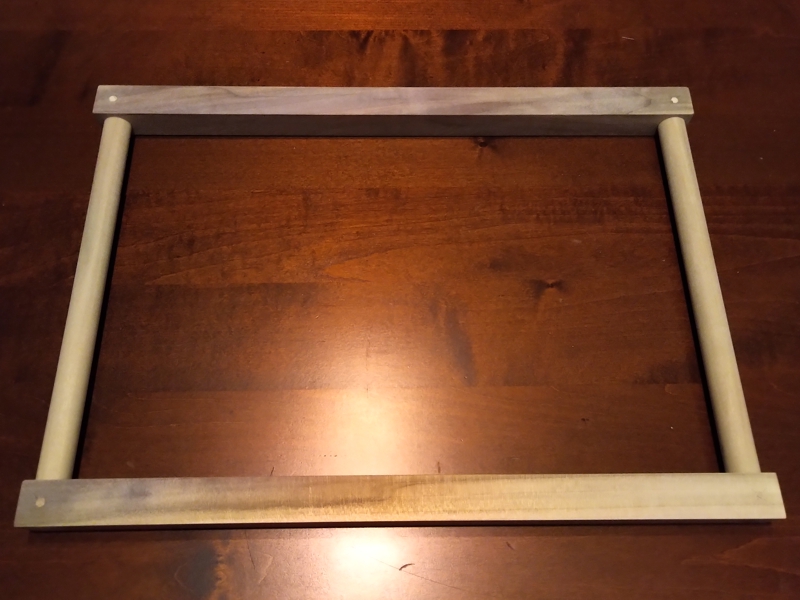
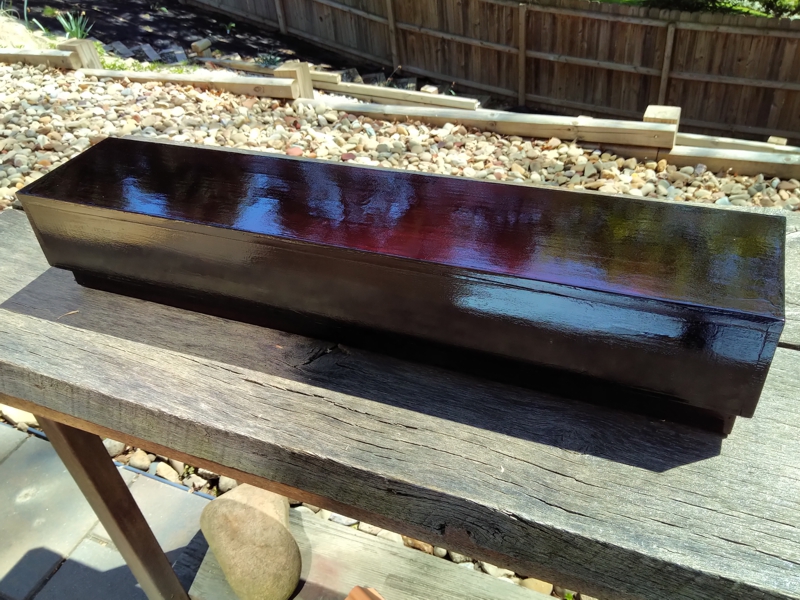
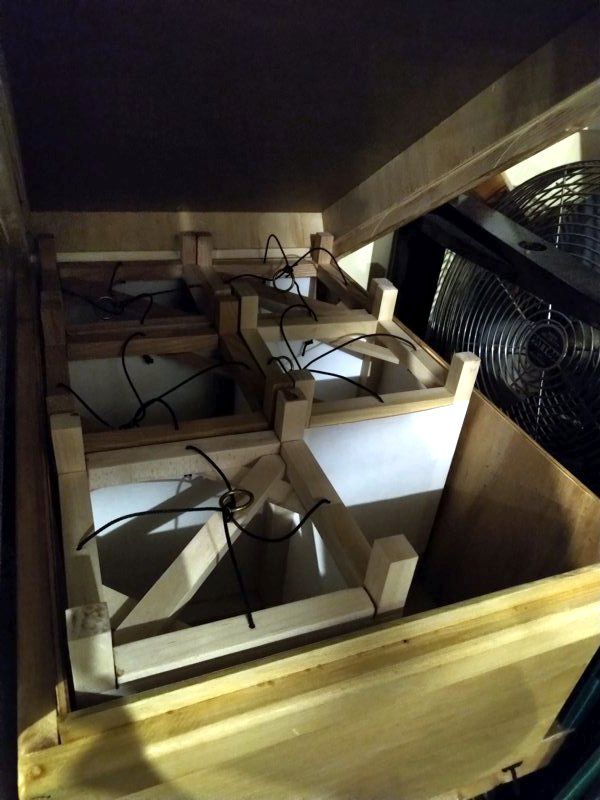
The stand itself is made of wood, as you might imagine. The base (or “tsuchii“) is a box with enough room inside to hold 20 to 30 pounds of iron weights. There are holes in the lid and a brace in the bottom to hold the two legs (or “ashi“) upright. The te rests on the tops of the ashi. The te and ashi are made of 6-foot long poplar dowels from the hardware store. The te is secured to the ashi using some custom made brass brackets that secure with brass cotter pins. The ends of the te are also embellished with a little brass. Everything wood is finished in black polyurethane to simulate lacquer.
I’m pretty happy with the way this all worked out. I may or may not make the curtains more interesting. I’d like to add more metalwork to the stand, and there are some problems with stability. A number of people have been talking about these lately, and I’m glad I went ahead and just made them. They should come in handy for defining smaller spaces in larger rooms, and they are much more portable than shoji.


