bookmark_borderSecond Kanmuri Box

Back in October, I was idly searching eBay for Japanese antiques, and I found a kanmuri for sale at a very reasonable price. So, I bought it. This one is not as old or as nice as my other one, but it was less expensive and is in better shape. I won’t be as afraid to wear it or lend it to others. However, it should still have a better storage container than the corrugated cardboard box in which it was shipped to me.

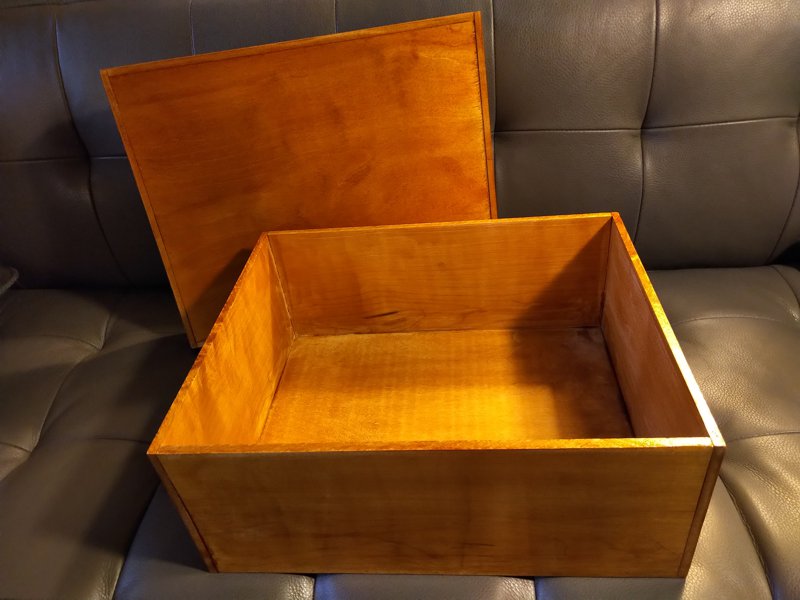
I made two separate boxes to hold the parts of the first kanmuri. This was partially because of the shape of the tail, and because the body of the first kanmuri does not break down into parts. This second one comes apart much better, so I could build a single flat box to hold the parts.

Second Kanmuri-bako, closed

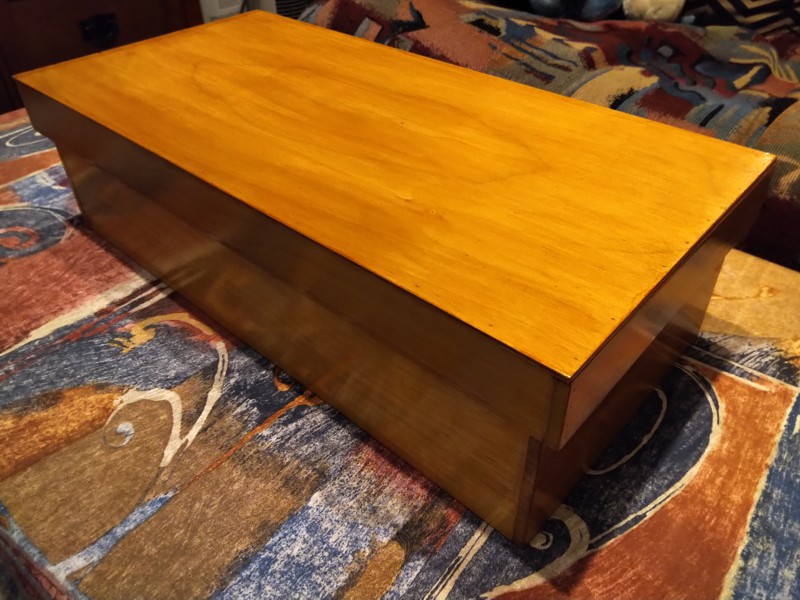
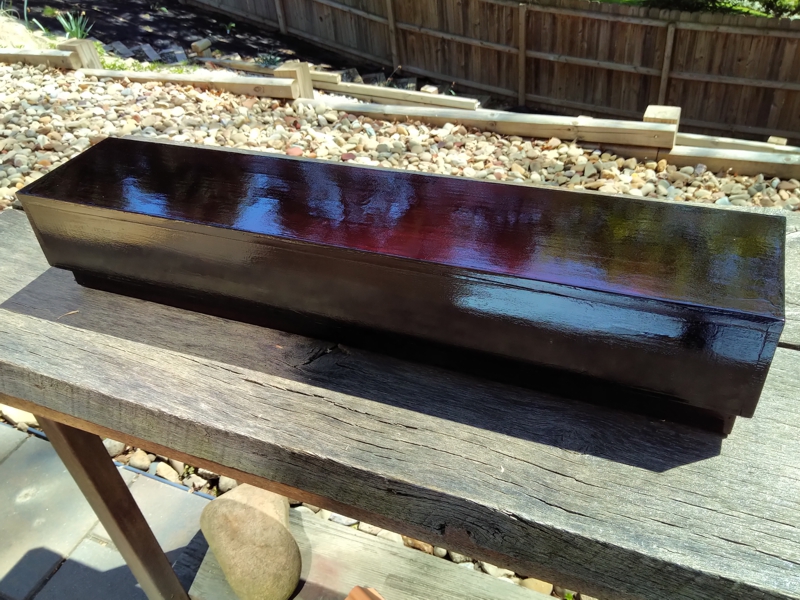
This kanmuri-bako is a simple rectangular, lidded box. The top and bottom are thin birch-faced plywood, and the edges are maple scants. I put a couple of coats of shellac on the outside for protection, but I left the inside unfinished so that the wood can absorb and release moisture as needed.

Second Kanmuri-bako, open

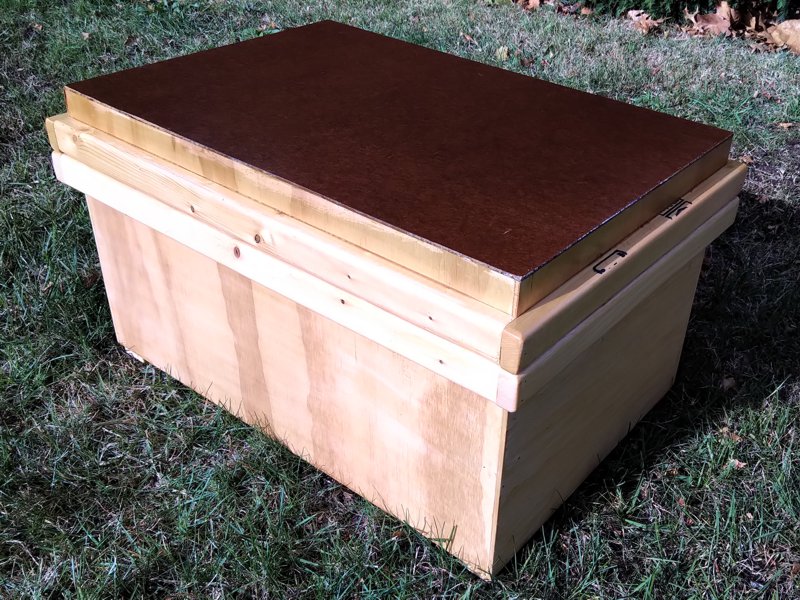
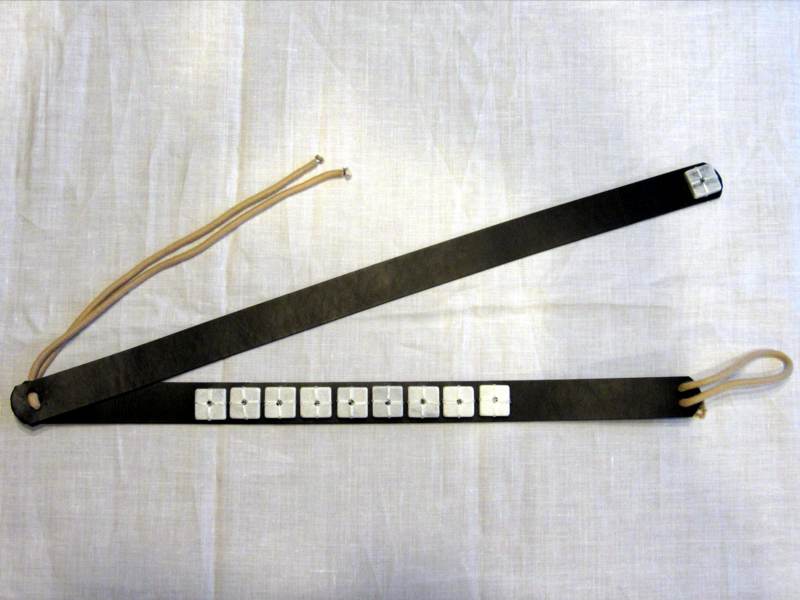
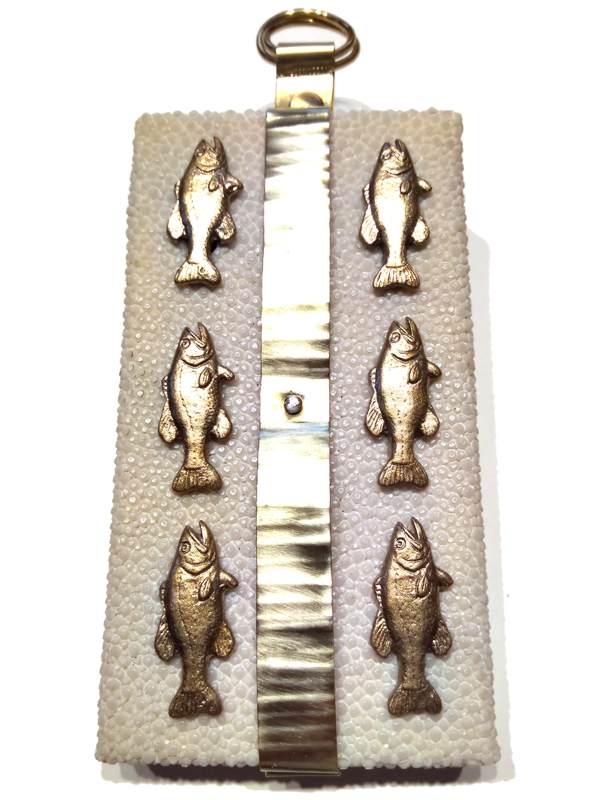
Inside, there is enough room that the pieces of the kanmuri can be individually wrapped to protect them from rubbing. There is actually enough room inside that I am able to store some other formal accessories in there to keep everything together. I can fit a shaku in the bottom, my sekitai, and my hirao. There’s probably enough room to add my gyotai if I ever need to.

Second Kanmuri

Because I just realized that I never posted to my blog about the first kanmuri, here is a picture of the assembled second kanmuri. the tail removes easily. When you remove the horizontal pin, from the hat part, the upright tube can also be removed.

bookmark_borderKakejiku Storage Box

If I want to be able to take the Hitomaro Kakejiku with us when we go camping or whatnot, it is going to need a storage box to protect it in transit. Such things exist in the Japanese tradition, so I made one.

Kakejiku-bako, closed

It’s made mostly of poplar. I had an abundance of quart-inch poplar in my stock of surplus wood, so this was an easy choice. The top of the lid is actually 3/4″ poplar, to give the whole thing a little heft. I rabbeted the top so that it would fit inside the walls of the lid, and not appear thicker from outside.The inside is unfinished.

Kakejiku-bako, open

There are small blocks of cedar at either end of the box that cradle the ends of the scroll rod and keep it centered in the box. You can see the rabbet for the lid top and the interior blocks in this process photo.

Kakejiku-bako in progress

The outside is finished with several layers of garnet shellac with a black dye added. That’s what gives the final finish that deep mahogany color. I was hoping this mixture might be a good substitute for black lacquer. It is not, but as its own thing it is very nice.

bookmark_borderLantern Storage Box

I’ve only made three of these lanterns so far, but I intend to make six, so eventually I will need something to transport and store them all in, or they are going to get pretty beat up. So, another box.

Lantern Box, Closed

This was also yet another exercise in using up surplus materials from other projects. I wound up having to use a piece of MDF for the lid, because that was the biggest piece of anything I had left. The edges are off-cut from 2-by-4 lumber from when I was making pole by cutting square pieces from 2-by-4. It awfully satisfying to use up some of that stuff.

Lantern Box, Open

You can see that the extra height of the lid makes it easy to get the lanterns in and out of the box. There’s an extra half inch in each direction, so the lanterns fit snugly but not tightly.

The whole thing is finished on the outside with spar polyurethane, especially the MDF on the lid, to give it a little more water resistance than a cardboard box. I glued some blocks of wood to the bottom to serve as feet, so it won’t be resting entirely in any puddles.

Basically, the whole thing is constructed with glue and nails form the nail gun. The bottom is thicker plywood to make it bottom-heavy, and the rim on the body both supports the lid and reinforces the corners of the box. This is a design and method I’ve used before with some success.

A lot of the sizing of pieces can be done while you’re building. For instance, I make the body of the box, then I measure the outside of the top before cutting the pieces for the lid. That way the lid is sized to fit the actual box, and not just my best hope.

The whole thing is kind of rough, because it’s not supposed to be anything special. You can see in the photos that I didn’t even sand off the mill markings.

bookmark_borderStorage Box for the Stuff of my Sweetie

Just another lidded storage box made from birch-face plywood and maple (it turns out they are maple, not birch) scants. This one is custom sized so that it fits in the storage cabinet over Sharon’s desk.

A useful box to put things in

The cabinet has sliding doors, and the box she was using was too bit to fit nicely. If she put the box in long-ways, the door couldn’t slide shut. If she put the box in sideways, there was all this wasted room in the cabinet.

Old box, boo!

This box is a little shorter, and a little wider, so it fits in longways. Even the inner sliding door can shut, although the clearance is about 1/16th of an inch.

New box, yay!

the only real difference (besides size) between this one and the Storage Box for the Coronet of a Duchess is that I finished this one with “Garnet” shellac instead of “Blonde” shellac, so the color is deeper.

Storage box, open