bookmark_borderWarping Pegs

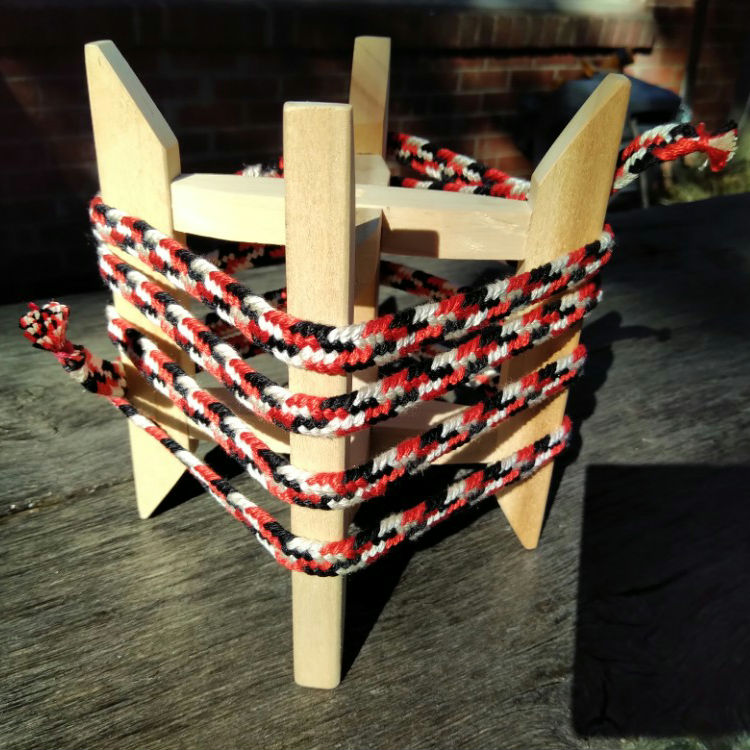
More than a decade ago, when I first started braiding, I made a couple of warping pegs so that I could measure out material for setting up a braid on my marudai without having to pay for pre-measured silk. Not too much later, I made a nicer set of pegs for Sharon, so that she wouldn’t have to borrow mine. Over the next ten years, I kept telling myself that I should make myself a nicer set of warping pegs because my first set was kind of “quick and dirty” in their construction. Finally, I was in the mood to actually do that.

The pegs, clamped to my coffee table

Same as Sharon’s pegs, I did a pair of pegs on one board, and a since peg on the other. This is really common, and you will see it a lot if you do a web search for “warpings pegs”. It enables you to do a few different things like keeping two parts of a warp separated, effectively doubling the length of your table by using the single peg in the center of a long warp, and making part of a warp slightly longer than the other.

https://ee0r.com/proj/images/pegs-warping-warped.jpg

That last one is handy for some of the braids where the uptake on some strands is higher than the other. If you make all the strands the same length, you wind up running out of material on some tama faster than on others, and you usually throw away a bunch of material. Anyway, I’m glad to have them now.

The boards are both cross-drilled, so I can clamp them to a table edge using these ginchy clamps from Rockler. These clamps are a really good buy since they accommodate a large number of table thicknesses in a compact, sturdy clamp.

The wooden pegs have metal hooks extending from the top, same as all the other ones I have made. These are imitative of Japanese bodai warping stands. While they are not necessary, and most warping pegs made for weaving do not have the hooks, I like them.

I also put some sticky felt on the bottoms of the boards, so maybe they won’t scratch up the dresser in my crafting room like the cheap ones did.

bookmark_borderFrame Loom

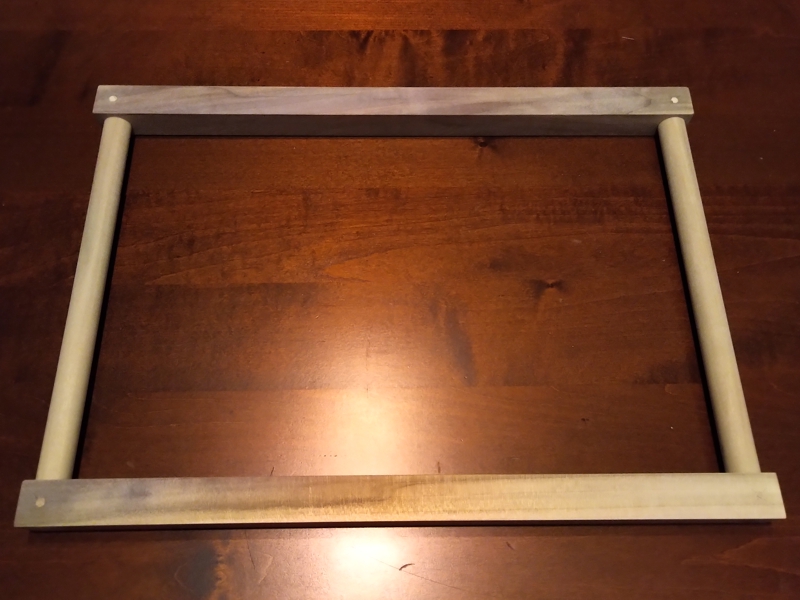
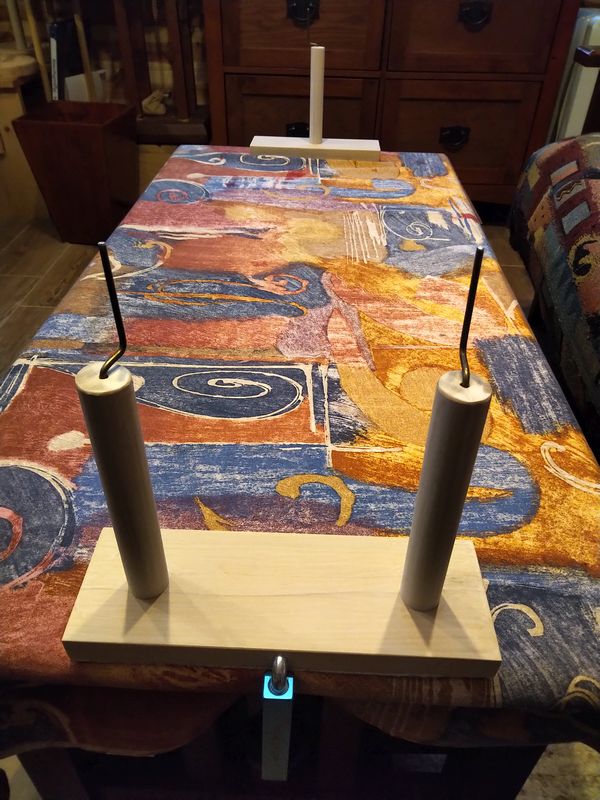
I was on a Zoom conference recently with a bunch of braiders, and somebody was showing off a portable frame loom she’d made from dowels and plumbing fittings. It was compact enough to fit into the laptop compartment of her backpack, but she often had to display it to the TSA because of the copper elbow joins at the corners. I was pretty sure I could make something similar from just wood, so I did it just to prove my concept to myself.

All-wood frame loom

Mine is a little beefier than hers. She used 5/8 dowels, but I wound up using 3/4″ dowels and 1″ square rod. Mine is also a little larger than hers, at 12″x17″. This (for obscure reasons) is a very Japanese aspect ratio. There is no glue, so I could knock out the pins if any part needs to be replaced. Here’s a close-up on the joinery.

Pegged through-joins at the corners

I did use a drill-press and some fancy bits to make sure the holes for the joinery were straight and clean, but other than that it was all sawing to length and tapping together with a hammer. The materials were all purchased at a local chain hardware big-box store, so nothing too exotic.

bookmark_borderBeaded Fancy Braid

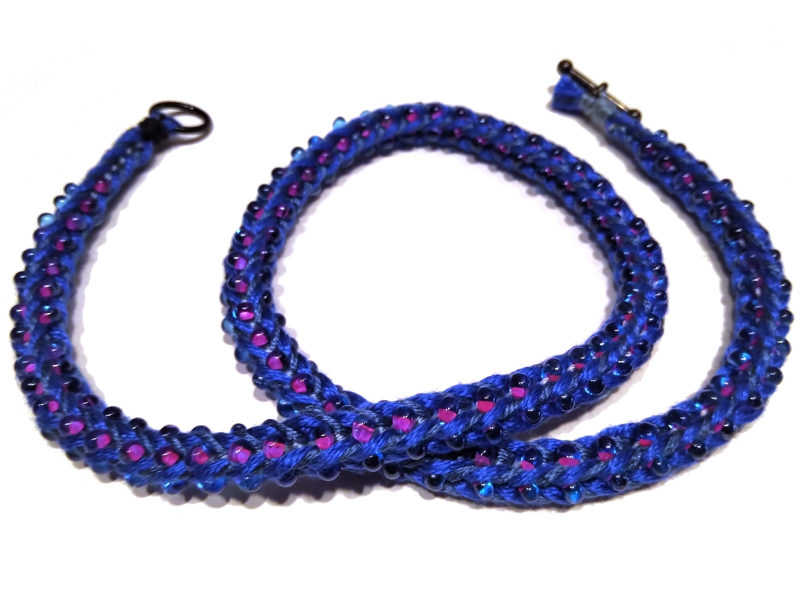
The braid I used for Fancy Square Braid and Another Fancy Braid has these nice compressed inner threads, and it struck me that you could make those inner threads beaded, and the beads would be nicely couched in the braid. I had some “magatama” beads in my stash from the swag bag of the AKS conference in 2017, so I decided to try it.

Fancy Braid with Beads completed 2021.11.08

I really like how it came out. There are a couple of “errors” in it, but I mostly recovered from them quickly so the overall braid was not disrupted. The magenta inner core on each bead makes a nice counterpoint to the different colors of blue thread I used for the other strands. The beads are strung on “S-Lon” beading cord, were kind of a challenge to get them well seated in their stitches, but I was able to work out a method eventually. The “magatama” beads have a teardrop shape, and are only on every other side stitch, which made it somewhat easier.

bookmark_borderAnother Fancy Braid

I was going to participate in a zoom conference with a bunch of braiders, but I realized that I did not have a braid set up to work on during the call. so, I measured out the silk, wound the tama, and worked on the braid. Then, I had another Zoom, and that gave me enough time to finish the braid.

It’s basically the same braid as the previous one, but the core and outer colors are reversed.

bookmark_borderFancy Square Braid

This braid is braid 16AD, the final braiding pattern, in Jacqui Carey’s book “Creative Kumihimo”. Essentially, it is a 12-strand braid that is overlapped with a 4-strand braid. I used it to create this braid which uses Baronial colors at the corners to protect a tight inner core of Kingdom colors.

The completed braid is about 30 inches long, with a ring-and-toggle closure so that it can be used as a medallion cord. Each strand of the 16 contains 6 ends of lace-weight silk yarn.

bookmark_borderBox for 4×6 Index Cards

I use index cards for a lot of things. I used to have a printer that would accept 3×5 cards on manual feed, so I’d print out all kinds of useful information onto cards for handy reference. I even made a box to hold printed and blank 3×5 cards on my desk so that I’d always have them within easy reach. That printer is long gone, and my current printer will only take things as small as 4×6 cards. So, it was time for a new box.

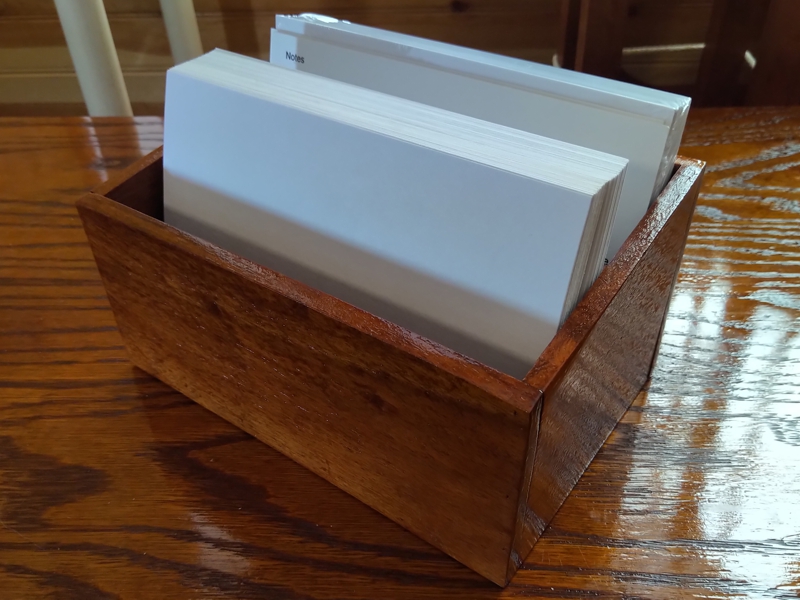
Full 4×6 Box

A friend gave me some thin wood scants, I think they might be mahogany, and I had enough to make this box. There is no fancy joinery, it’s all held together with glue and 23-gauge pins. There is even a divider down the center to keep the clean cards separate from the used ones.

Empty 4×6 Box

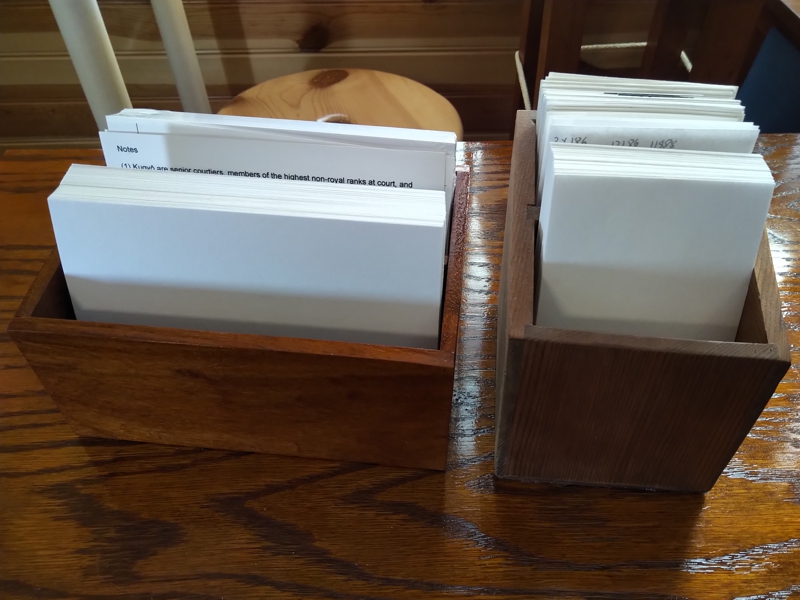
It is finished with a couple coats of blonde shellac, which really brightens up the wood color and gives it some polish. I put some cork squares on the underside so that it won’t scratch up my desk. You might notice that it holds the cards in landscape orientation. Given the shapes of the wood pieces I had, it was actually more economical to do it this way than portrait. The 3×5 box was portrait, and made from cedar.

4×6 and 3×5 Boxes Compared

bookmark_borderStill Braiding

I am still braiding with kumihimo on a regular basis, though not as much as I used to. Most of my braids become medallion cords that are donated to my local SCA group. Some become garb embellishments. every once in a while I just do a braid to practice a particular braid or color combination. Also, sometimes for fun. This one is basically for fun, to break up the monotony of making black&gold braids for the Barony or red&white braids for the Kingdom.

Completed 2021.10.31

This braid is about 6 feet long. It is a 9-strand flat braid that uses 6 ends of lace-weight silk yarn per strand. This braid is a little short for it, but it is appropriate for use as a sageo or simply securing a box. To achieve this color pattern in the final braid, I started with a RKK WK RW WR set-up.

The Set-Up