I neglected to post about this at the time, but back in March when we were getting ready for my sweetie’s elevation, I made three more eboshi for our friend Gwen.
Of course, Gwen has been camping with Kaminari for years and has several eboshi, but nothing deemed nice enough to wear while heralding an elevation. So, I made three more for them. One floppy nae eboshi, one linen tate eboshi lined with heavy interfacing, and one mesh tate eboshi for summer wear. The mesh eboshi has a silk band for the extra-fancy.
My local Woodcraft location had some ambrosia maple cut-offs on sale for a reasonable price, so I picked up a ~5 foot long ~7″ by 1.5″ board and had to decide what to do with it. For the past few years, I’ve been thinking a lot about seating, so I decided to make a simple stool. Ishitani Furniture posted a video about making some 3-legged stools, and I thought about that, but I was not sure I had enough material for two stools. I decided to make one 4-legged stool.
I cut the board into two pieces. One 16″ piece I ripped into four leg pieces. I knocked the corners off those pieces with the intention of either using them as octagonal legs and later cutting tenons somehow, or turning them round. Then Chris Schwarz posted a video about turning tenoned chair legs on a lathe, and I decided to unpack the lathe and give it a try.
The legs came out about 1.375″ in diameter, with a 1″x2″ tenon turned on the end. Given that I am not super experienced at wood turning, and that this is the first time I have used the lathe in about 4 years, I think it went pretty well. They are not perfectly even, but the lathe makes everything perfectly round and smooth.
Next, I used a long, straight bit in the router to joint the edges of the board, then I used the same bit to cut a 1/2″ wide by 3/4″ deep slot into one edge of the board. I cut the board into two ~21″ long pieces, then cut a 1.5″ wide spline from some half-inch thick oak stock and used it to make a splined butt joint between the two pieces. I probably could have just glued the two edges together, but I wanted to try the splined joint, and the extra strength makes me feel better about sitting on the stool.
After letting the glue dry, I scraped off the squeeze-out and sanded it smooth. Then I pulled out a drilling guide and set it for ~10 degrees. I drew a 45 degree angle in from each corner, and clamped the drilling guide to the underside of the seat. I probably could have done this on the drill press, but I would have had to set up a jig to get a repeatable position on the seat. With the guide, I could align the guide to my pencil line, flush the corners of the guide with the edges of the board, clamp, and start drilling. I was using a 1″ Forstner bit to cut the mortises for the legs, so trying to do this by hand without a guide was not a good idea. Schwarz uses auger-tip spade bits for this job, but I hate spade bits with a passion, so that was out. Boring a 1″ hole at a 10 degree angle through a 1.5″ thick board was an athletic experience, but a little camellia oil in the hole kept the friction down so I was cutting and not burning my way through.
Then, I beveled the edges of the seat with a trim router. Normally, I soften the edges with a 1/8″ round-over, but I decided to go a little more angular and I’m really happy with the way it looks. The contrast between the angular seat and the round legs really works for me.
When I started to insert the leg tenons into the seat mortises, I realized it was going to be a very tight fit. I had thought that I would have to notch the tenons and wedge them into place, but as it was I needed to hammer them in and they are not coming out any time soon. Once the legs were in, I trimmed the tops of the tenons flush with the seat, and the bottoms of the legs parallel to the floor. Finally, a generous dosage of hemp oil finish.
That’s why you see it here in my drying cabinet/furnace room. I applied the oil before thoroughly reading the label and finding out that it takes a month to cure. All over but the waiting, I guess.
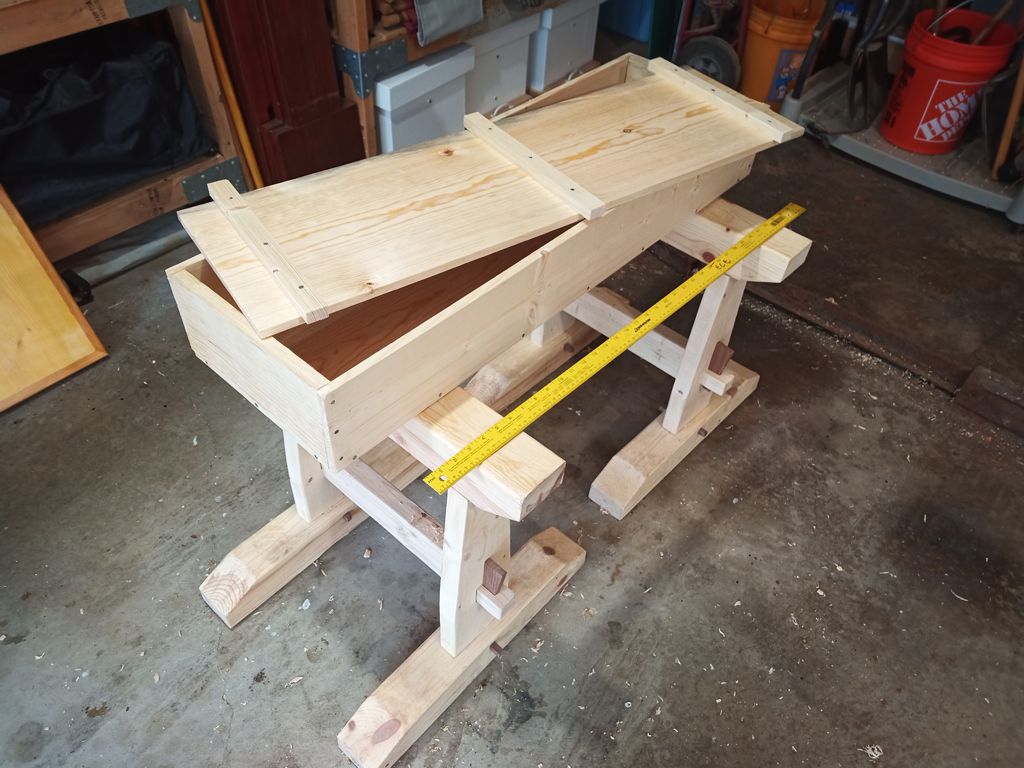
I have been putting off the next step in this long-running experimental archaeology project more because I wanted to work on it at a particular event than because of my normal level of procrastination. I planed down the 1by lumber months ago, then I cut and assembled the chest at Aethelmearc War Practice. I started this project working on the Mark Zero “proof of concept” chest at War Practice back in 2018 or 2019.
Anyway, this is the fourth try at making a tool chest that looks like one you can see in the Kasuga Gongen Engi-e. This emaki illustrated scroll is from the 14th century and shows scenes from the history of a Kasuga shrine, including the shrine’s construction.
To better match the size and look of the Kasuga chest, I started with 1×6 lumber instead of the 1×8 I used on the Mark 2. It’s only about 39 inches long instead of the fifty-something inches of the Mark 2. I also used the thicker battens like I discussed, which I think worked out well.
Here is what the four chests look like laid out in a row:
I think I really have the look now. The size an proportions may not be exactly right, but it’s pretty much there. I’ll maybe work on a few tweaks at some point in the future.
It’s long enough that I can get some of my longer saws in there, just deep enough that things don’t get buried under several layers, and still wide enough that some of my organizertills fit in there sideways to keep things from sliding around.
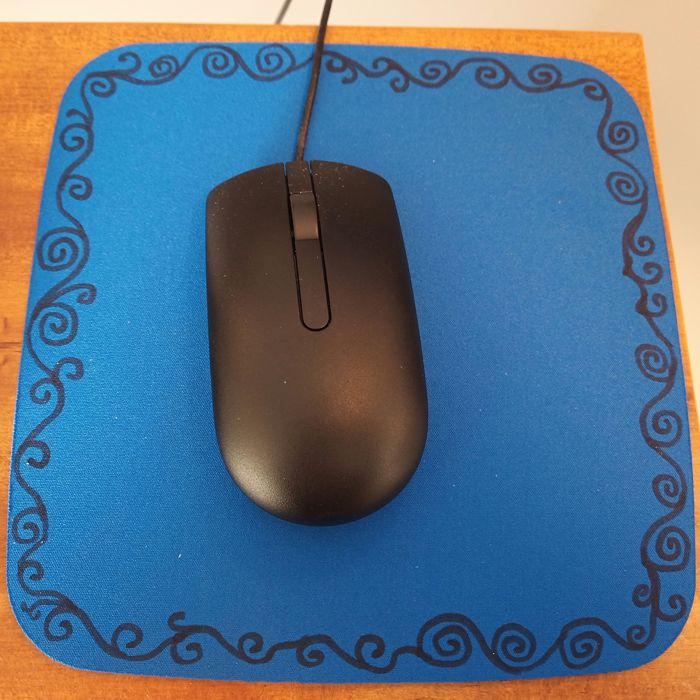
Although I have been working for my current company for almost three years, nobody ever gave me a mouse pad for either my desktop in the office or for the laptop I use to work from home. I went to the office store to buy mousepads, and they only come with generic graphics or in a small selection of solid colors. I guess nothing else really sells these days. Anyway, I wound up buying a 2-pack of royal blue mousepads. Because that was boring me, I took a marker and doodled some karakusa decorative vinework around he edges.
The one at work
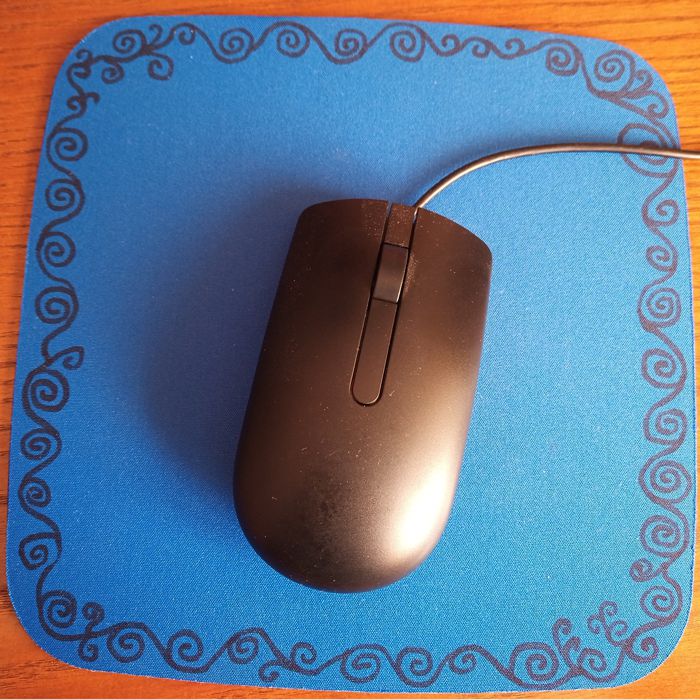
The one at home
That’s better. I’m so glad that I taught myself how to do this for the Tachi Kake project.
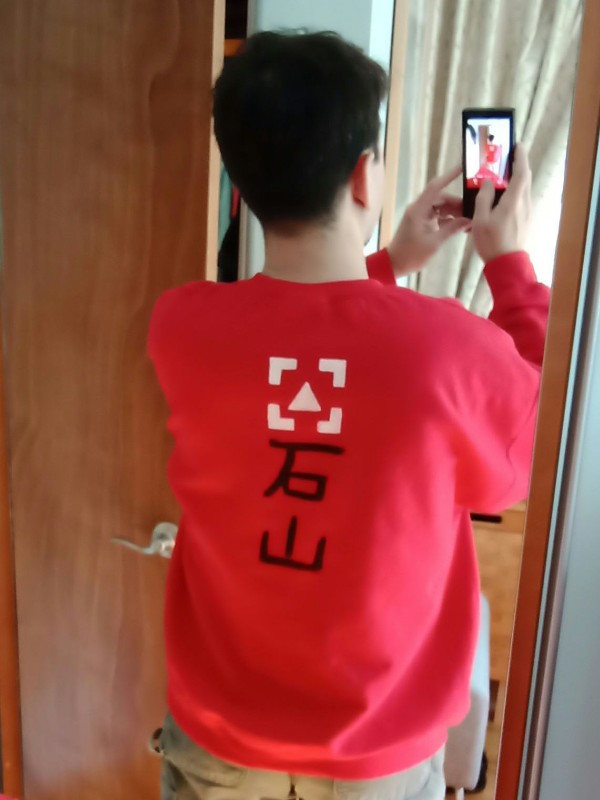
The motivations for this shirt are complex, but the execution was straightforward. I bought a blank red sweatshirt from the craft store, block-printed the Yama Kaminari clan mon in the center of the back and at the front left shoulder in white, then painted the kanji for my SCA name on the back beneath the mon. I had to re-paint the white by hand, which is almost always necessary when trying to paint white on dark color, but it’s pretty easy once the graphic is established. I used Jacquard Textile Color on this instead of heavier acrylic paint, since it soaks into the fabric more and changes the texture of the garment less. I’m really starting to like the Textile Color quite a lot.
Please forgive the mirror photo.
Re-mirrored so the kanji-enabled can read the name.
Anyway, this came in very handy on the chilly first night of War Practice this year, and on the chilly morning of pack-out at that same event.


