bookmark_borderRed Hexagon Shibori Kosode

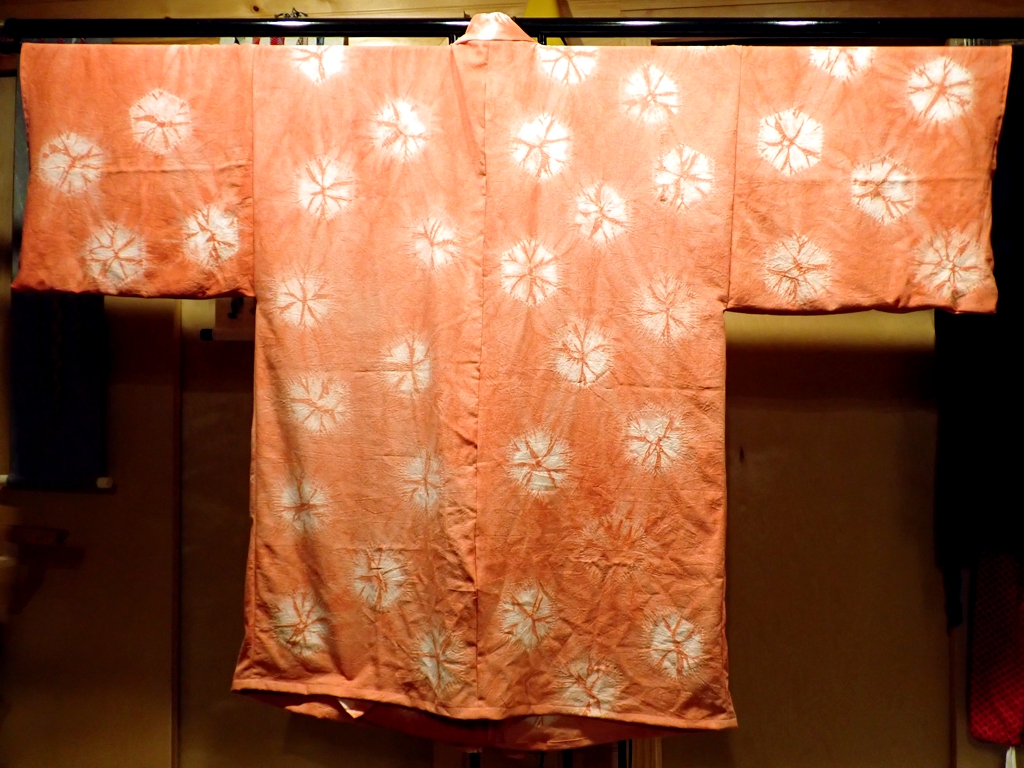
This kosode is made of linen that has been hand-dyed in madder, using a stitched-resist shibori technique to create hexagonal patterns in the fabric. From purchase of fabric to completion of garment took more than a year, though obviously I did not work on it constantly for all of that time.

Red Hexagon Shibori Kosode, from Linen
Back of the Red Hexagon Shibori Kosode

I started by purchasing some soft white linen from a merchant at Pennsic. This soft linen uses shorter fibers, which means it will not last as long, but I like the texture and have found that it works very well for shibori dyeing. I then cut all my pieces and serged the raw edges to create false selvedges and to keep the cut ends from fraying during the rest of the process. This was the easy part.

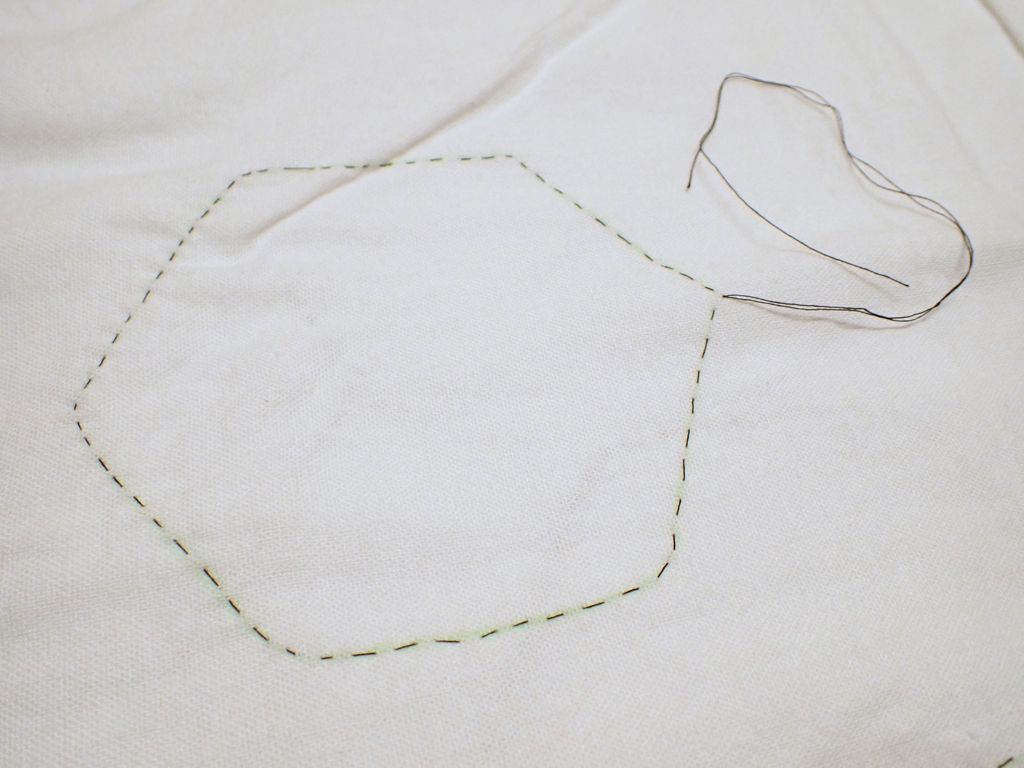
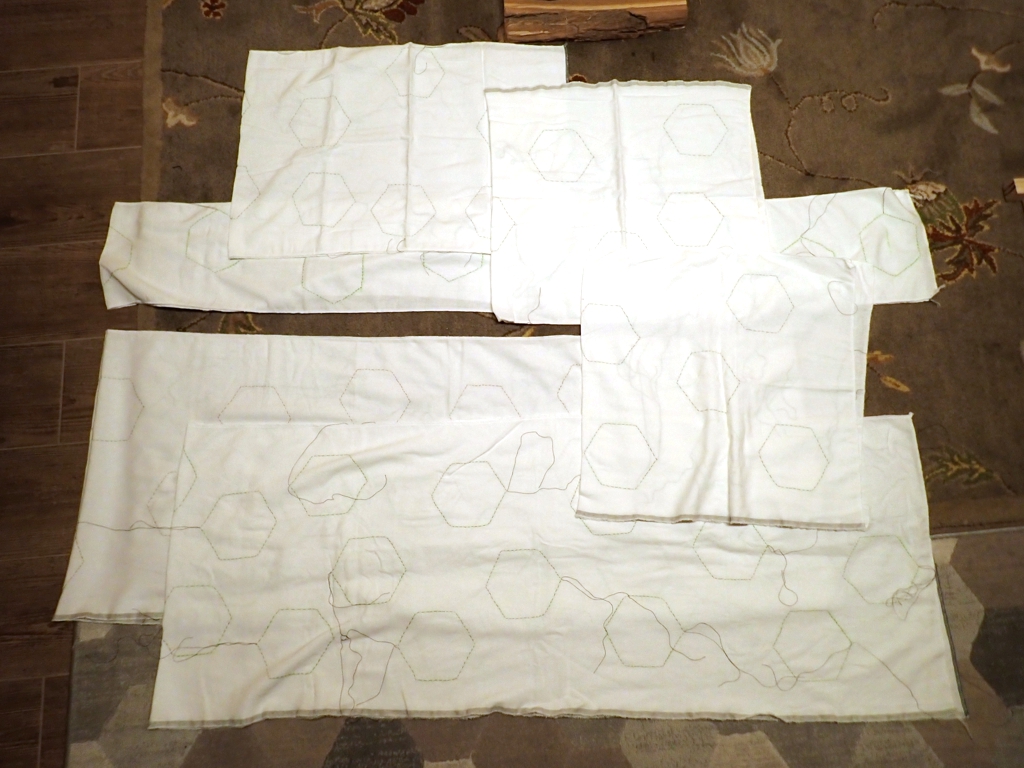
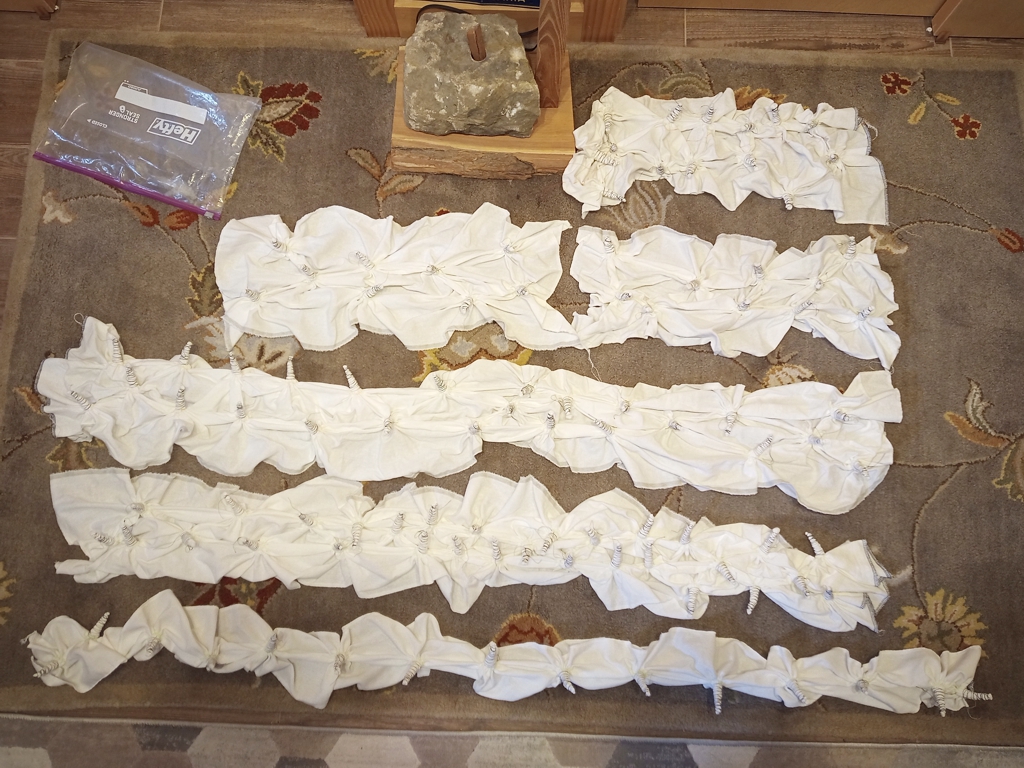
Then, I started adding my hexagonal resists. The process for this was to trace a pattern hexagon with chalk, then hand sew a running stitch around the chalk using about three times as much thread as needed. Once all of the pieces were stitched, the hexagonal stitches were then drawn up, and the ‘extra’ thread was wrapped around the small bundle of fabric this creates. I stitched, drew-up, and tied 103 separate hexagons. You can see in the above photos two places where the stitching broke or the binding came loose during the dyeing process. Such is life.

One Stitched Hexagon
103 Stitched Hexagons
103 Bound Hexagons

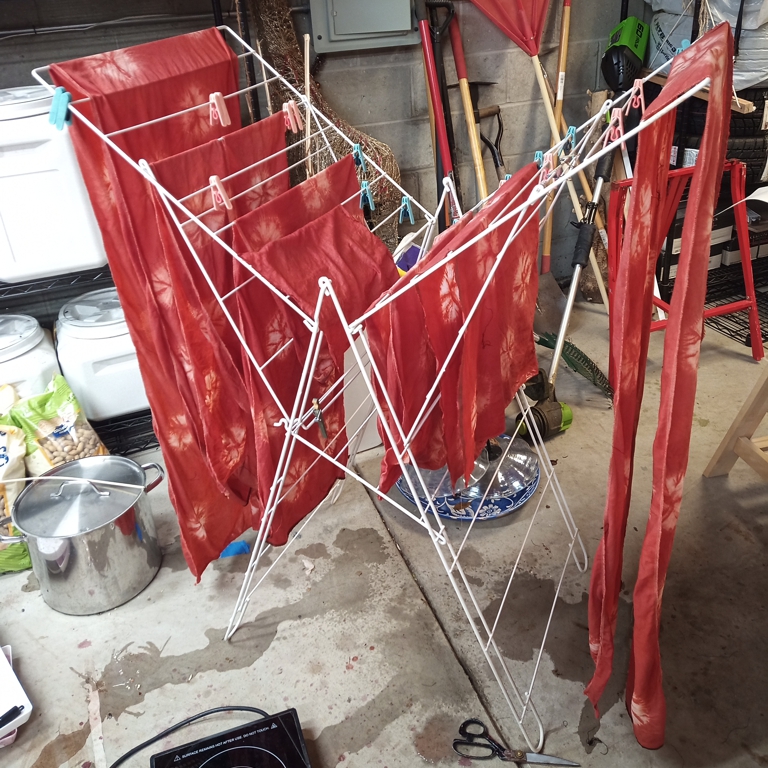
The next step was dyeing. My friend Rei kindly offered her assistance and the use of her dyeing studio full of equipment. I bought my own madder powder, and reimbursed her for the (considerable) cost of mordants and other chemicals. It took a full day in the studio (~10am to ~6pm) to prepare the dye baths (I used 4 pounds of madder powder for 2 pounds of fabric, plus a little alizarin to boost the red), stimulant bath, and mordant bath, soak the fabric in the baths, and undo all of the stitching so that the fabric could dry overnight. This process would not have been possible without Rei’s knowledge, amassed references, equipment, and time. Thanks Rei!

Dyed Fabric Drying on the Rack

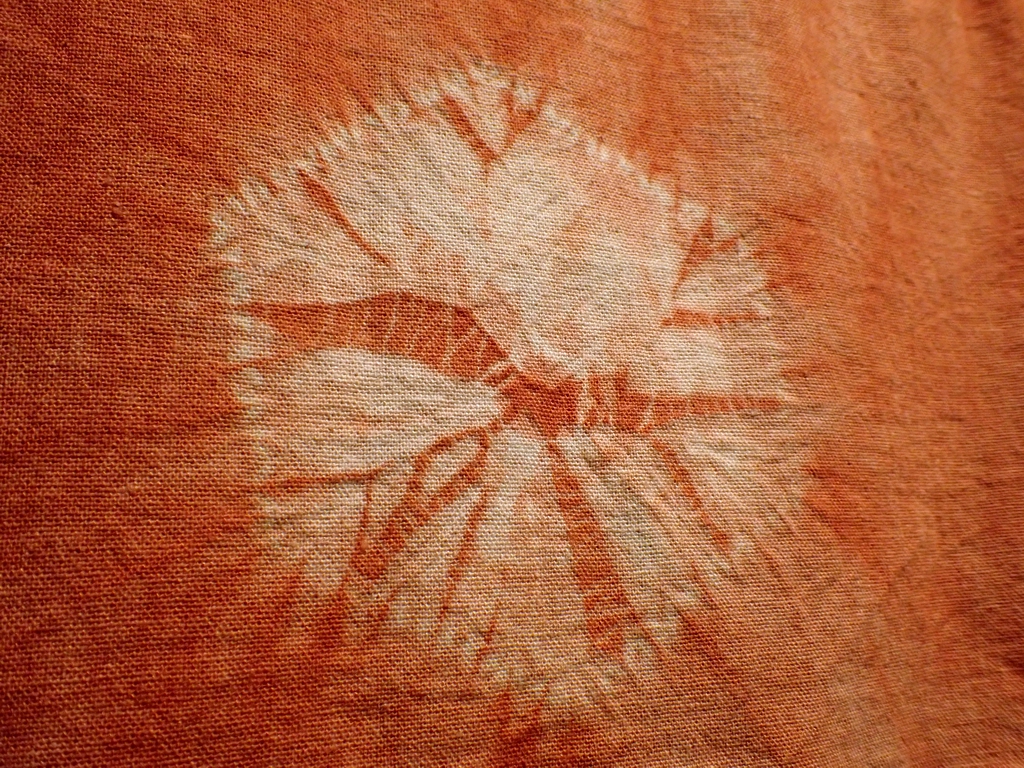
Once dry, I laundered and ironed all the pieces, then sewed it into a kosode. It is large, and kind of heavy actually. After washing, the hexagons became even more defined, and the color gradations across the fabric from all the wrinkling and folding caused by the bound hexagons give it an interesting visual texture. I’m very happy how this all came out. Every bit of money and time I spent on this project has been worth it to me.

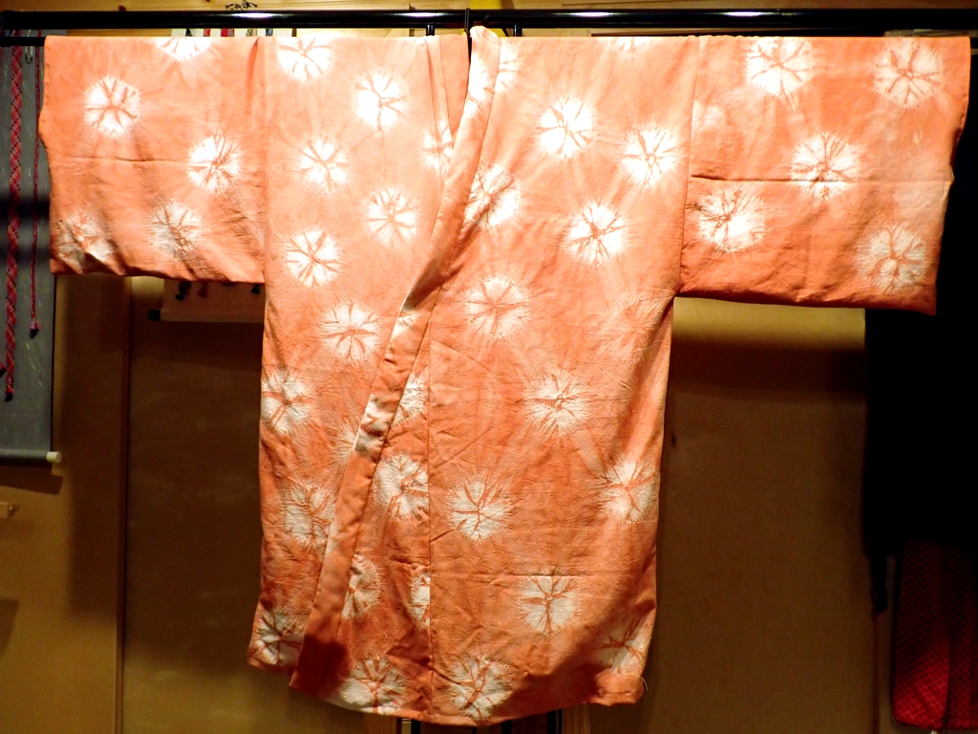
One Dyed Hexagon

bookmark_borderShibori Experiments

Some members of the Fiber Arts Guild of the Debatable Lands have been practicing their fabric dyeing lately, but it is to big a production to make up large dye pots just to try some new things out. For that purpose we had a dyeing day at Mistress Tsvee’a’s House this past Sunday. We had a vat of indigo, a tub of dark red fiber-reactive dye, and a couple of burbling vats of natural dye.

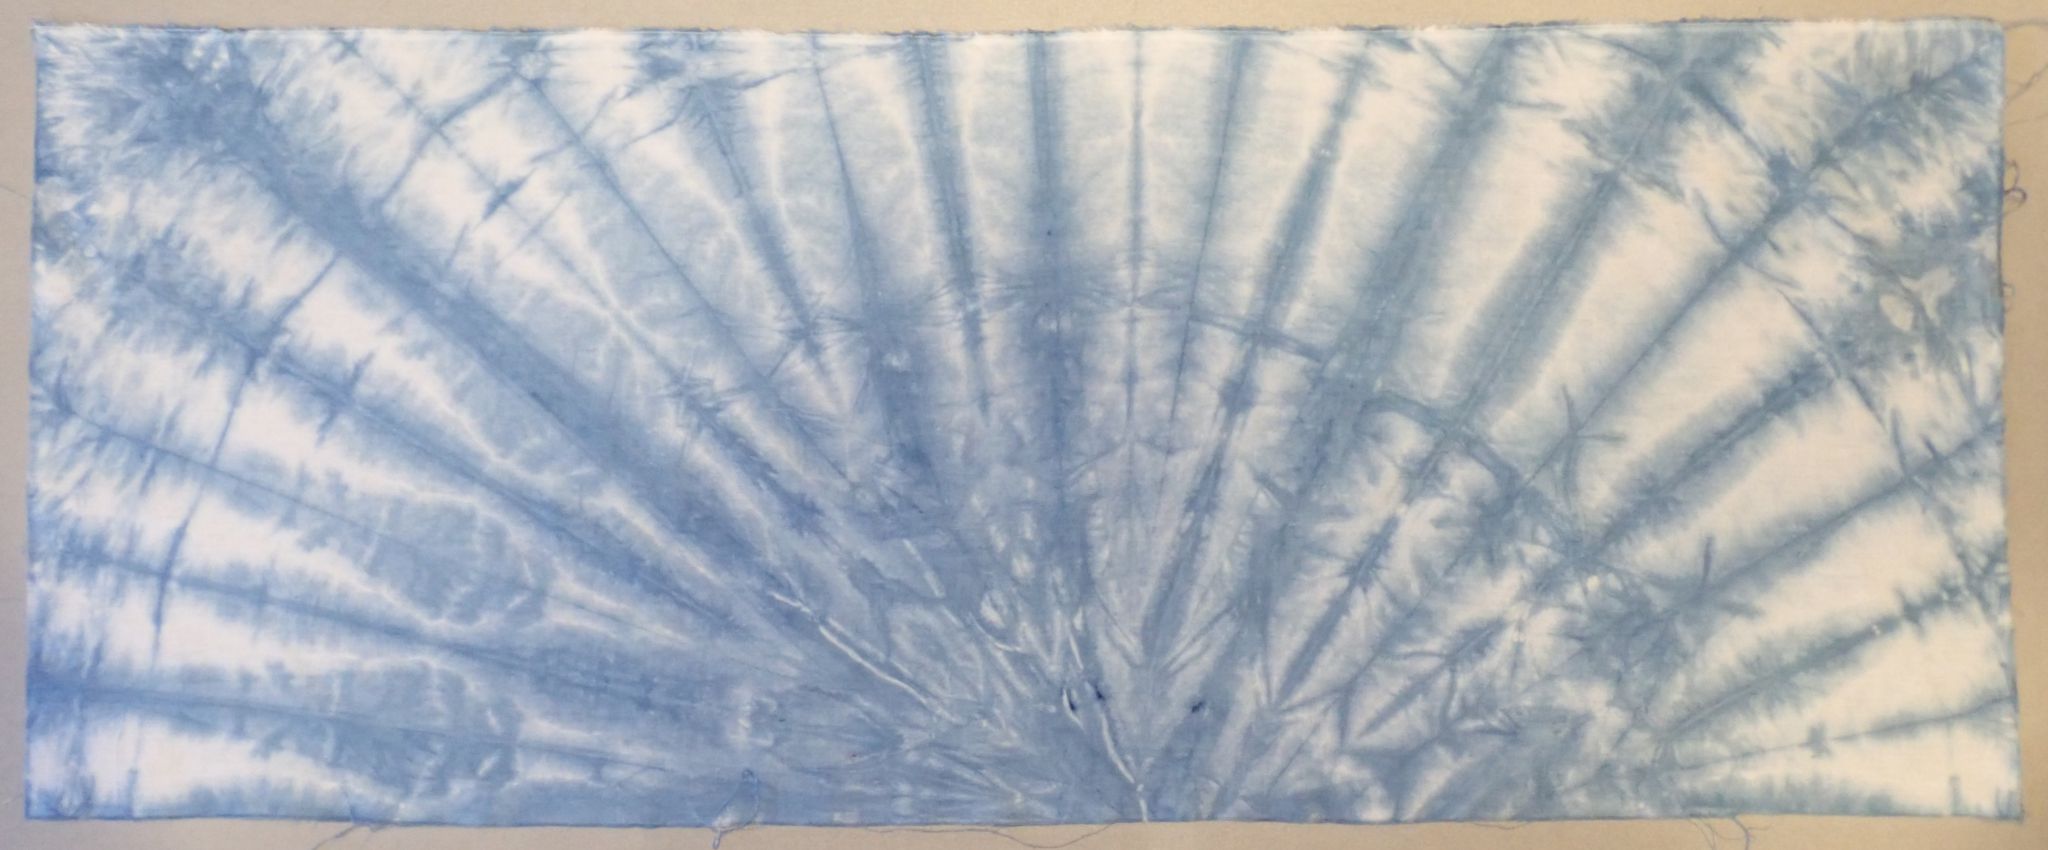
I put one carefully prepared ball of fabric into the indigo. I had fan-folded a rectangle of cotton around a point in the middle of one long edge. Then I rolled the folded fabric into a ball and tied the edge with yarn.

Indigo-dyed Folded Shibori

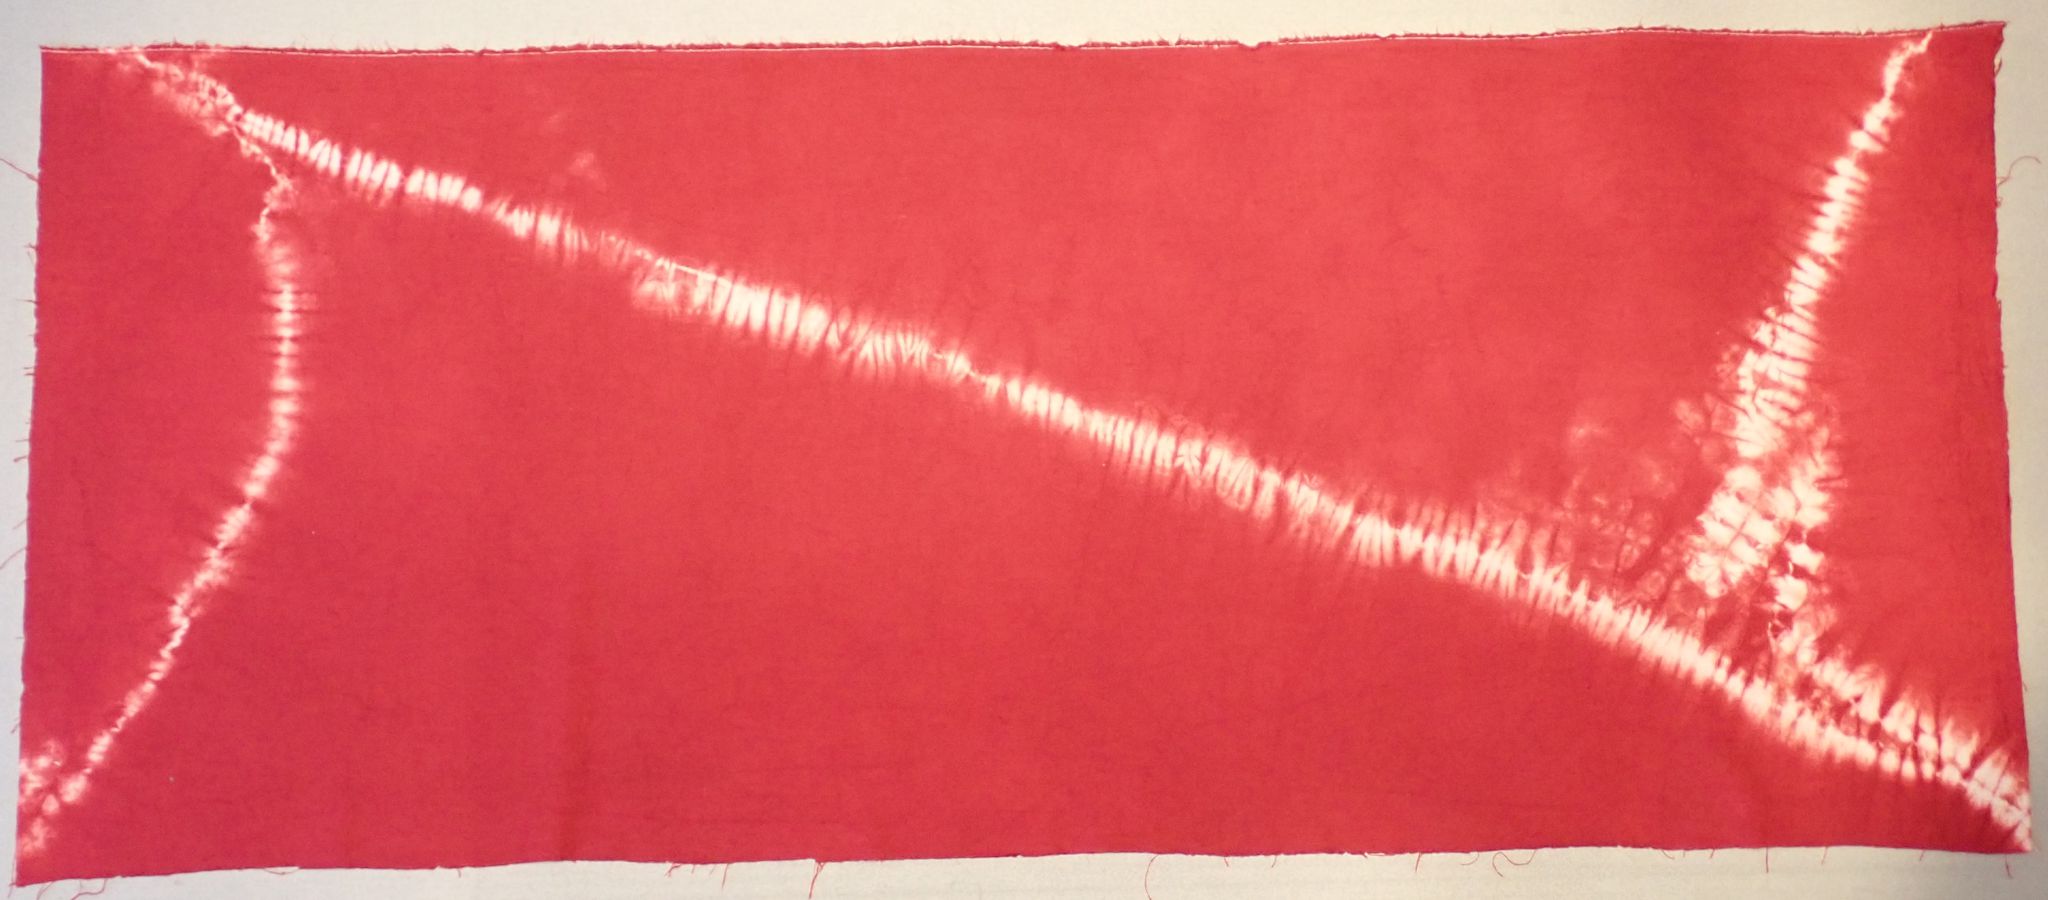
I put another carefully prepared bll of fabric into the Turkey Red Procion dye. I had twisted it up around two separate points until the whorls met in the middle, then again tied them with yarn. I should have twisted tighter and tied a little lighter. Still, it’s interesting.

Procion-dyed Twisted Shibori

I also dyed some twisted up cotton yarn, but that description will have to wait until the braid is finished.

bookmark_borderShibori Clothing

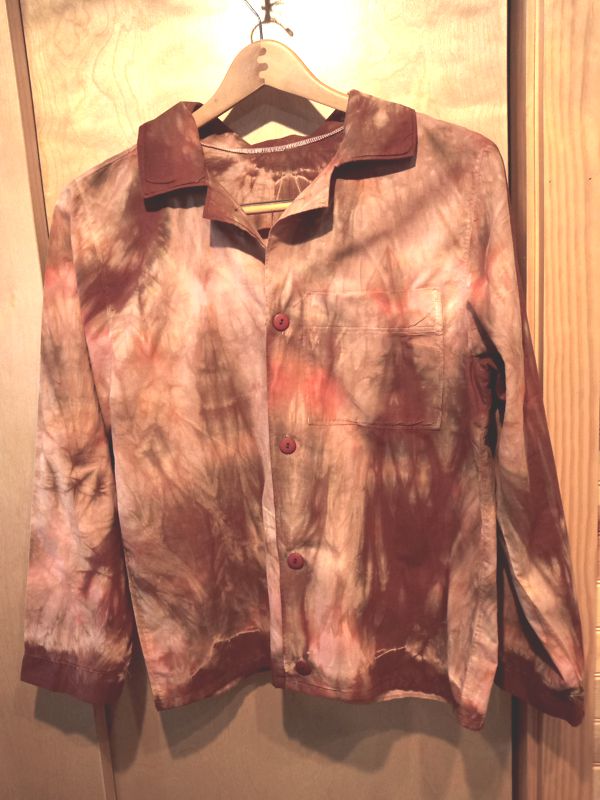
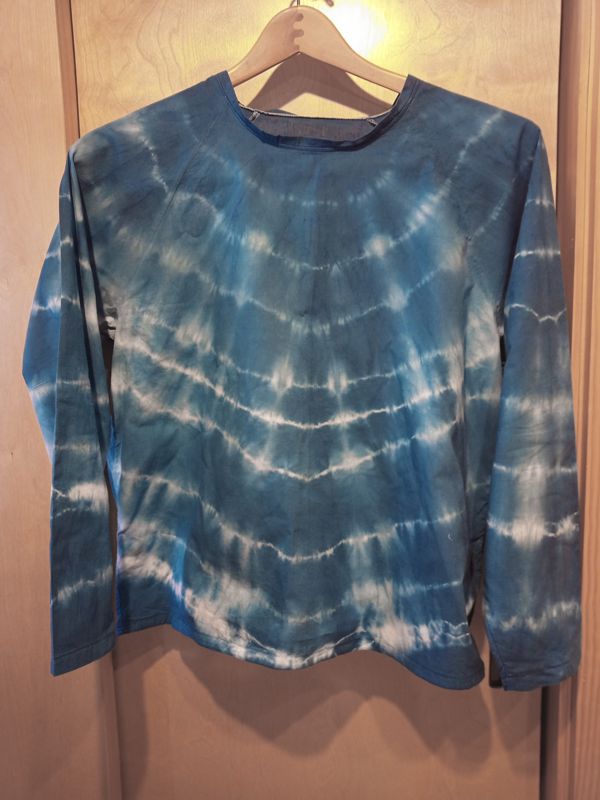
A few of us did some shibori dyeing in the garage recently. The last time we hosted this, one of our friends brought a bunch of white cotton clothing she had found at the store. After that, I made some shirts from cotton muslin so I’d be ready for the next time we did dyeing. That was like two years ago, but better late than never. Here is the ensemble of both shirts.

The brown shirt kind of looks like an accident in a bleach factory, but the pattern is much more interesting in person. I used my famous pajama pattern, and even rememebered to do the top stitching in cotton thread so it would pick up the dye, After laundering, I opened the button holes and sewed on some buttons.

The blue long-sleeve tee shirt looks a little more tie-dye traditional. I basically scrunched the shirt up sideways and then put a bunch of rubber bands down it to hold it together. I like that it came out symmetrical and smiley. There were actually two different kinds of blue in the dye bath, but I think the “peacock” blue really took precedence.

bookmark_borderIndigo Shibori Silk Kosode

A few weeks ago, Sharon hosted an indigo dyeing activity at our home. Some people came over and we spent all day dunking fabric in dye pots. I did some small test pieces for various techniques, but I also twisted up some big pieces of silk broadcloth, and then I made this kosode from that fabric.

It looks kind of like an accident in a bleach factory, but closer up the indigo patterns are very organic and Rorshach-inkblot fascinating.

bookmark_borderBlue Shibori Pajamas

After 16 (!) years, my hydrangea-print flannel pajamas (the first pajamas I ever made) are well on their way to being entirely worn out, so I decided to get around to doing some more sewing and make myself some new flannel pajamas.

Pajamas from blue shibori-print flannel

These use a great shibori-print “Snuggle” brand flannel from the fabric store and (again) my favorite sewing pattern of all time. Again, though, I left the pockets and false fly out of the pants. I did wind up cutting the fabric too short for the pants legs, so I added the same style cuff to the legs that the pattern has for the sleeves.