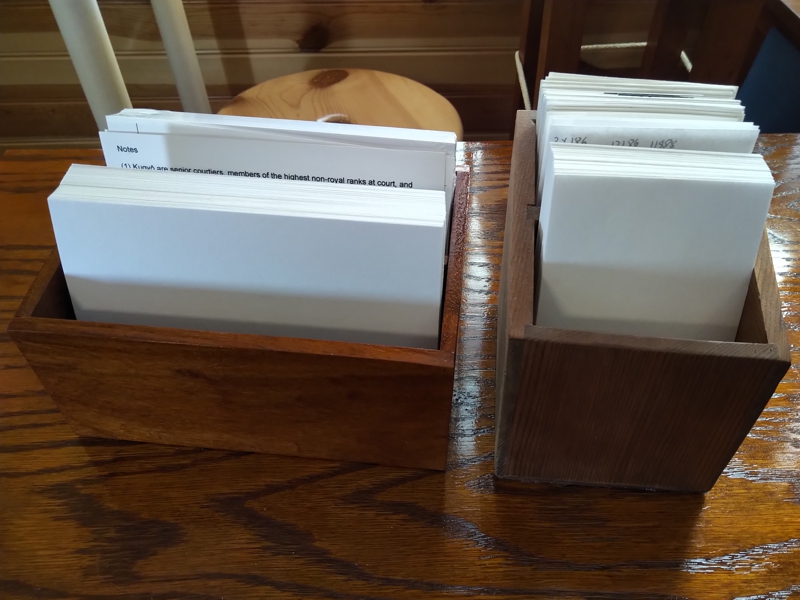
I use index cards for a lot of things. I used to have a printer that would accept 3×5 cards on manual feed, so I’d print out all kinds of useful information onto cards for handy reference. I even made a box to hold printed and blank 3×5 cards on my desk so that I’d always have them within easy reach. That printer is long gone, and my current printer will only take things as small as 4×6 cards. So, it was time for a new box.
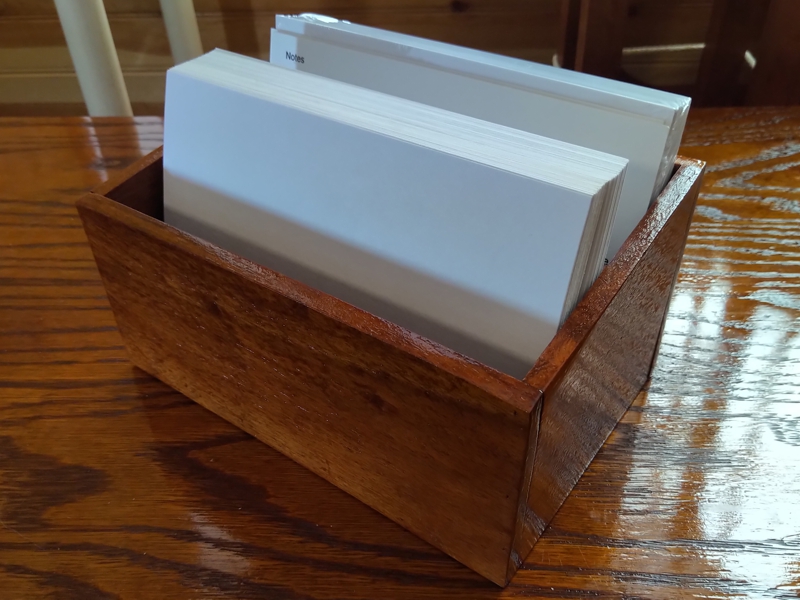
A friend gave me some thin wood scants, I think they might be mahogany, and I had enough to make this box. There is no fancy joinery, it’s all held together with glue and 23-gauge pins. There is even a divider down the center to keep the clean cards separate from the used ones.
It is finished with a couple coats of blonde shellac, which really brightens up the wood color and gives it some polish. I put some cork squares on the underside so that it won’t scratch up my desk. You might notice that it holds the cards in landscape orientation. Given the shapes of the wood pieces I had, it was actually more economical to do it this way than portrait. The 3×5 box was portrait, and made from cedar.