I did these braids back in the fall, but I held onto them for a while and then put them into the Baronial gift basket to the crown for Kingdom coronation. I’m posting today because Coronation was yesterday.
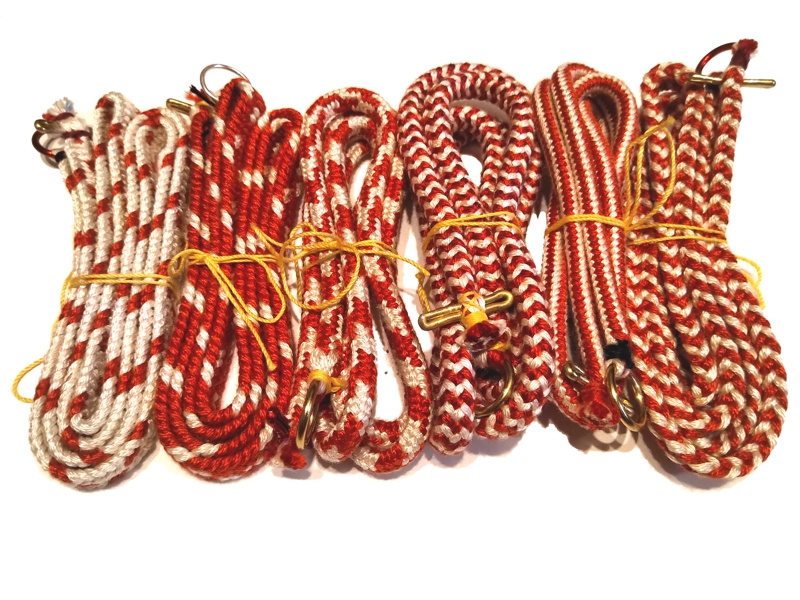
Coronation Braids, Spring 2022
From left to right there are two 9-strands flat braids, three 16-strand round braids, and one 8-strand flat braid. They are all silk, and all intended as medallion cords.
I don’t know if all that is exciting enough to withhold “the surprise” for six months, but there it is. Now it can be told.
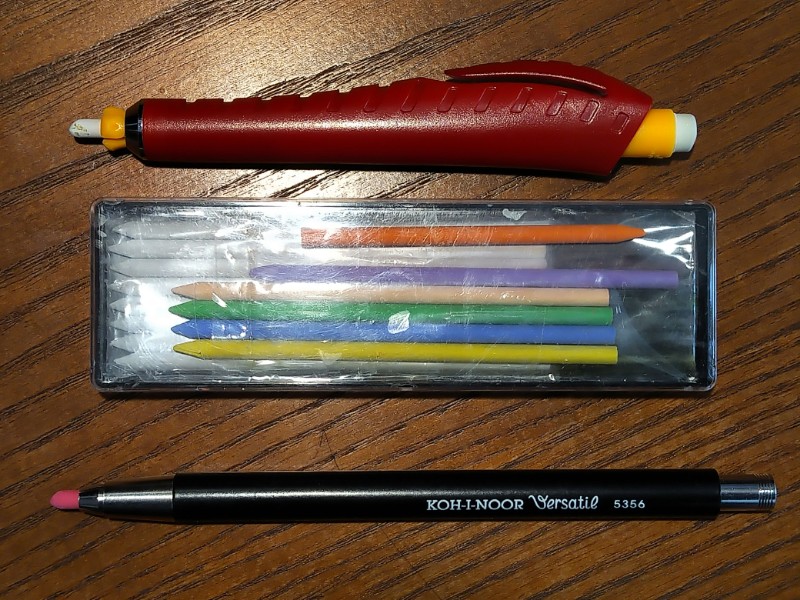
For those of you who, either at my recommendation or independently, purchased the “Dritz Chalk Cartridge Set” chalk holder, or (perhaps more so for you who) did not purchase the Dritz model because it is made of plastic, it should be noted that the chalks that come with the Dritz holder are 3.8mm in diameter, and can be inserted into the “Koh-I-Noor 3.8mm Clutch Pencil 5356″ which is made of metal.
Dritz (top) and Koh-I-Noor (bottom) 3.8mm Holders
I have never seen the Koh-I-Noor 5356 in any store, but it is available from several online retailers. I won’t attempt to bias you for or against any particular retailer. The down side are that the 5356 does not come with a supply of chalk or a sharpener.
I have yet to compare the Koh-I-Noor colored artist’s leads to the Dritz chalk sticks in terms of marking and washability. So far, the Dritz chalks have lasted several years and one pack may be a lifetime supply.
Back in October, I was idly searching eBay for Japanese antiques, and I found a kanmuri for sale at a very reasonable price. So, I bought it. This one is not as old or as nice as my other one, but it was less expensive and is in better shape. I won’t be as afraid to wear it or lend it to others. However, it should still have a better storage container than the corrugated cardboard box in which it was shipped to me.
I made two separate boxes to hold the parts of the first kanmuri. This was partially because of the shape of the tail, and because the body of the first kanmuri does not break down into parts. This second one comes apart much better, so I could build a single flat box to hold the parts.
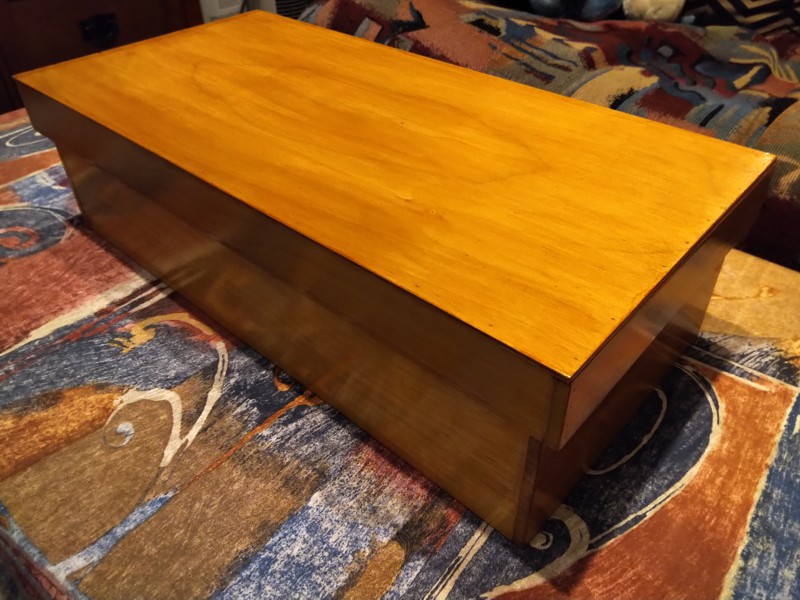
Second Kanmuri-bako, closed
This kanmuri-bako is a simple rectangular, lidded box. The top and bottom are thin birch-faced plywood, and the edges are maple scants. I put a couple of coats of shellac on the outside for protection, but I left the inside unfinished so that the wood can absorb and release moisture as needed.
Second Kanmuri-bako, open
Inside, there is enough room that the pieces of the kanmuri can be individually wrapped to protect them from rubbing. There is actually enough room inside that I am able to store some other formal accessories in there to keep everything together. I can fit a shakuin the bottom, my sekitai, and my hirao. There’s probably enough room to add my gyotaiif I ever need to.
Second Kanmuri
Because I just realized that I never posted to my blog about the first kanmuri, here is a picture of the assembled second kanmuri. the tail removes easily. When you remove the horizontal pin, from the hat part, the upright tube can also be removed.
first project of he new year! Sharon’s been asking for this for a while, and I finally got around to it. It’s a desk riser to boos her monitor a few inches so she can see the monitor over the laptop screen and have a place to stow her flatbed scanner when she’s not using it.
Sharon’s Monitor Riser
So yes, this is more left-over shelf material from the old house. I spent so much time staining and finishing these shelves that I could not bear to throw them away when we moved six years ago, and I have been cannibalizing them as pre-finished materials for little projects ever since,
this riser is 21 inches of pine 1×10 shelf supported by some 3.25″ lengths of 1×10 to make the riser about 4 inches tall. The “legs” are joined to the top using furniture dowels (left over from IKEA purchases) and a couple of brass right angle brackets to make sure it does not wobble. I added some stain and water-based polyurethane to the cut edges to give the riser a completed look. I even did most of the cutting by hand because it was faster than setting up the table saw for four cuts.
Sharon needed 17.5 inches between the legs to stow the scanner without kinking the cord, so the 18 inches I gave her is more than enough. So much classier and more useful than a couple of phone books!
Each year, as I acquire new music, I add new tracks to a yearly playlist for occasional review and December retrospective use. This was 2021 (in order of acquisition):
Artist
Year
Album Title
Notes
Linnell, John
2021
Roman Songs
Fun little disc of unintelligible babble
Mogwai
2021
As the Love Continues
Rock on, you Scottish punks
Zombi
2021
Liquid Crystal
I hope they keep releasing an album every year
Wintergatan
2013
Wintergatan
Finally got this disc of earworms direct from Sweden
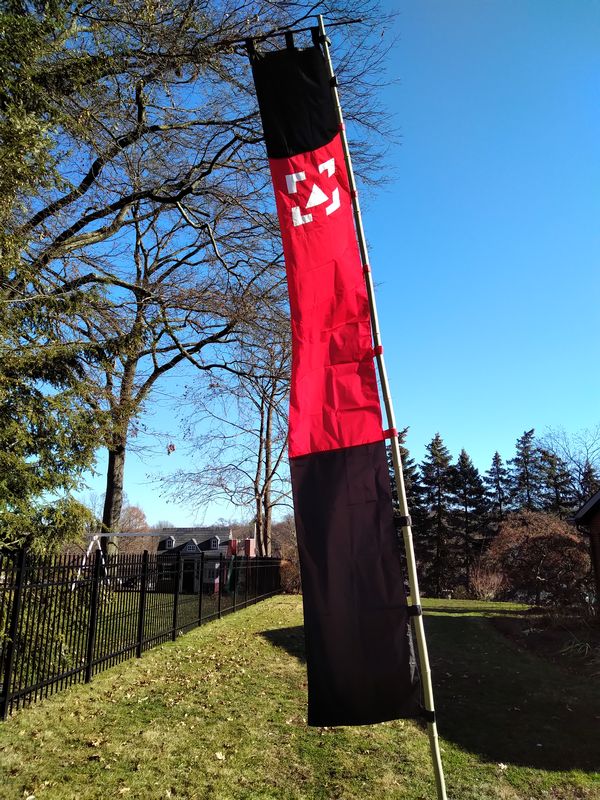
Rounding out the projects that I will get around to finishing in 2021 was a kind of large one. I made five of these large nobori banners with the mon of Clan Yama Kaminari.
Kaminari Nobori #1
I would have made only four, but four is an unlucky number in most of Asia, so I made an “extra” one which is a little narrower and which I will probably keep for myself. The clan already has four nobori, so this will make 8 we can put on display in camp.
The banners are all rip-stop nylon, and about 12 feet tall. The ones for clan are 20 inches wide, and the extra one is about 17 inches wide. The nylon is all serged to avoid fraying edges. The red band is about 6 feet tall, and the black bands are 2 feet and 4 feet tall. The “tabs” around the edges are about 1.25″ wide and start out ten inches long. I cut all the tabs from extra rip-stop so that I didn’t have to buy ribbon or webbing.
The mon is done by cutting the white pieces out of fabric, attaching them to the red fabric like an applique (that is, satin-stitching around the edges), then cutting out the red fabric behind the white.
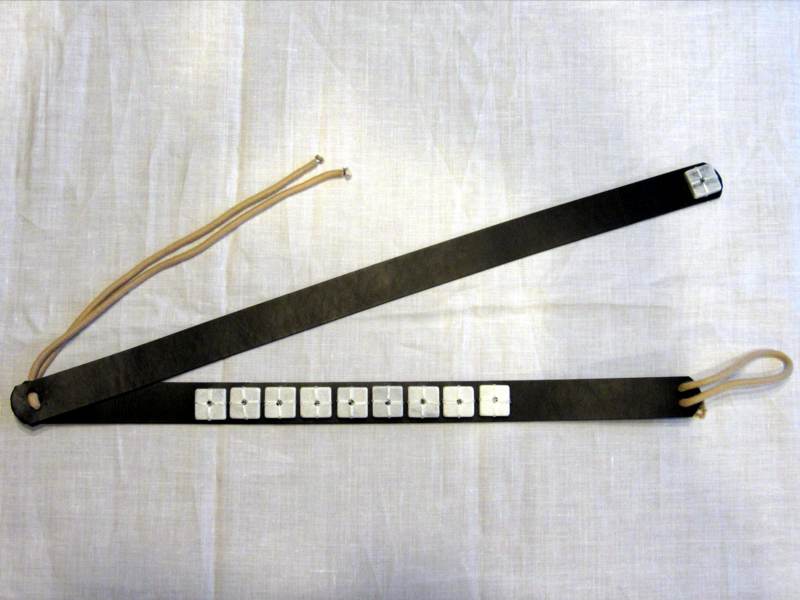
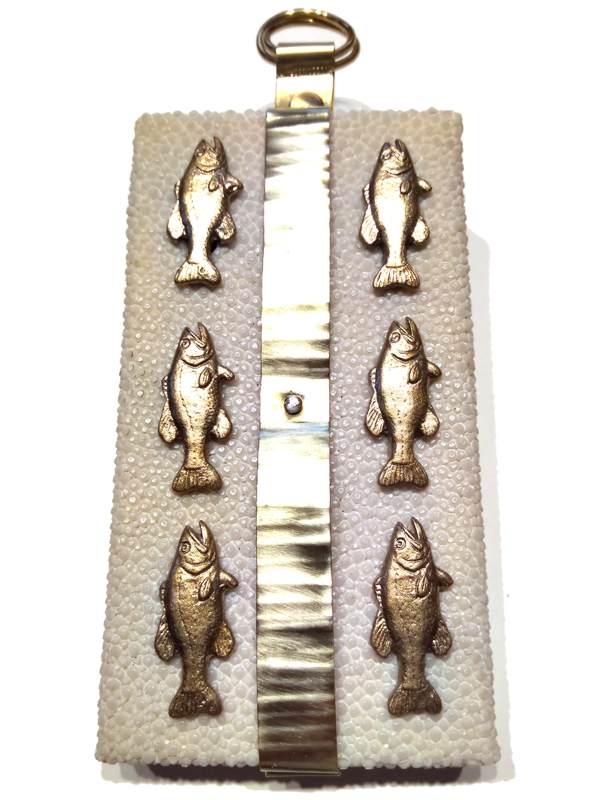
I’ve been kind of quiet here on the blog for a bit, because I’ve been busy with work stuff during the day, but I have definitely been busy in my free time as well, for instance, I made 6 embroidered belt favors for the “Comet” awards given out by our local SCA Barony.
Comets gold, silver, and iron
These just use some fabric I’ve had in my stash for years. I don’t think I will ever make the pants for which this fabric was purchased. It’s a nice heavy twill.
More than a decade ago, when I first started braiding, I made a couple of warping pegs so that I could measure out material for setting up a braid on my marudai without having to pay for pre-measured silk. Not too much later, I made a nicer set of pegs for Sharon, so that she wouldn’t have to borrow mine. Over the next ten years, I kept telling myself that I should make myself a nicer set of warping pegs because my first set was kind of “quick and dirty” in their construction. Finally, I was in the mood to actually do that.
The pegs, clamped to my coffee table
Same as Sharon’s pegs, I did a pair of pegs on one board, and a since peg on the other. This is really common, and you will see it a lot if you do a web search for “warpings pegs”. It enables you to do a few different things like keeping two parts of a warp separated, effectively doubling the length of your table by using the single peg in the center of a long warp, and making part of a warp slightly longer than the other.
That last one is handy for some of the braids where the uptake on some strands is higher than the other. If you make all the strands the same length, you wind up running out of material on some tama faster than on others, and you usually throw away a bunch of material. Anyway, I’m glad to have them now.
The boards are both cross-drilled, so I can clamp them to a table edge using these ginchy clamps from Rockler. These clamps are a really good buy since they accommodate a large number of table thicknesses in a compact, sturdy clamp.
The wooden pegs have metal hooks extending from the top, same as all the other ones I have made. These are imitative of Japanese bodaiwarping stands. While they are not necessary, and most warping pegs made for weaving do not have the hooks, I like them.
I also put some sticky felt on the bottoms of the boards, so maybe they won’t scratch up the dresser in my crafting room like the cheap ones did.
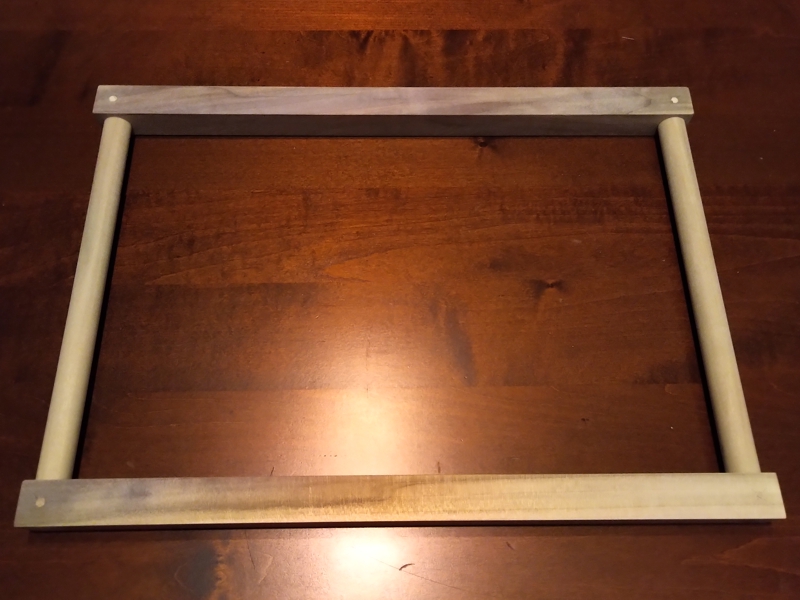
I was on a Zoom conference recently with a bunch of braiders, and somebody was showing off a portable frame loom she’d made from dowels and plumbing fittings. It was compact enough to fit into the laptop compartment of her backpack, but she often had to display it to the TSA because of the copper elbow joins at the corners. I was pretty sure I could make something similar from just wood, so I did it just to prove my concept to myself.
All-wood frame loom
Mine is a little beefier than hers. She used 5/8 dowels, but I wound up using 3/4″ dowels and 1″ square rod. Mine is also a little larger than hers, at 12″x17″. This (for obscure reasons) is a very Japanese aspect ratio. There is no glue, so I could knock out the pins if any part needs to be replaced. Here’s a close-up on the joinery.
Pegged through-joins at the corners
I did use a drill-press and some fancy bits to make sure the holes for the joinery were straight and clean, but other than that it was all sawing to length and tapping together with a hammer. The materials were all purchased at a local chain hardware big-box store, so nothing too exotic.


