
A few months ago, I was once again elected to the position of Arts and Sciences Minister of the Barony-Marche of the Debatable Lands. this position used to have a few pieces of regalia associated with it, but most of them have been lost since the last time I was minister. I decided a new belt favor was first on the list.

The fabric is a navy cotton twill I bought online. The populace badge is one of the embroidered patches I had made a few years ago. The A&S badge is machine embroidery designed by me and applied with my embroidery machine.
While I had the badge loaded into the machine, and good number of Aethelmearc patches in stock, I decided to make favors for the Kingdom A&S Ministers as well.
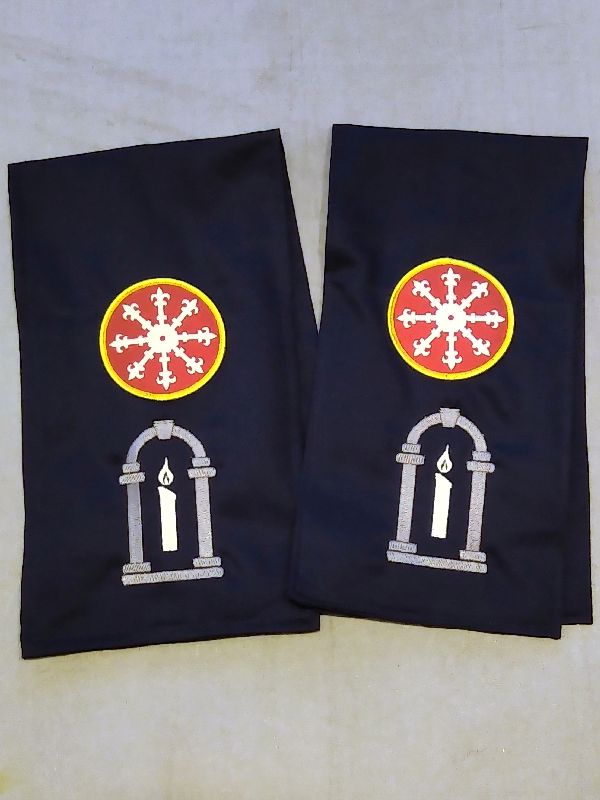
Same rules apply, only (secretly) the candle flames are glow-in-the-dark thread. I’ll hand these off to the ministers when I see them.


