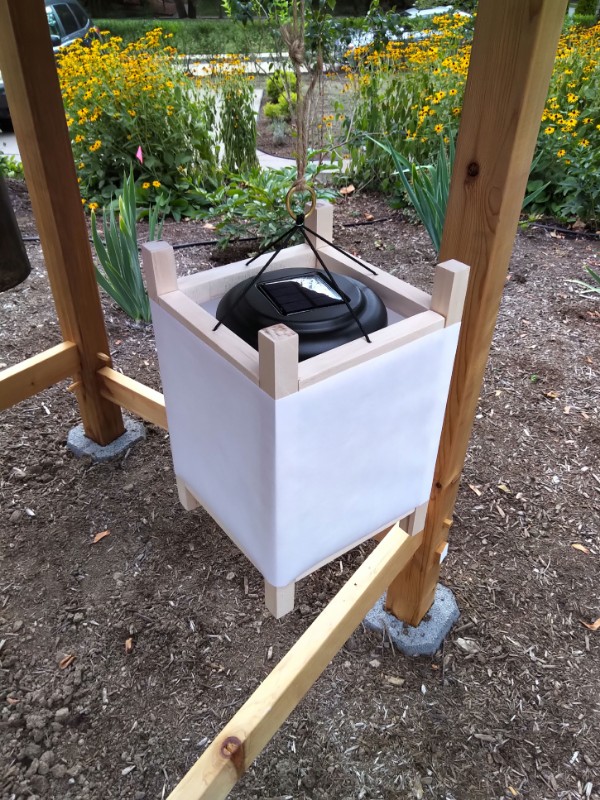
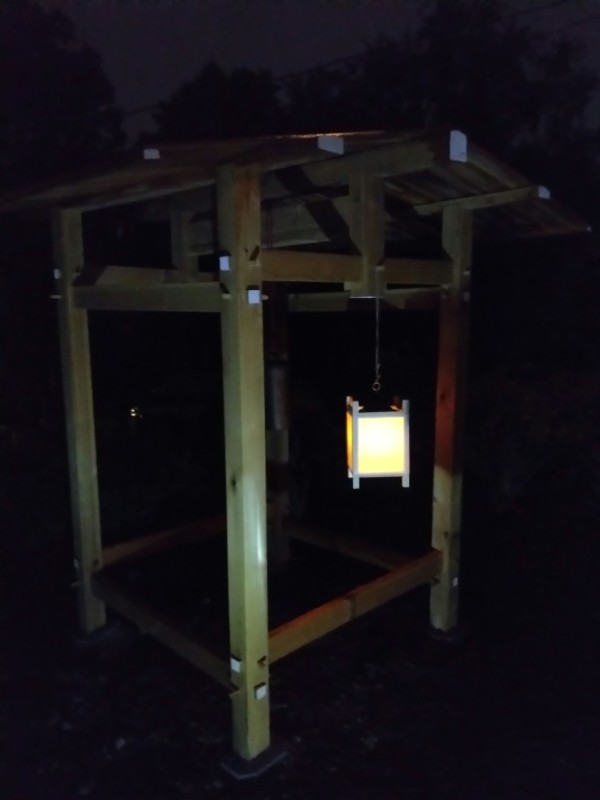
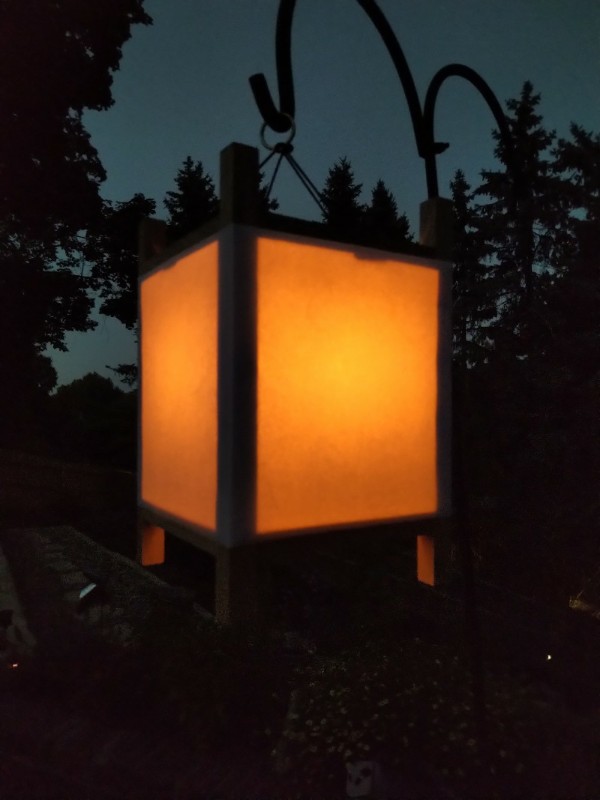
This is the third lantern in a series of at least six. This simple Japanese frame lantern is made from some Western Pennsylvania cherry lumber that I bought a bunch of years ago and am still working scraps out of. It follows the same design as the Oak Solar Flicker Lantern and Maple Solar Flicker Lantern before it.
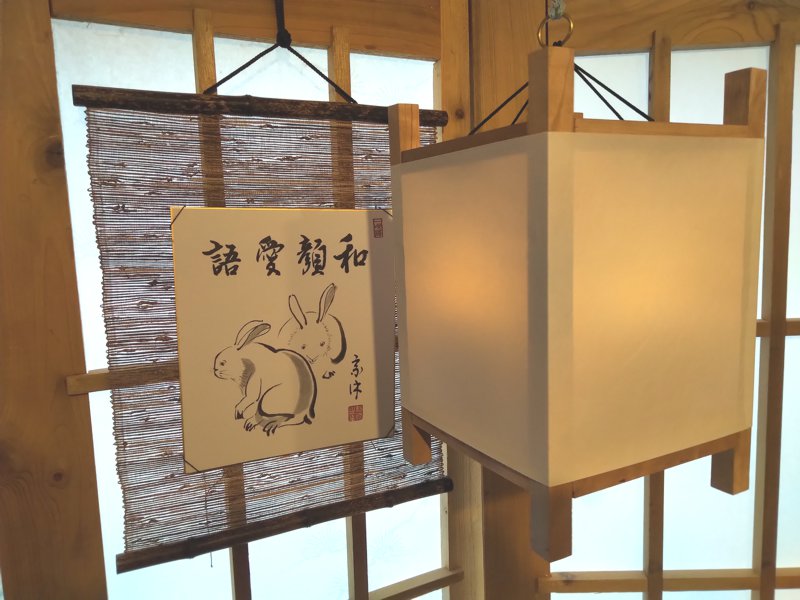
I have a new method for applying the paper that I think yields a much tighter and smoother result. I’m using Warlon Taf-Top shoji paper, so I can’t just dampen the paper to shrink it. Unless the lantern is perfectly square, wrapping a correctly-sized strip of paper around it leaves wrinkles or bulges. Instead, I cut the paper oversized, apply it to the lantern, then trim the paper down so that it is perfectly straight and flat. It watses a bit more paper, but I think it is more attractive.
The shoji in the background were made about a decade ago, and are made from cedar. I bought the bunny painting from an antique store.