Archives
bookmark_borderStorage Trays for Tama
Through a combination of gifts, purchases, and gift purchases, I have acquired 64 of the 100g tama from Braiders Hand. Right now, they are all in use, but eventually, I may have to put them in something for storage. Since boxes are easier to make than tama, I retreated to the garage to make these storage trays.
They are made from 1/2-inch thick pine boards, and each can hold 32 tama. My general rule for storage options is that you should always plan for twice as many whatevers as you have now. The corners are mitered, and the bottom is rabbeted and then set into a dado that goes all the way around. This lets the bottom expand and contract with humidity changes while still being 1/2-inch thick. There are no fasteners in the tray, just glue. I can make two trays from a single 6-foot 1-by-10.
It takes a while, though. Plus, it takes a planer (to turn 3/4-inch 1-by into 1/2-inch lumber), a table saw (to cut all the pieces and joinery), and a sander (so that everything looks nice and smooth). These trays might someday become become drawers in a kind of kotansu, but that day is probably far off.
Update: I realize that I did not do a very good job of describing how the bottoms of the trays are joined to the walls. I made a diagram –

bookmark_borderBaronial Braids for Agincourt
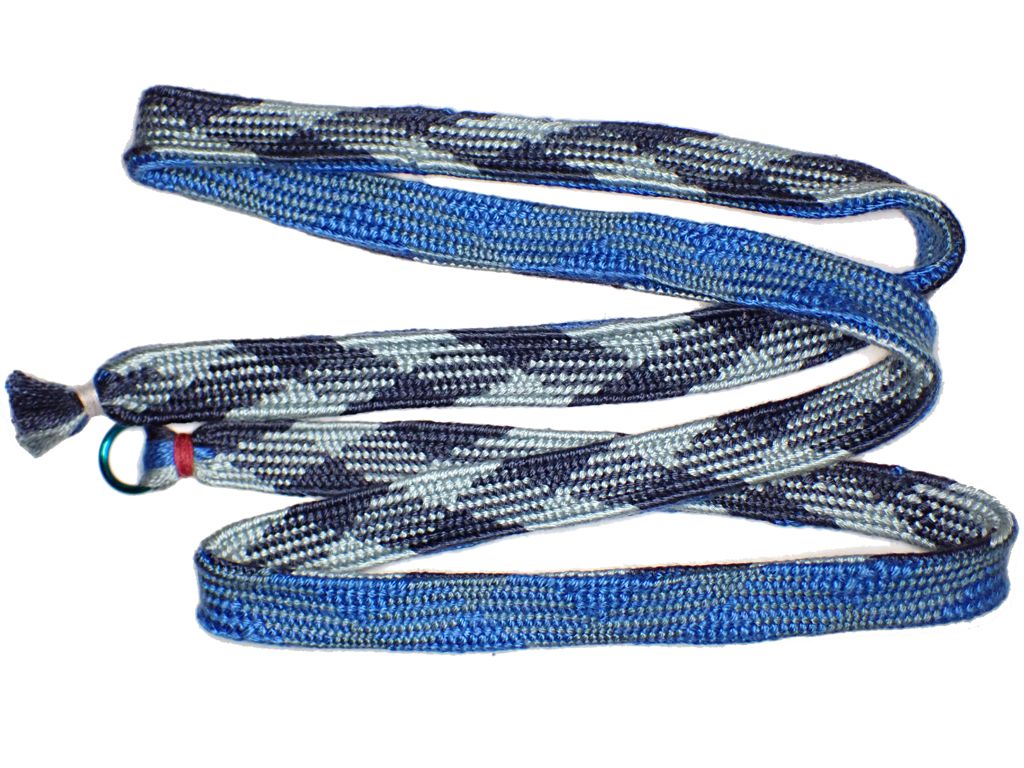
As is my tradition, I made some braided silk medallion cords to donate to the Barony at Agincourt. These braids are all 8-tama braids with 8 “ends” of lace weight silk yarn per tama. The braids are all standard 8-tama braids (kaku genji, kaku, shippou, Edo yatsu, yatsu se, shige uchi) with 4 tama of each color, and I set them all up with the same color positioning (KK GG GG KK) so that I could compare how the colors move through these different braids. I gave them my standard “ring and toggle” closures, and added a jump ring for any medallion.
This is the last Agincourt for our current Baronage, so I’m not sure that they will need all of these cords themselves, but I’ll make more for the next Baronage anyway.
bookmark_borderFriday Catblogging
bookmark_borderGarden Owl
Several years ago, I ordered something from the Lee Valley tool company and they included a sheet of gift wrapping paper with the order. On the inner surface of the paper were plans for a decorative owl you could make. I was looking through some stuff around the workbench the other day, and I found these plans. I’ve had some surplus half-inch thick pressure-treated plywood sitting around, and been wondering what to do with it. So, these two thoughts clicked together and I decided to get that round TUIT spinning.
After using the band saw to cut out the pieces according to the pattern, I sanded the pieces to remove the fuzzy edges, then applied some oil-based stains that I have sitting on the shelf, and some white paint. Next, I glued the pieces in place and put in some 23 gauge headless pins to add a little mechanical stability, especially at the base where it’s an edge-to-surface butt joint. The next day, I sprayed it with a couple of coats of polyurethane, and that was pretty much it.
This is more of a craft project than a serious woodworking project, but it was a fun way to spend a few hours in the shop. Not everything has to be serious. My wife thinks it is cute, but it doesn’t really keep the doves off the patio. I’m hoping it might keep them from flying up into the windows, though.
Except for the band saw and the spray finish, this would be a good project if you are trying to keep a handful of youths busy for a while. Some of the smaller and rounder parts are a pain to cut, but it’s not precision work, so you can kind of fudge it. The gluing and painting could be done by anybody of any age and skill level. If things come out a little crooked that just adds character. The only vital joinery is where the base attaches to the owl.
If I make another one, I might use the router to round over the front edges of each piece to give it a slightly softer look. I like the way the stain gives the parts definition, and cover up the greenish hue of the plywood, without covering up all of the the grain and making it just look like plastic. I’ll have to see if there is enough surplus for one or two.
bookmark_borderBlue Stripe Hitatare Sugata
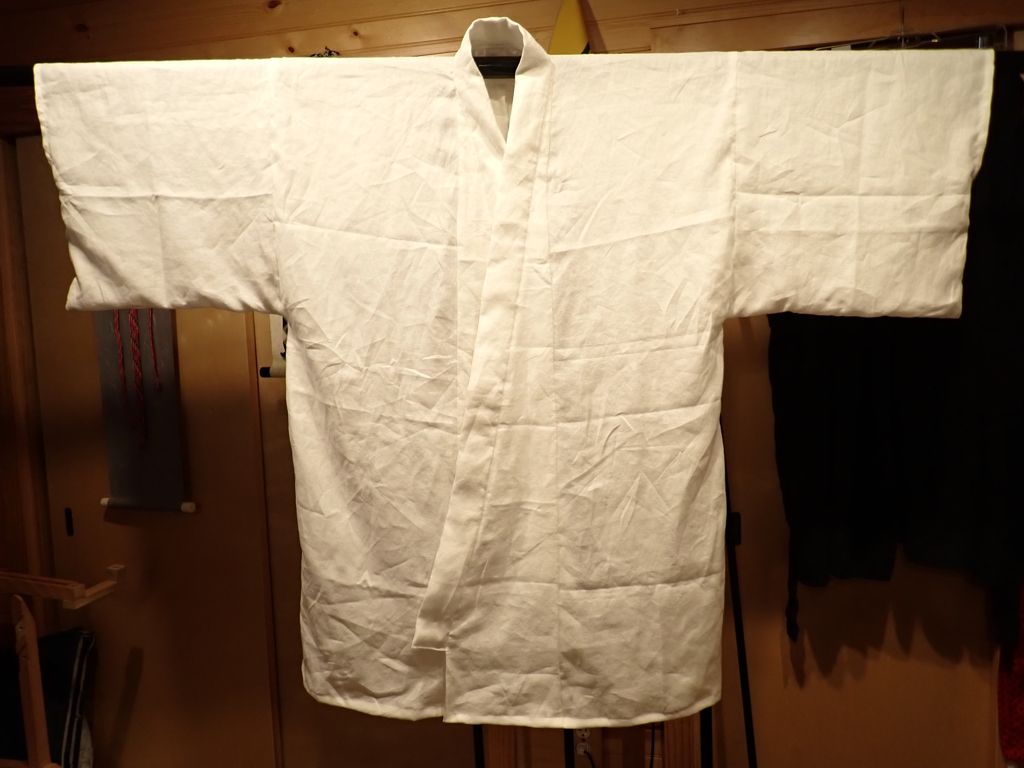
I completed this project back in early May of this year. I wore it to War Practice and to court at Pennsic, but I am only just now getting around to documenting it. Sorry I didn’t get any pictures of me actually wearing this outfit. Anyway, I wanted a less-formal and lighter-weight hitatare than my others. This one is made from a mid-weight linen, instead of the heavy-weight linen and hemp from which the others are constructed. I painted some white stripes on the fabric so that it wouldn’t look like a bedsheet. Here is the view from the front:
From the back, you can see that there are also stripes in the back, and that the hakama do not have a koshi-ita panel on the back. Some hitatare of late period had these panels, but since I do not tend to add them, this garment does not.
The sugata part of this post’s title of course means basically “outfit”. The hitatare itself is the upper-body over-garment. You have to make the body panels quite long if you don’t want the tails pulling up out of the hakama waistband.
Here is a close-up of the painted stripes. I have stopped using the “Jacquard Neopaque” acrylic fabric paint for most things, and I have switched over to “Jacquard Textile Color” fabric paint. This does not have the same vinyl-esque feel as the Neopaque, but it works well and still resists bleeding into the fibers. I applied the paint after the garments were constructed, so the stripes would match across the seams.
At the sleeve ends, the sleeve cords run through “belt loop” style attachments. There’s a hitatare in the Kure red book that uses these attachments, and I have found them to be durable.
Here’s a close-up of one at the bottom of a sleeve. You can clearly see that I have not bothered to braid my own cords yet for this outfit. It uses store-bought cotton braid. The belt loops are made by starting with a rectangle of fabric that is twice as long and four times as wide as the eventual loop. The ends of the rectangle get folded in to the center, followed by the sides getting folded in to the center. The loop is then folded in half along the length to make a short 4-layer strap, and stitched along the long edge to hold it closed. Stitching it on to the garment seals the ends of the loop.
Similar loops are at the cuff end of each leg. I only put loops on the outsides of the pleats, so they hold the pleats in place. I’m not sure if this is historical or if the exemplar just has narrower legs.
I also made a kataginu that matches the hakama so that I don’t have to roast if it is very hot. A kataginu is basically a sleeveless hitatare.
So there, now I have four hitatare sugata. This one went through the post-Pennsic laundry without falling apart, so I consider it to be a success.
bookmark_borderBento Refinishing
Eleven years ago, I made this hexagonal bento box in a class taught by Pittsburgh’s Tadao Arimoto. At the time, I did not know much about making bento lunches, so the box mostly sat on a shelf as a display piece. It waited patiently for me to expand my studies of Japanese culture to include food, and for me to start shopping at the Tokyo Japanese grocery enough to develop a menu for lunch. Back in 2019, I started making bento lunches to eat at work, and I discovered that the box was not sealed! I got salad dressing all over the tablecloth, and had to use plastic bento boxes for my lunch.
A year or two ago, I sanded the inside and outside of the box to smooth out the uneven epoxy surface. The box sat in this state for a couple of years, still waiting for me to make time for it. This summer, I finally cleared off the workbench for a couple of days so that I could mix up some epoxy and refinish the box.

It’s completely sealed now. I could probably take soup in it. The lid edges are almost the full height of the box, so it might not even spill very much if tipped. Even though I don’t go into the office at all these days, I made lunch at home and served it to myself in this box because I believe you should always let things fulfill their purpose.

bookmark_borderSmall Tabletops for Folding Stools
So, I’ve made a bunch of these Shogi folding stools, and I thought it would be handy if I used up some surplus lumber to make a small tabletop that would turn a stool into a table.
I didn’t have a real plan, so I just cut two pieces of 1-by-8 and edge glued them together to make a square, then I nailed some miter-cut 2-by-4 trimmings around the edge to make it into a tray. A little polyurethane and it was ready to go. It was fine, but I realized (too late) that if I’d made it rectangular instead of square, then the rim pieces would slide down over the ends of the stool pieces and it would never slide off.
It took me some time to get around to executing my brand new plan and make a second tabletop, but I finally declared this project done when the second coat of polyurethane was dry. You can see that making it just a little larger makes it a lot more secure.
It almost looks like a real table, and not just a tray sitting on a stool.
bookmark_borderShibori Clothing
A few of us did some shibori dyeing in the garage recently. The last time we hosted this, one of our friends brought a bunch of white cotton clothing she had found at the store. After that, I made some shirts from cotton muslin so I’d be ready for the next time we did dyeing. That was like two years ago, but better late than never. Here is the ensemble of both shirts.
The brown shirt kind of looks like an accident in a bleach factory, but the pattern is much more interesting in person. I used my famous pajama pattern, and even rememebered to do the top stitching in cotton thread so it would pick up the dye, After laundering, I opened the button holes and sewed on some buttons.
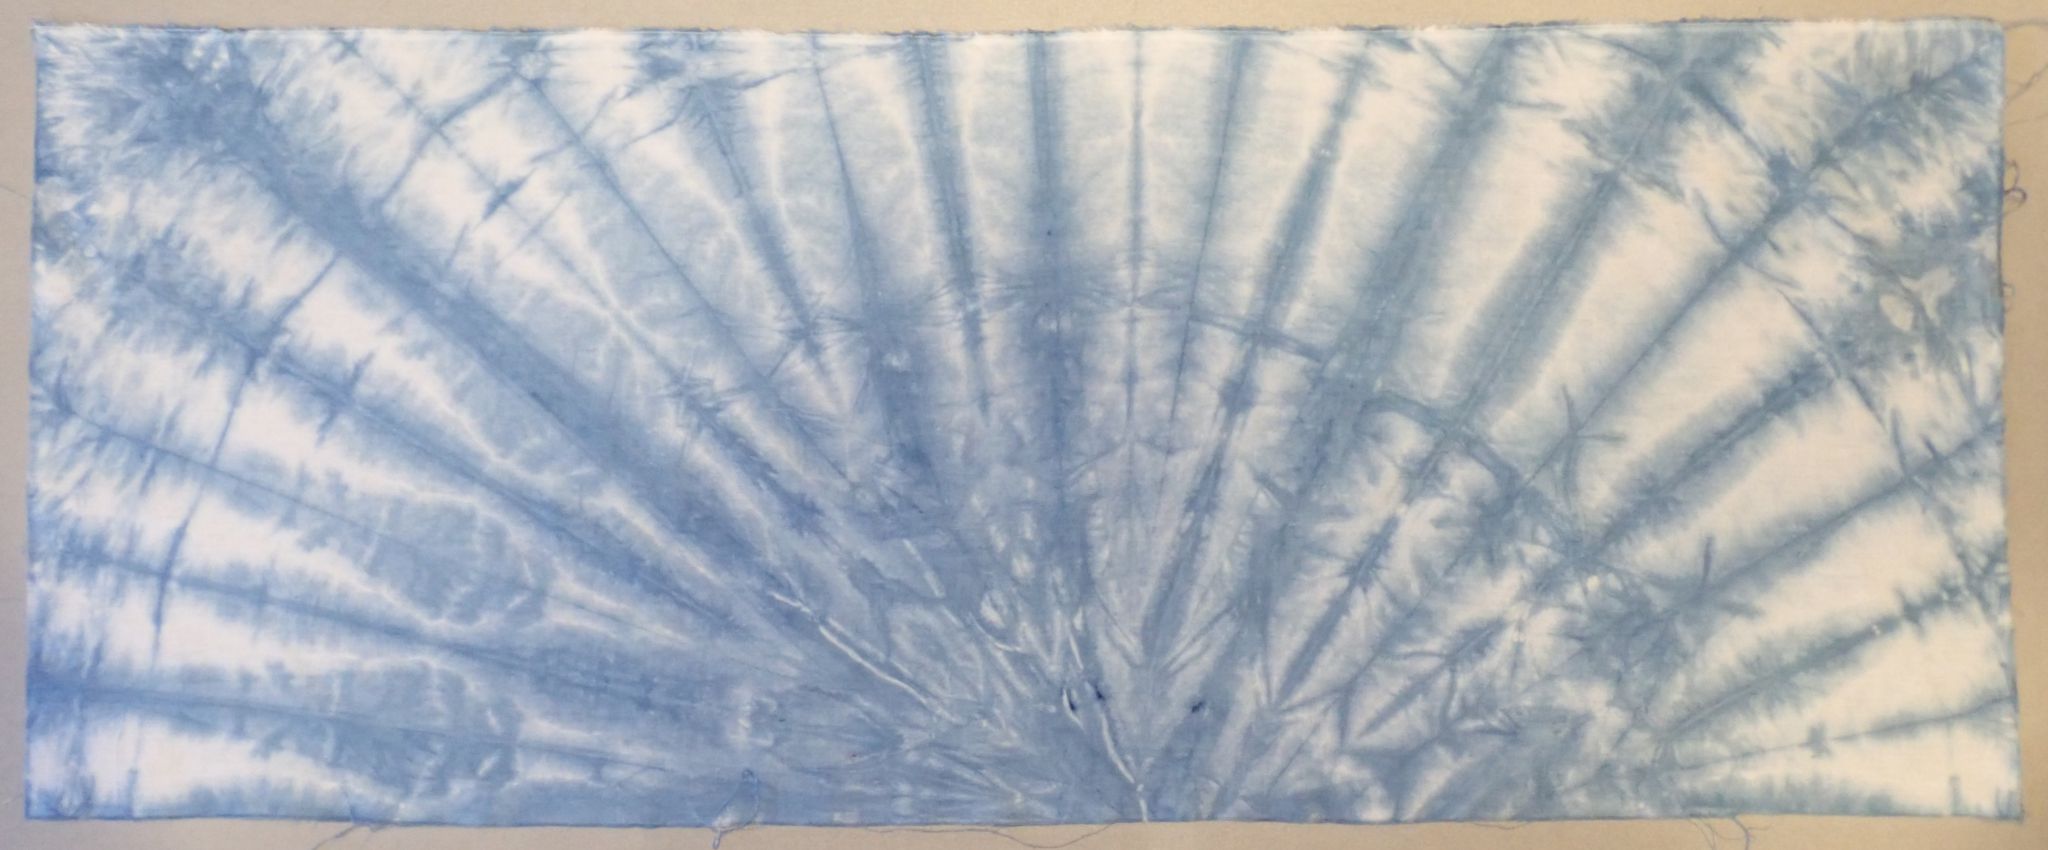
The blue long-sleeve tee shirt looks a little more tie-dye traditional. I basically scrunched the shirt up sideways and then put a bunch of rubber bands down it to hold it together. I like that it came out symmetrical and smiley. There were actually two different kinds of blue in the dye bath, but I think the “peacock” blue really took precedence.
bookmark_borderUtensil Box from Cherry Planks
We had a plastic bin at the back of of kitchen utensil drawer that held chopsticks and other miscellaneous items. I got tired of having to dig for chopsticks, and my father had coincidentally gifted me with some cherry grilling planks. We love cherry wood here, and I wasn’t going to just set fire to it, so it’s projectin’ time.
I made a box that’s as wide as the utensil drawer, and a smaller tray to hold chopsticks so that they do not just fall to the bottom and have to be dug out. This construction turned out to be a little too tall, so I shaved some off the top and eventually cut the bottom completely off. Here are the pieces.
The tray slide back and forth, or it lifts right out for easy access to the utensils underneath. Of course we have more stuff than actually fits in the bin, but that can be moved elsewhere.
I finished the whole thing with some salad bowl oil finish, which only takes 3 days to dry, but makes the wood look attractive.
Learn to make things, because people who buy things are suckers.