bookmark_borderBox for 1 Lantern

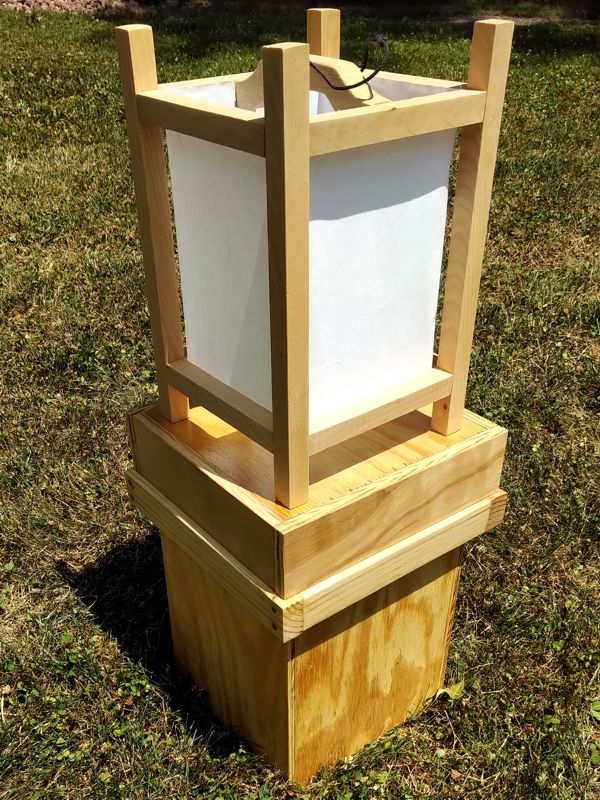
A while back I made a Lantern Storage Box to hold the six wooden frame lanterns that I made for camp. I had previously made a couple of lantern storage boxes to protect a couple of large frame lanterns, but this smaller cypress lantern had no box in which to be stored. Now it does.

Lantern Atop its Box

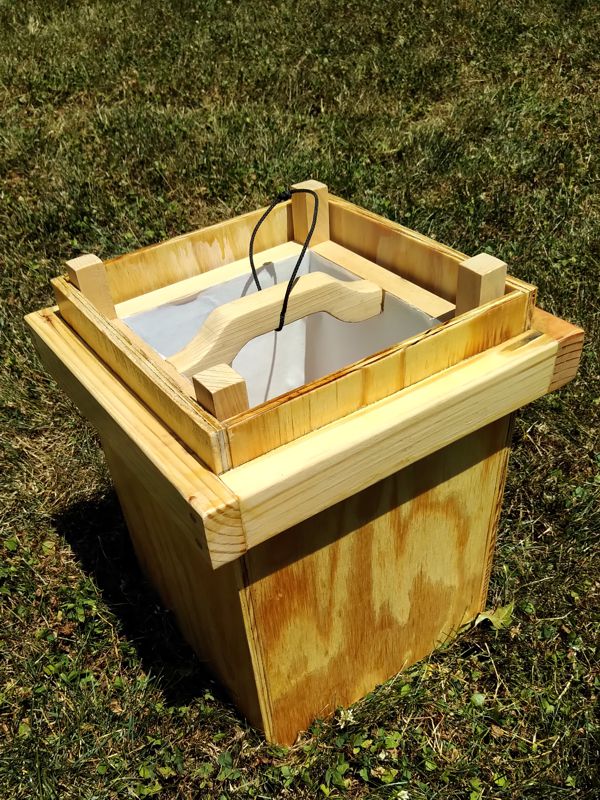
Anyway, it’s just an empty box, made of plywood. These were some of the last medium-size plywood bits I had around the shop. If I want to do more quick projects like this, I might have to start buying new plywood, despite the current inflated prices. The hardwood rim provides some reinforcement, and gives you something to grab as a handle.

Empty Lantern Box

There’s just enough room inside to insert this particular lantern. The lantern actually sticks up a little past the sides of the box. I just didn’t have four pieces that were tall enough. You might even notice that the thicknesses of the sides are not even the same. It hardly matters.

Lantern in its Box

Once you are finished placing the lantern in the box, you can add the lid. The lid is tall enough that it rests on the handle rails instead of on the legs of the lantern. It’s not a very tight fit. Normally, I wind up making lids too tight-fitting, but this one is kind of loose. I might add some kind of closure so that the lid does not fall off if the box gets tipped over.

Closed Lantern Box

I put some polyurethane on the outside of the box, to protect the lantern if the roof of our storage trailer leaks or the box gets left out in the rain.

bookmark_borderStorage Box for the Coronet of a Duchess

Some of you may remember that, earlier this summer, after inventorying the large selection of surplus plywood in the shop, I went on a bit of a storage box kick. Starting to feel like I was getting pretty good at making these simple boxes, I offered to make boxes for anything for which my friends might need a storage box. The only person (so far) to take me up on the offer is a friend of ours who is a Duchess in the SCA.

The title of Duchess is typically given to those who have been Queen two or more times. Those who hold Royal titles in the SCA (from Baron on up) are entitled to wear coronets that signify their rank. Sometimes, but not always, these come with a box. Sometimes, this box is too nice to be carted around, even though you want to take the Coronet itself to the event so that you can wear it to court.

Anyway, she sent me the rough dimensions of her coronet, and I added an inch to each of those dimensions to allow for a half-inch of padding all around. I did not feel that my standard lauan plywood box was sufficiently nice for this use, so I dug into the supply of birch-face plywood and birch scants that my wife bought for a project long ago.

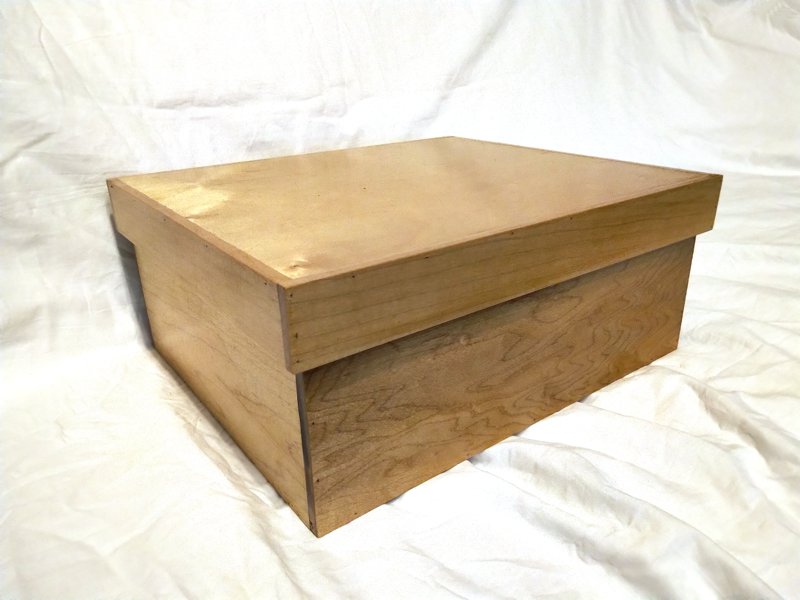
The Duchess’ Coronet Storage Box, in Birch

It’s just a simple lidded box. The interior is roughly 10″x12″x5″ It is assembled using butt-joinery, glue, and 23-gauge pins from the nailer. Inside and out, the box is finished in blonde shellac. The table saw blade left some scorch marks on the ends of some of the boards, but other than that I am pretty happy with it.

Birch Storage Box, Open

It should be pretty useful for the coronet, or whatever else she might choose to store in there.

bookmark_borderKanmuri-bako

About two years ago, when I was preparing to be elevated to the Order of the Laurel, I was searching everywhere to try to buy a Kanmuri. The Kanmuri (which translates as “crown”) is the correct piece of headgear to wear with the Bunkan Sokutai that was to be my elevation garb. I eventually found an antique store in Japan that was willing to sell me one, however, theirs was in Thailand and would need to ship directly from there. I wound up picking it up at the post office the day before we went up to Pennsic. Since then, it has lived in a cardboard box, which was not the best place for this antique hat. Finally, I was able to make a couple of boxes to store and protect the pieces of the kanmuri.

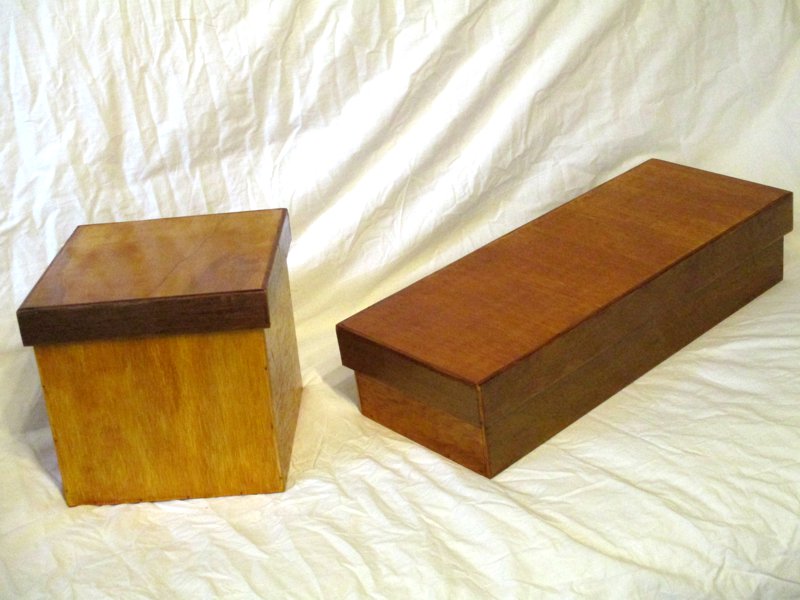
Closed

That’s what they look like closed. They’re just simple lidded boxes made from plywood and finished with shellac. I have a stack of smallish plywood scraps from the last 20 years of larger projects, so this project was also an opportunity to use up some of that.

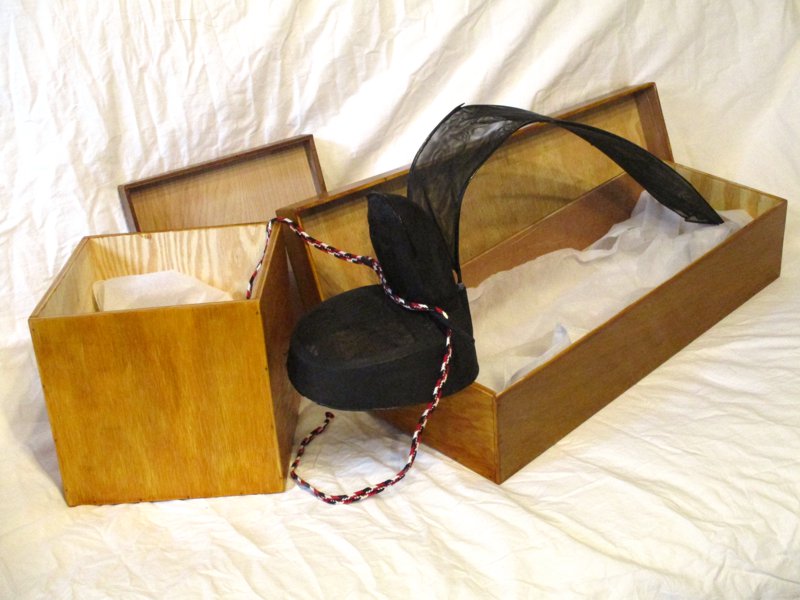
Open

Here they are with the lids off, so you can see the kanmuri pieces nestled cozily inside. On the left is the “pillbox” portion with its upright and pin (All three pieces are attached on this kanmuri.), and on the right is the tail. There’s a lot of empty space inside the tail’s box, but I wanted the box to help maintain the proper shape of the tail, and I wasn’t up for trying to make a proper bentwood box.

Assembled

In case you’re unfamiliar with the kanmuri as an object, here’s what it looks like when all the pieces are assembled. The cord drapes over the pin and ties under your chin to keep the hat in place. You can see that this kanmuri is not in the best shape. I’ll embark on a restoration project eventually,

bookmark_borderSake Cup Box Project

It spent a month in the furo, and now it’s ready to show off. This was one of my big projects last month, and it has been on my to-do list for a while.

Back at the SCA 50-year anniversary event, we purchased a dozen sake cups for a very good price from a merchant. Since a dozen is one box of cups, the merchant threw in the box so we could safely transport the cups home. This was just a cardboard box, so we have been keeping the cups in a plastic bento box ever since. The cardboard dividers between the cups got destroyed at Pennsic last year, so I made some new dividers from cherry, but still sized to fit in the plastic bento. Now, I have made the final box.

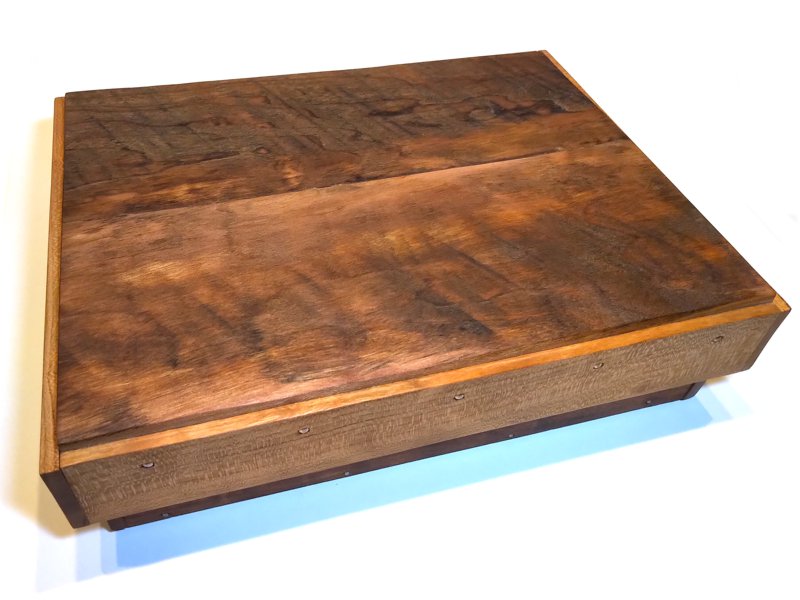
The Sake Cup Box

The top of the lid is made from some rough-sawn lumber I salvaged from Mr. Arimoto’s workshop during the restaurant furniture project. The walls of both the lid and the box body are made from off-cut cherry strips from making maurdai. I was having some trouble gluing the strips to the lid and floor pieces, so all the joinery is secured with brass escutcheon pins. This should also make it a little more durable. It’s finished with food-grade walnut oil, which is why it had to spend a month in the drying cabinet. That oil takes a really long time to cure.

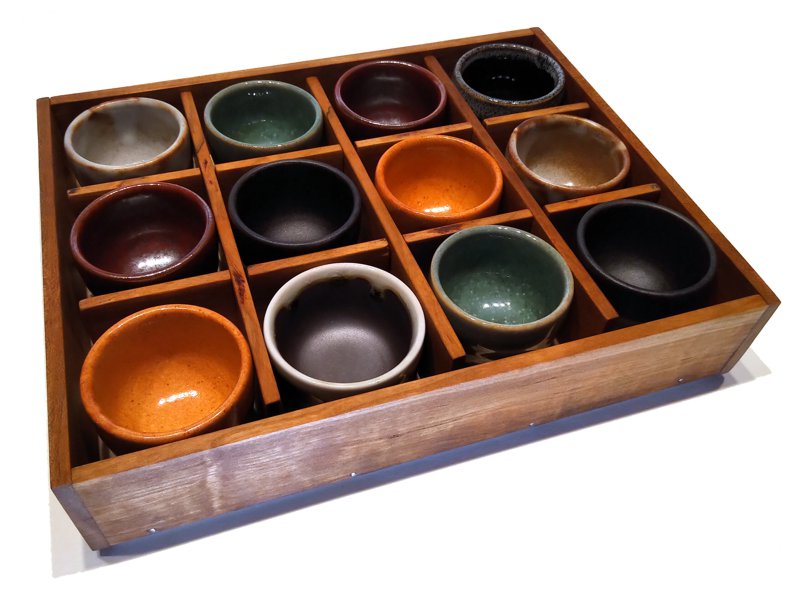
Here’s what it looks like with the lid off:

Sake Cups in Box, with Dividers

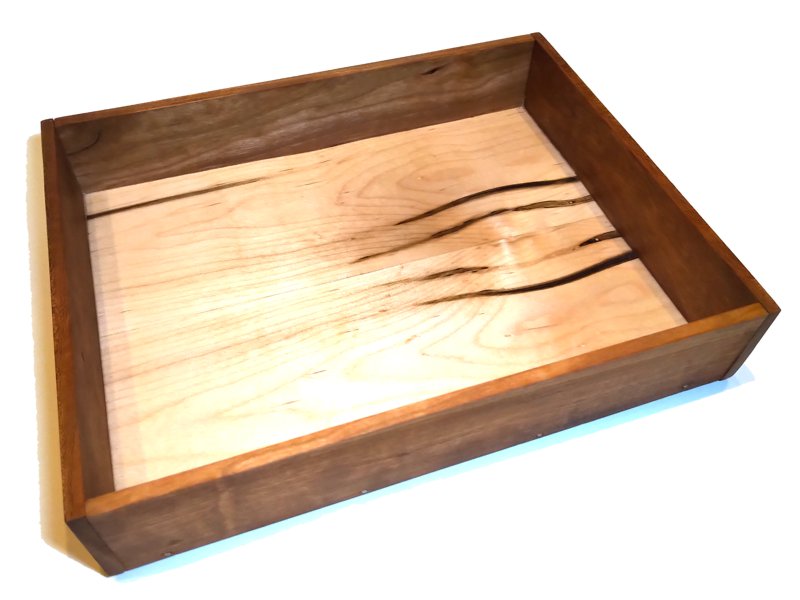
The dividers are neither glued together, nor are they glued in. If I need this box for something else later, they will lift right out. The floor of the box is some resawn and book-matched maple that I had in the shop. I didn’t have enough or thick enough cherry left over. It started as 4/4 (roughly 1-inch thick) maple, so I resawed it to roughly half-inch thickness, then sanded it smooth and even.

Empty Sake Cup Box

I am really super-happy with the way this came out. It is significantly larger and heavier than the old plastic box, but it is also significantly classier.

bookmark_borderBand Saw Box

All my spare blades for the band saw have been sitting in an inadequate CocaCola crate for years. This state of affairs was becoming more and more untenable when I was switching blades back and forth during the shogi project. While I was waiting for some glue to dry on a more central project, I decided to rectify that.

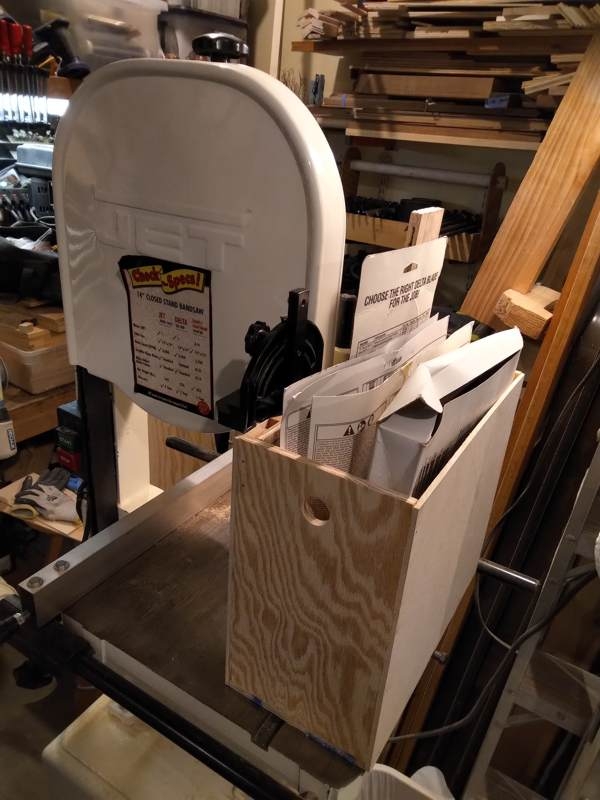
Band Saw box on Band Saw Table

The faces are some 3/16″ plywood from the scrap pile. The sides and floor of the box are some 3/8″ plywood from the scrap pile. Some of these utility projects are basically just ways for me to justify having kept around these massive quantities of scrap lumber for so long. The whole thing is just glued together with butt joints and pinned with 18gauge brads from the nail gun. One slightly fancy thing about this box are the two finger holes that make it easier to pick up the box.

Anyway, the interior is a little larger than 12″ wide, by 6″ deep. This gives me plenty of room to slide in the blister cards that Lowes sells 93.5″ band saw blades on. Another slightly fancy thing is a bracket for holding the miter gauge. It’s always a challenge finding someplace to put that thing when I’m no t using it. You can see how nicely this box fits on the band saw table, making it difficult for these two items to get separated.

Some months ago, I reorganized the shop a bit to make it easier to get to the band saw. At the old house, the band saw was set up in the middle of the basement and was always available for little things like making useful boxes. I’m so glad I have this saw back where I can use it easily without having to move other stuff out of the way.