
So, if you remember my posting from about a year ago, sometimes I experiment with 8-strand braids that I have never tried a 16-strand “doubling” of. I was really happy with my doubling of the yatsu-se gumi, but for some reason I never thought to try a doubling of the 8-strand version of the shige-uchi braid (which is not really a shigeuchi at all) until now. Here is the pattern for the 8-strand braid:
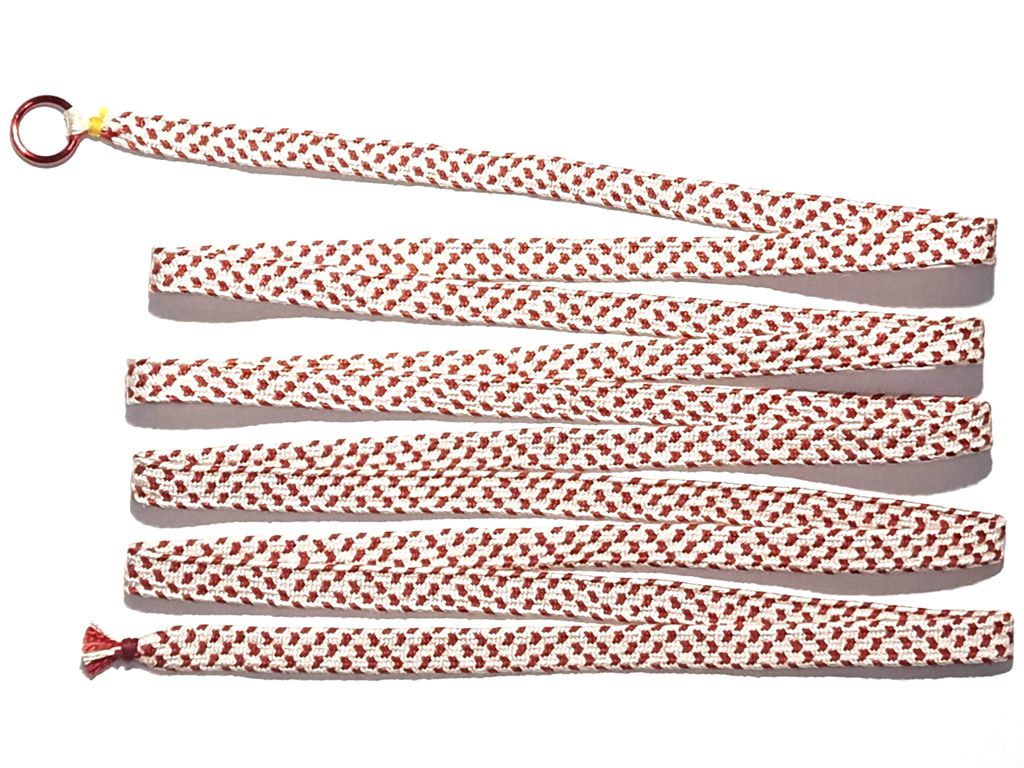
If you expand the setup to 16 strands (with 8 groups of 2 instead of just 4 groups of 2) but keep the asymmetrical first move, the braid open up what would have been a naiki gumi round hollow braid into a wide, flat braid with a single layer plain weave,

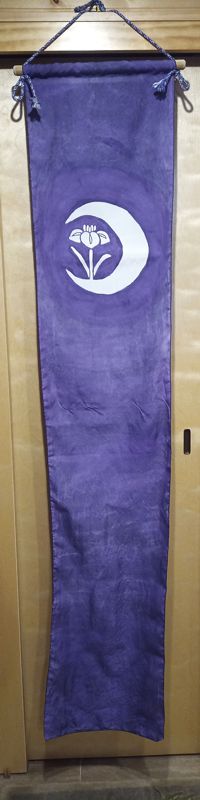
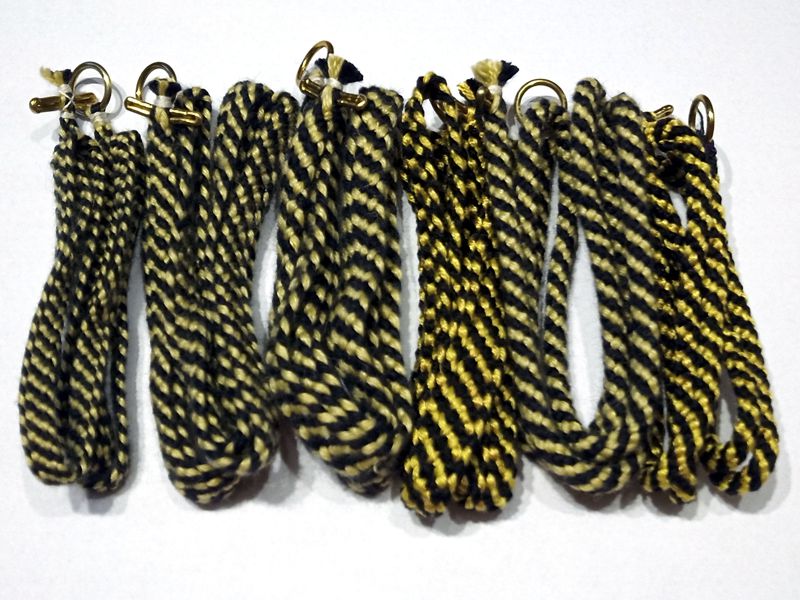
I suppose this should be called the hira ju-roku gumi or “flat 16″ braid. The width of this braid varies due to variations in tension, but it averages about 5/8” (about 15mm) wide, which is very wide for a marudai braid. Mine came out very loose, but that may have been a function of the marudai I was using. For a braid this wide, I really should have used a marudai with a deeper “well” and a wider hole in the middle of the mirror. Anyway, the looseness makes this braid very soft and flexible.


