
A while back, I made an early-medieval kyousoku from poplar. That one is more what comes to peoples’ minds when Japanese floor-seated armrests are considered. However, in Traditional Japanese Furniture Kazuko Koizumi mentions another kind of armrest. “A sturdier, box-shaped armrest featuring feather-stuffed pads on top and usually storage space underneath emerged,” during the Muromachi/Momoyama period.

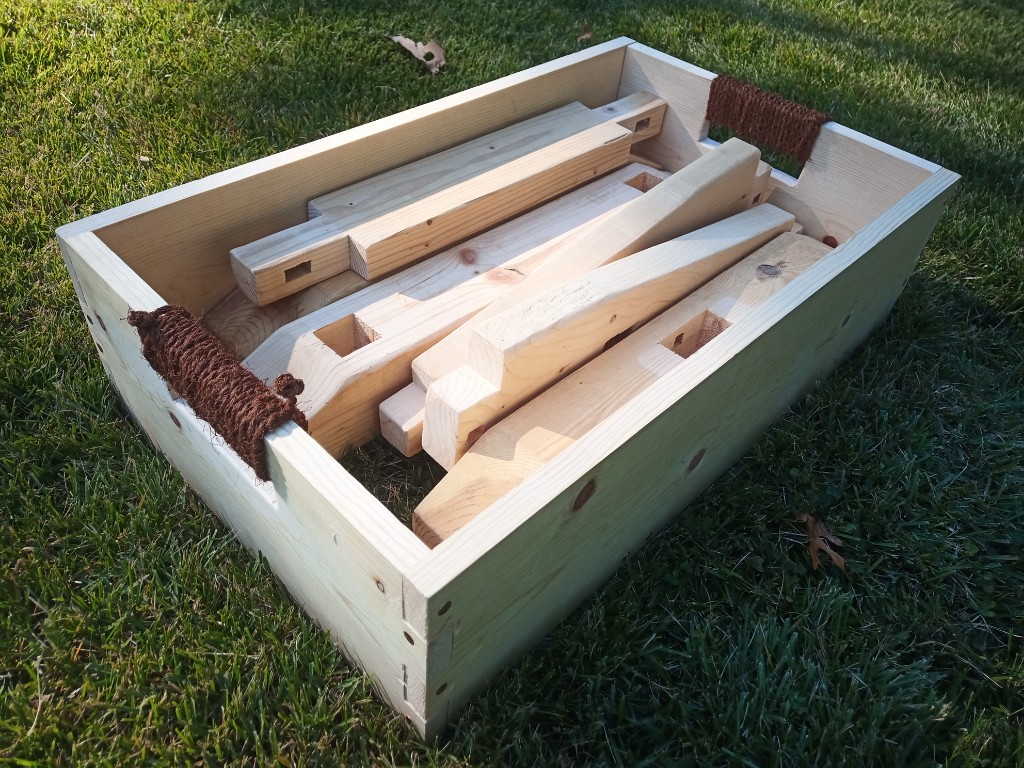
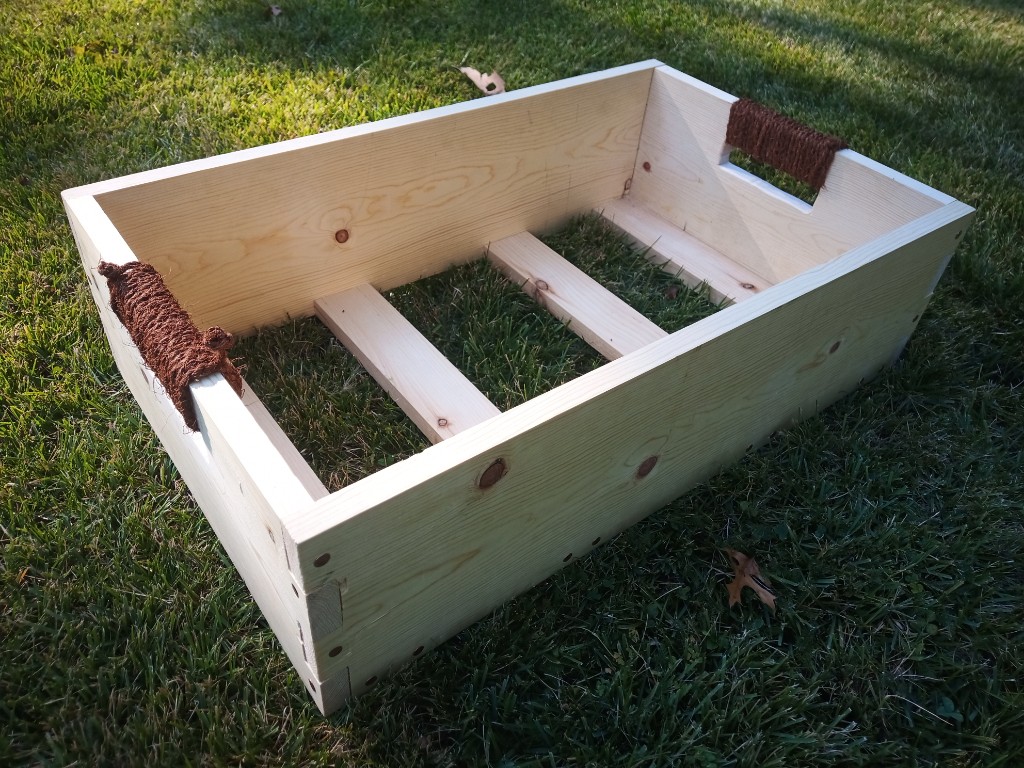
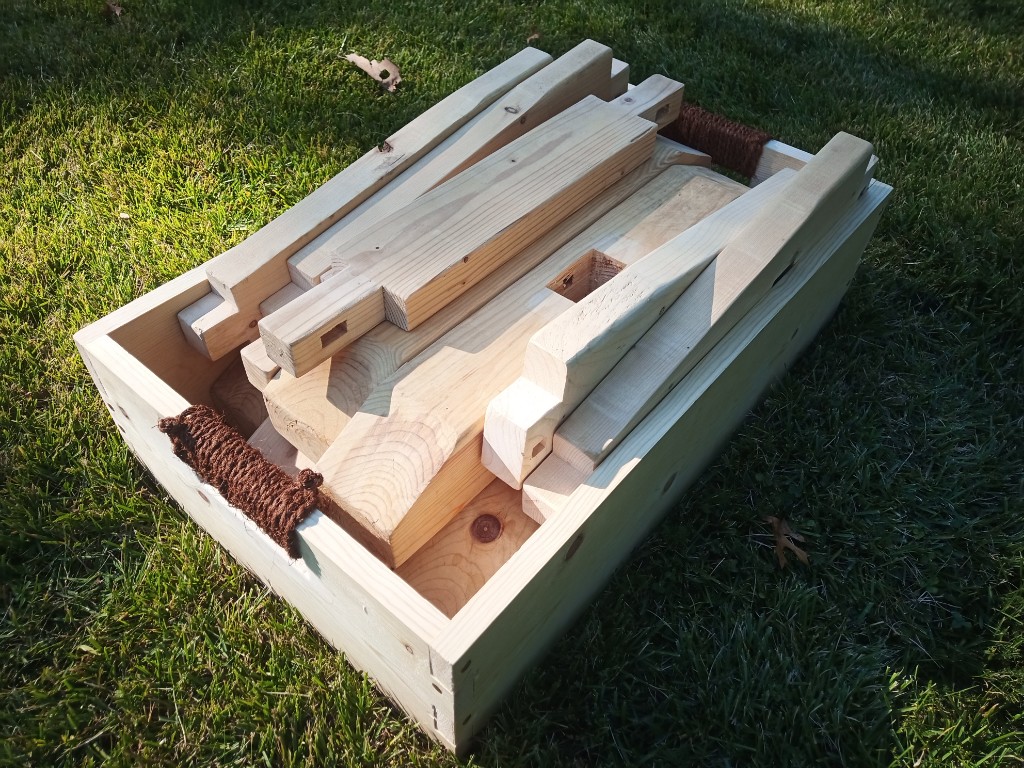
During Pennsic this year, I went over to the Alben sawmill and bought some excellent maple. Ray had already run it through the planer so it was pretty smooth, but it was still almost an inch thick. I knew that because of that thickness and because of the hardness of the maple, that my ability to make things out of this maple using the small selection of hand tools I had brought to Pennsic was going to be somewhat limited. I decided I would make a siple box, and this idea quickly developed into making a box-shaped armrest. I was able to get all the pieces cut, and and most of the joinery.
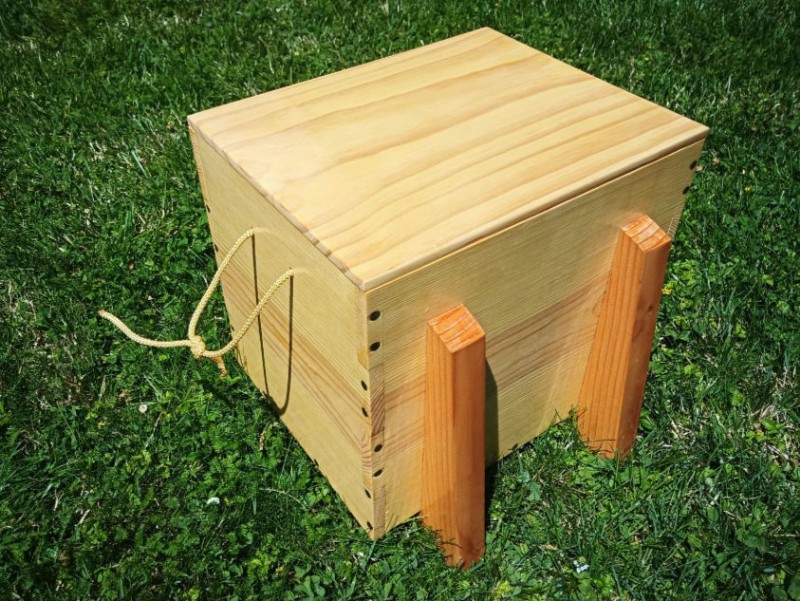
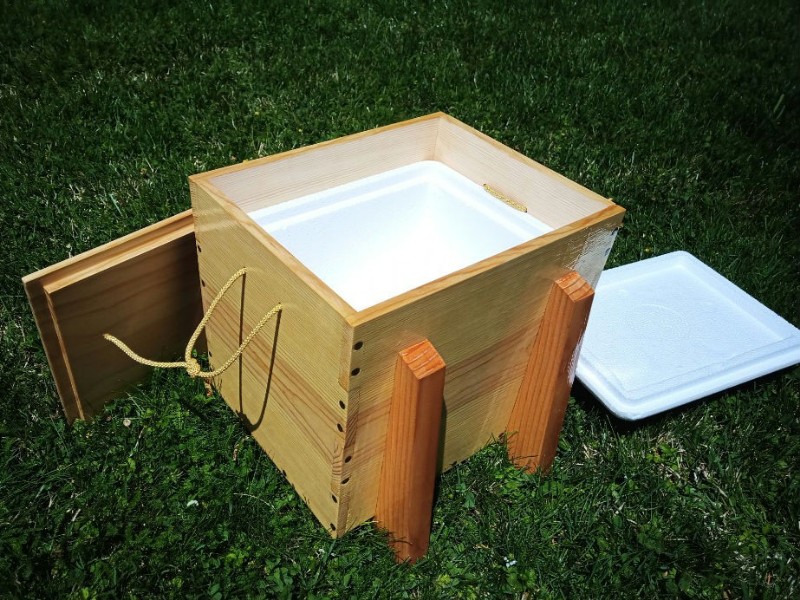
Once I got home, and had access to more tools and a sewing machine, I was able to finish shaping the pieces and assemble the armrest. I made a custom cushion out of cotton canvas and polyfill, and used to to upholster the lid of the box. I used copper nails to secure the joinery so it should be quite sturdy. given the density of the wood and its thickness, this completed box weighs more than ten pounds.

The inside of the box is roughly twelve inches by six inches, and four inches deep below the inner lid. I think it’s a bit smaller than the one in the image, but it’s a comfortable armrest when seated on the floor next to it, and I can fit a bowl and cup inside it.

It is not a comfortable seat, although you could probably park a midsize car on it.


