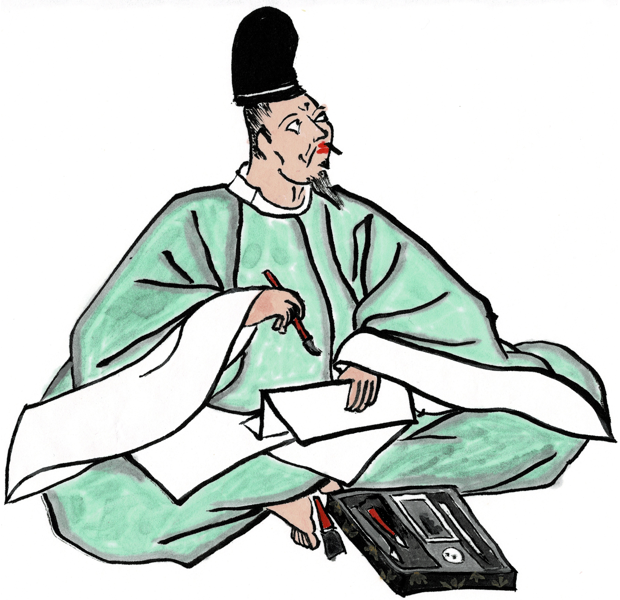
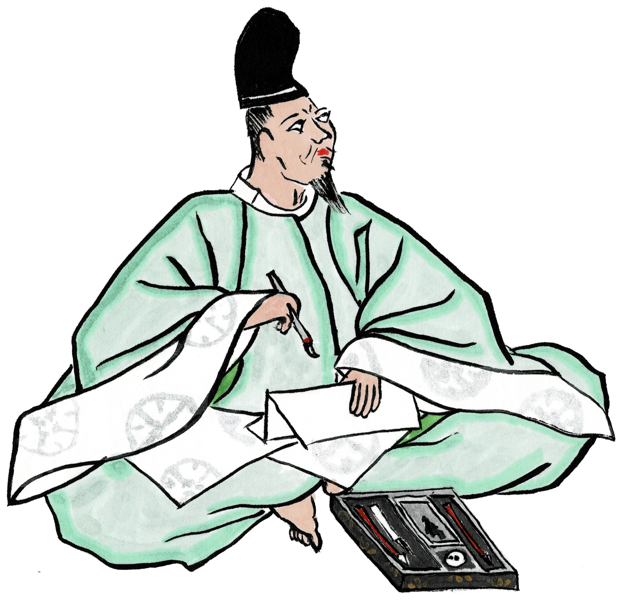
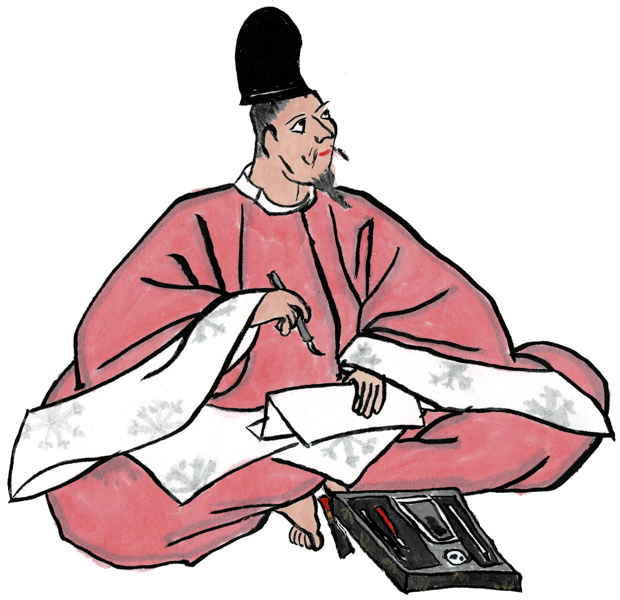
bookmark_borderHey, it’s Brushwork

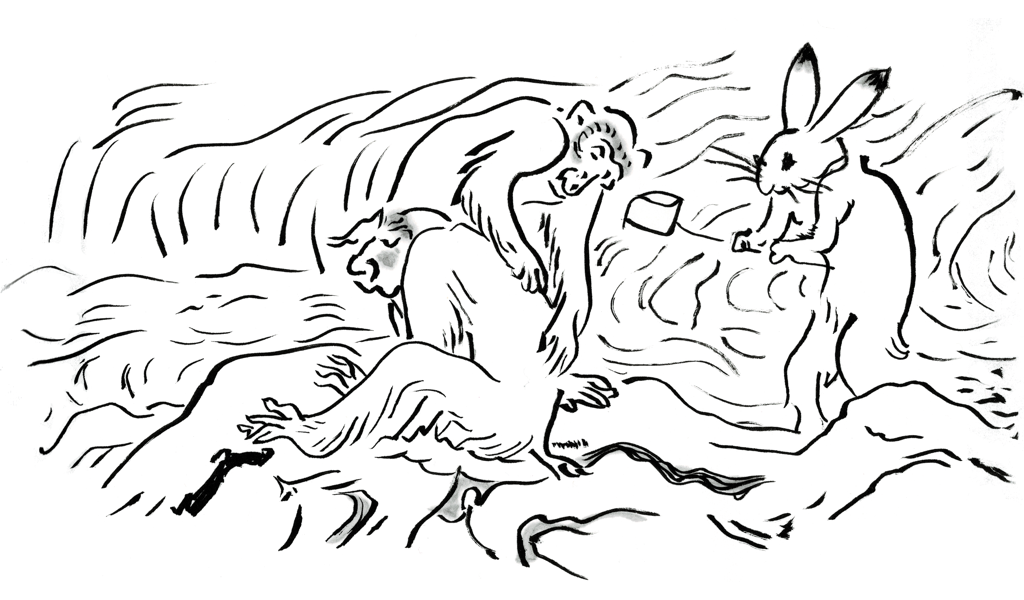
Sometimes, you just have to go back to basics and see if you’ve actually improved or just think so. I pulled this figure detail from the Heiji Monogatari, which details a series of civil wars in ancient Japan between the Heike and Genji clans.

This one, I just gave a light ink wash to his robe. (Plus a little detail color on his arrow fletching.) Hey, that looks all right.

This one, I used light color washes on his clothing, and a bit of peach pink on his flesh. At some point, I flipped this image left-to-right in my library. His sword is on the wrong side.

One more with watercolor washes. Maybe I can actually learn how to do this? If the outline for the soldier looks a little crude, he is fairly small in the original scroll, and I only have a very bad black+white image in my reference. These images will make good scroll for minor archery recognition, I hope.

bookmark_borderOld Brushwork

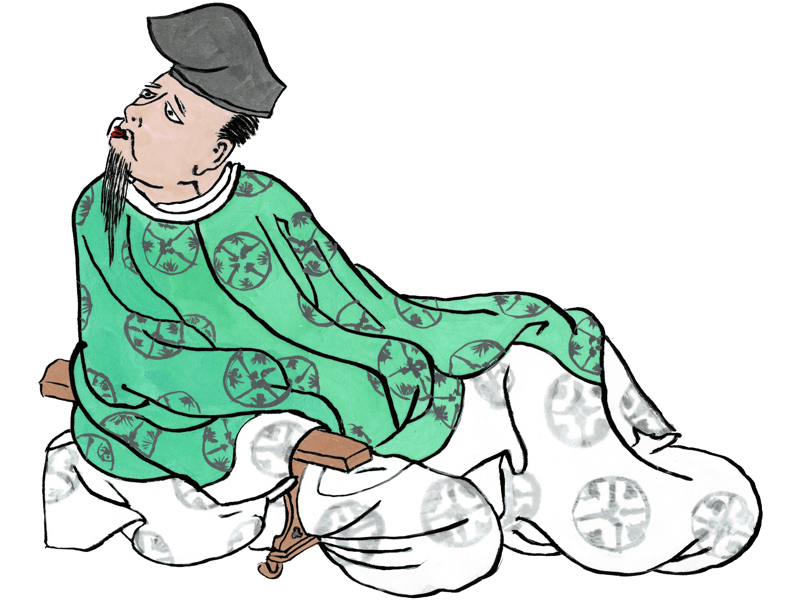
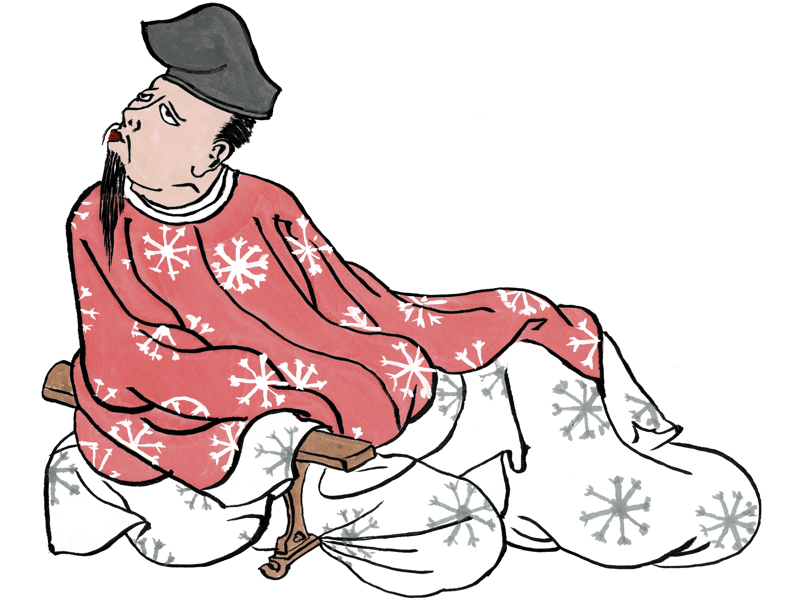
It seems that I did this copy of a portrait from the Zuishin Teiki emaki back in June of 2019, but never bothered to scan it in.

This emaki (illustrated scroll) presents portraits of the members of the Imperial Guard Cavalry, and is representative of the highly realistic “documentary” style of emaki that flourished in the Kamakura period.

It is interesting because although this emaki is from the time period when the black-and-white hakubyou style was the dominant expression of Yamato-e, it has light washes of color on the clothing of the rider and the tack of the horse.

I have exaggerated the coloring on this copy, but left the horse pure white.

bookmark_borderMore Brushwork

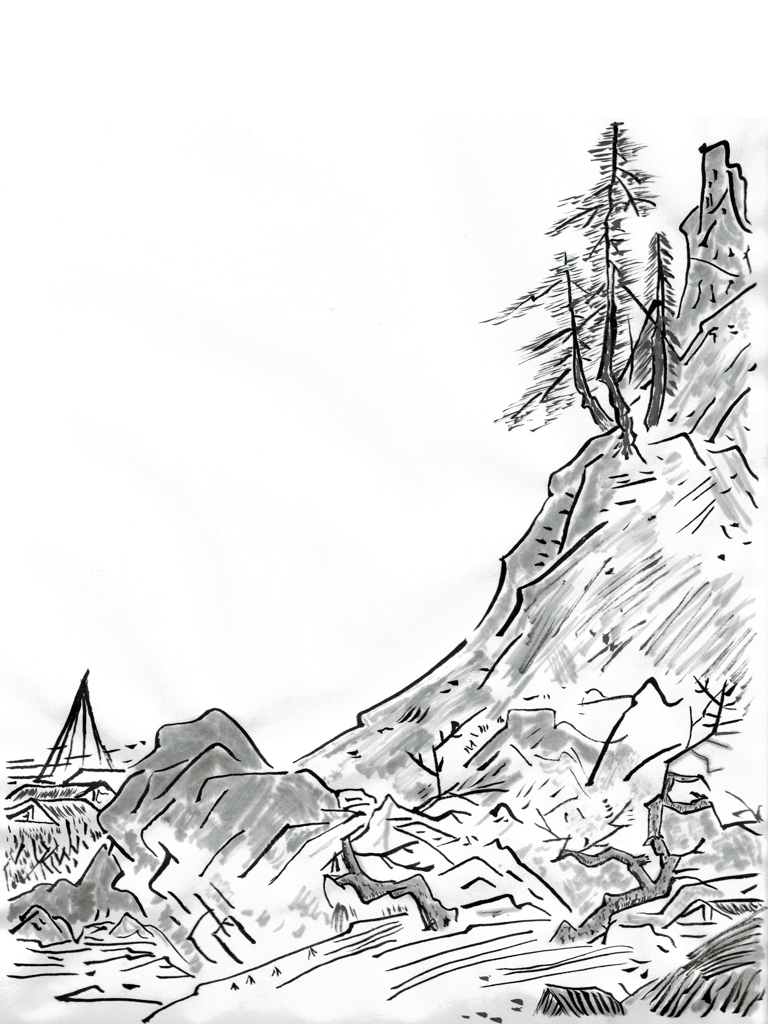
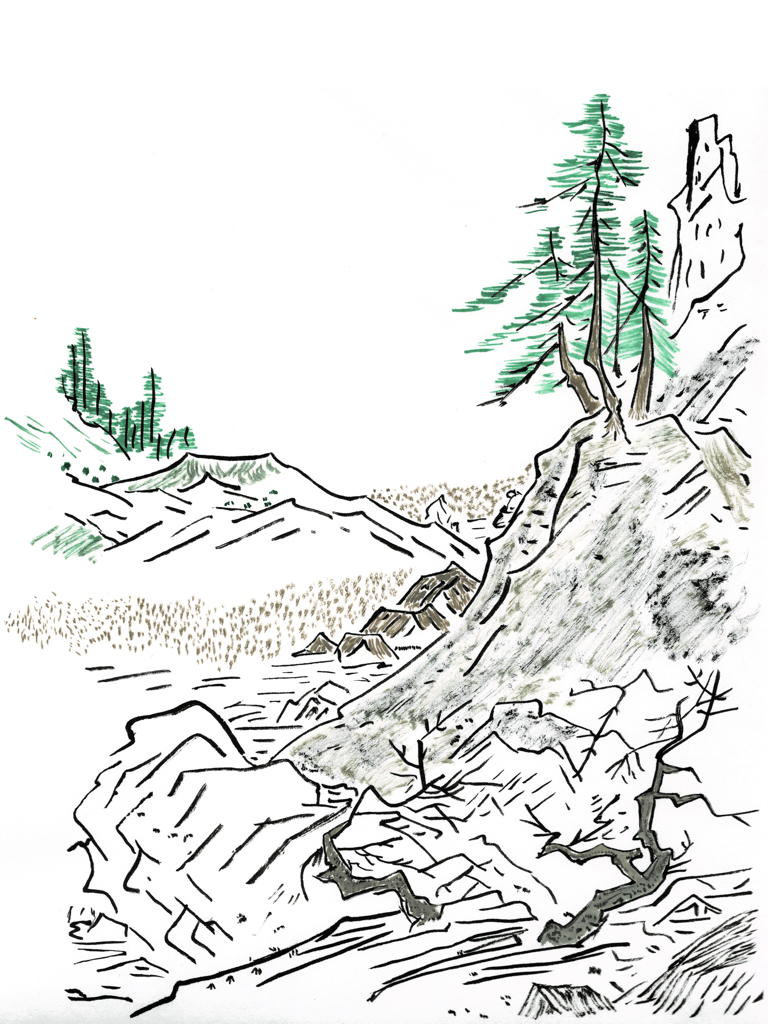
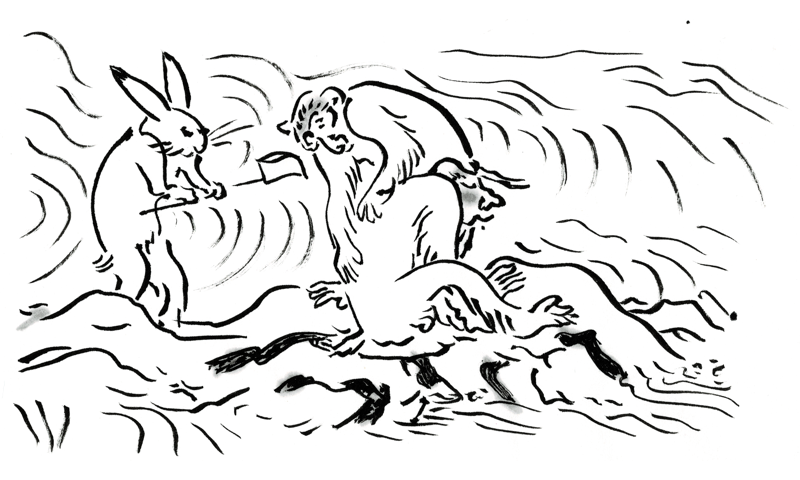
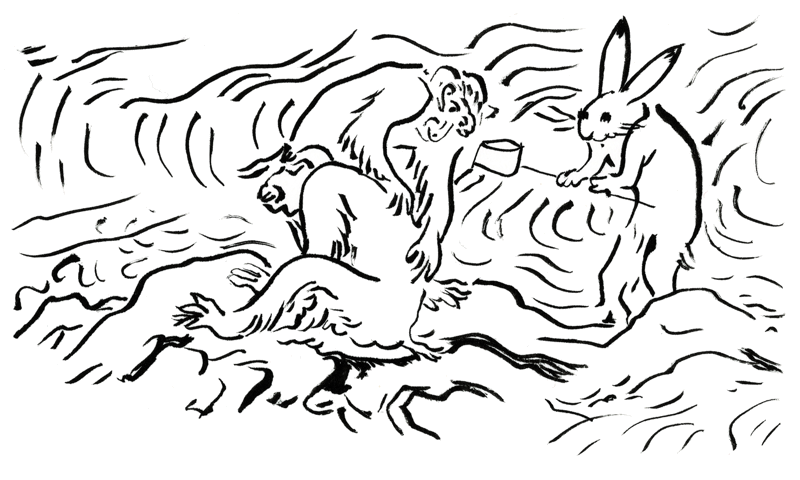
Next, I decided to copy another image from Sesshu‘s “Long Scroll of Landscapes”. Sesshu is one of my favorites, and I bought book about the Long Scroll when I visited the Tokyo National Museum during my first trip to Japan (for the TV show) in 2016. They have an excellent bookstore in the TNM, but I knew that I didn’t have a lot of room for books flying back, so I just bought this one. Anyway, the copies:

This first one is done primary with black ink lines, then some shading in paint (mostly gray) to simulate the light ink washes that Sesshu was great at and I am not.

For this one, I added a little bit of color, mostly from my smaller set of sumi watercolors. I’ve done this kind of thing before, and I really like the effect this produces. It’s less traditional than the pure ink style that Sesshu used, but I like it anyway.

For this last one, I used entirely paint and no ink. Even the black lines a re black paint instead of ink. I was trying out some of the color variations in my larger set of sumi watercolors, some of which I had never used before. The overall effect is a little impressionistic, but I like the way some of the background washes came out.

bookmark_borderPicking Up the Brush

I was recently inspired to start painting SCA scroll blanks again, like I did (gulp!) six years ago. My first recent efforts were these, traced from a photo I took of some Azalea blooms in Sharon’s garden.

Original images are all about 8.5″x5.5″ in size. These are all done with Sumi ink and watercolors on 9″x12″ hosho paper. I’m still in love with my “Kolinsky small” brush from Kuretake. Preserve the kolinsky!

The third picture is probably the least “medieval Japanese” of all these, but I think it’s the most attractive. It is difficult to get good shading and depth in watercolor, and I’m just not good enough yet. The outline form is a little easier to achieve.

bookmark_borderPlaning Off Saw Marks

Kanna on Poplar 1by1

I started working on another lantern today, and I thought I’d show you how I use a Japanese kanna block plane to remove the marks left on the wood by the band saw that I use to mill the lumber into pieces. You can hear the vibration at first, that eventually gives way to smooth shaving noises.

I spin the piece around part way through so that the blade is cutting at an angle across the grain instead of into the grain. This yields a smoother cut. You can see that at the start, the grain lines are pointing up and to the right. Then, after the spin, they are pointing down and to the left.

You can also see that the piece I am planing is not clamped down at all. Since you’re pushing down on the plane, and so down on the piece, the only thing that’s necessary is the planing stop that you can see screwed down to the “planing beam”. My planing beam is simply a length of 2by4 held in my bench vise. My planing stop is 3 inches of 1/8″ welding iron that I drilled a couple of holes in so that I could screw it down. I did have to file the edge of the iron so that it wasn’t rounded over.

bookmark_borderMulberry Andon

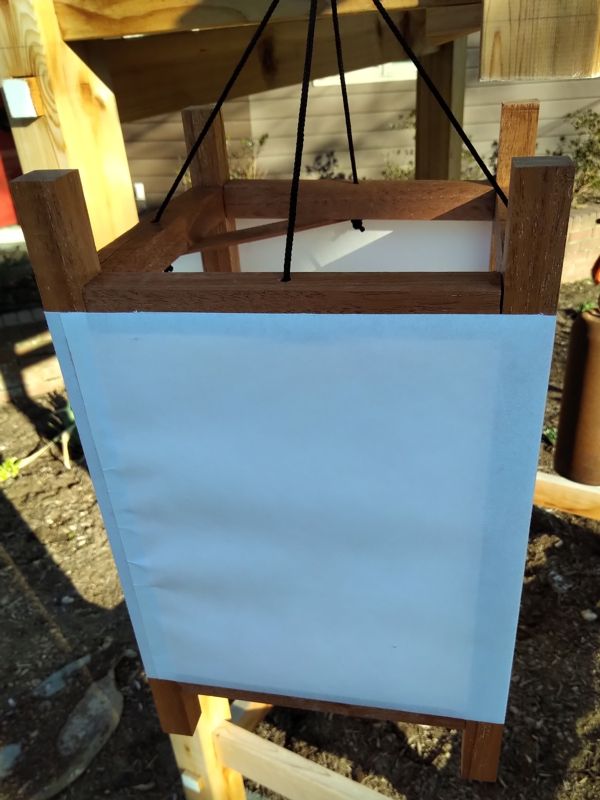
I just completed another lantern for the “six lanterns” project. The frame of this one is made out of mulberry wood. I had a small plank of this that Mr. Arimoto gave to me probably about seven years ago, and it seemed like a good project to use it on.

Andon in Mulberry

Of course, with the paper on it like that, you can barely see any of the wood. The fibers in this plank were very rough and wavy, but in the places where my plane got a good shaving, the surface is super-nice.

Frame of Mulberry Andon

I rough-milled the sticks from the plank using my band saw, then hand planed them down to 3/4″ square rods. There really wasn’t enough wood in the plank to make it entirely from mulberry. To compensate, I made some of the stretchers a little shorter than normal, and used dowel joinery instead of my usual mortise and tenon joinery. This was a little easier, since it meant cutting short lengths of dowel instead of cutting 16 tenons, but it meant drilling twice as many mortises, half of them into the ends of stretchers. I could not have done it without my drill press.

Anyway, it joins the other three lanterns (oak, maple, and cherry) in the lantern box.

Box-o-Lanterns

bookmark_borderCherry Andon Lamp

An andon is a type of Japanese lantern that is usually used indoors by people who are seated on the floor. I think that, technically, any “framed paper” lantern is an andon, but the word is most often used to refer to the floor-standing version. That may be because most hanging lanterns you see are the collapsible paper chochin type.

I’ve been wanting to make a tall, floor standing andon for about five years, and took the opportunity to cut pieces for this one when I was preparing materials for the Cherry Solar Flicker Lantern project.

Andon, from cherry

This andon is about 34 inches tall and 7.5 inches deep/wide. It’s made from cherry. To keep it from being tippy, the base is a solid block of cherry two inches thick. It uses a different lighting system than the hanging lanterns. This one is designed to suspend a NEBO Tools “BIG Poppy” lantern inside.

The view inside

Here you can see how the Poppy is suspended from the diagonal crossbeam. This is also a better view of the handle. I cut the through-mortise into a rectangular block first, then cut the curved handle from that block. You can also see the seam where the paper is taped closed at the front corner. Even in the light it doesn’t look bad.

bookmark_borderCherry Solar Flicker Lantern

This is the third lantern in a series of at least six. This simple Japanese frame lantern is made from some Western Pennsylvania cherry lumber that I bought a bunch of years ago and am still working scraps out of. It follows the same design as the Oak Solar Flicker Lantern and Maple Solar Flicker Lantern before it.

Lantern in cherry

I have a new method for applying the paper that I think yields a much tighter and smoother result. I’m using Warlon Taf-Top shoji paper, so I can’t just dampen the paper to shrink it. Unless the lantern is perfectly square, wrapping a correctly-sized strip of paper around it leaves wrinkles or bulges. Instead, I cut the paper oversized, apply it to the lantern, then trim the paper down so that it is perfectly straight and flat. It watses a bit more paper, but I think it is more attractive.

The shoji in the background were made about a decade ago, and are made from cedar. I bought the bunny painting from an antique store.

bookmark_borderBlock Printed Tenugui

In discussion within Clan Yama Kaminari, we thought it would be nice to have some tenugui hand towels printed with the Clan mon. I already had the printing block cut, so It was only a couple days’ work to make two dozen of these.

Cotton hand towels printed with the mark of Clan Yama Kaminari

Each tenugui is a yard long and about 15 inches wide. I used cotton muslin because it was on sale at the fabric store. Typically, tenugui use a looser weave of cotton.

I did a rolled edge on each rectangle using the serger to keep them from fraying. Tenugui made with traditional fabric have selvedges at the proper width, and the ends are just left to fray. If I buy tenugui, I usually hem them myself.

The mon is block-printed at each end, centered in the width of the fabric, using Jacquard Textile Color in “Ruby Red”. This pigment yields a good solid color, without changing the texture the way paint would, or bleeding along the fibers the way dye would.

bookmark_borderMaple Solar Flicker Lantern

Following on the heels of my Oak Solar Flicker Lantern, is this almost identical lantern made from maple.

Lantern in maple, with solar flicker lighting unit

I eventually need to make a half dozen or so of these, so I might as well use them as a study in materials.

Lantern at night, hanging in the shorou