bookmark_borderTwo New Linen Kosode

The first is another white kosode. I’m having to retire one of my old, old kosode because the cotton fabric is failing, so I need a kosode with narrow sleeves that can fit through narrow spaces in older garments. I have modified all of my older kosode to maximize the opening where the sleeve meets the body, but some of them just don’t have a lot of height to the sleeve itself.

White Kosode 2025, from Linen

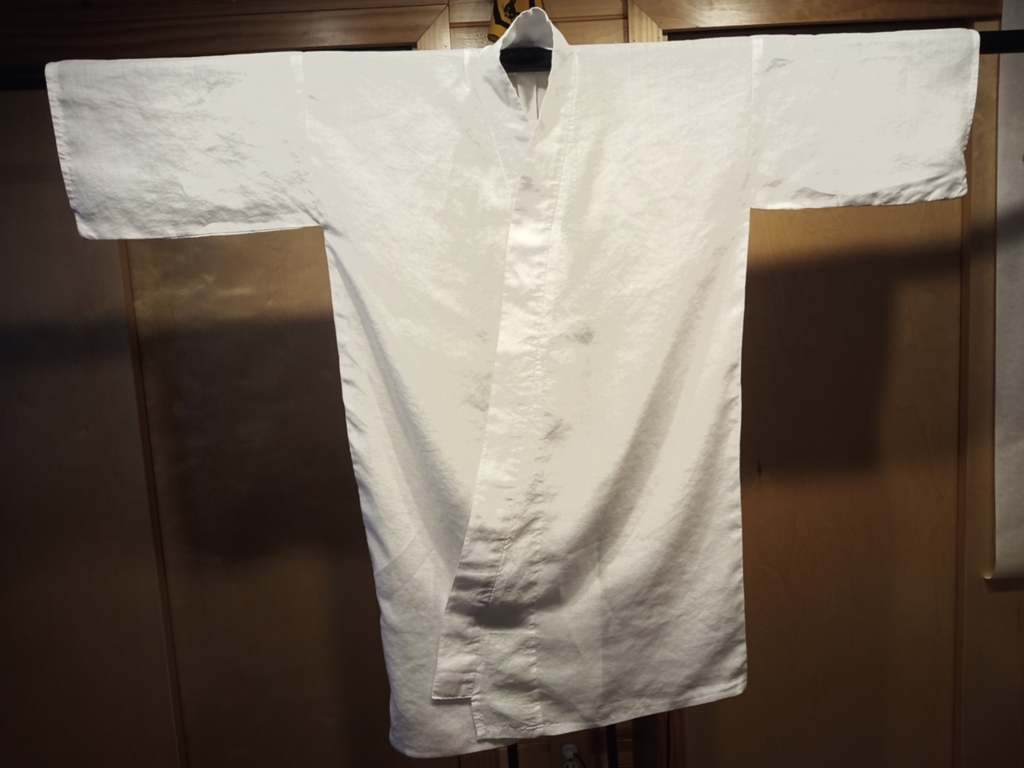
I only had a few months left to make my white kosode for 2025 anyway. This one is from the nice white linen I have been buying at Pennsic for the last few years. Due to some poor planning, I was not able to use the most au courant sewing pattern for kosode. I also decided to cut the piece for the neck band a little wider than normal, so it would stay more visible when worn under other kosode. This meant that the okumi overlaps are a little small. Oh well.

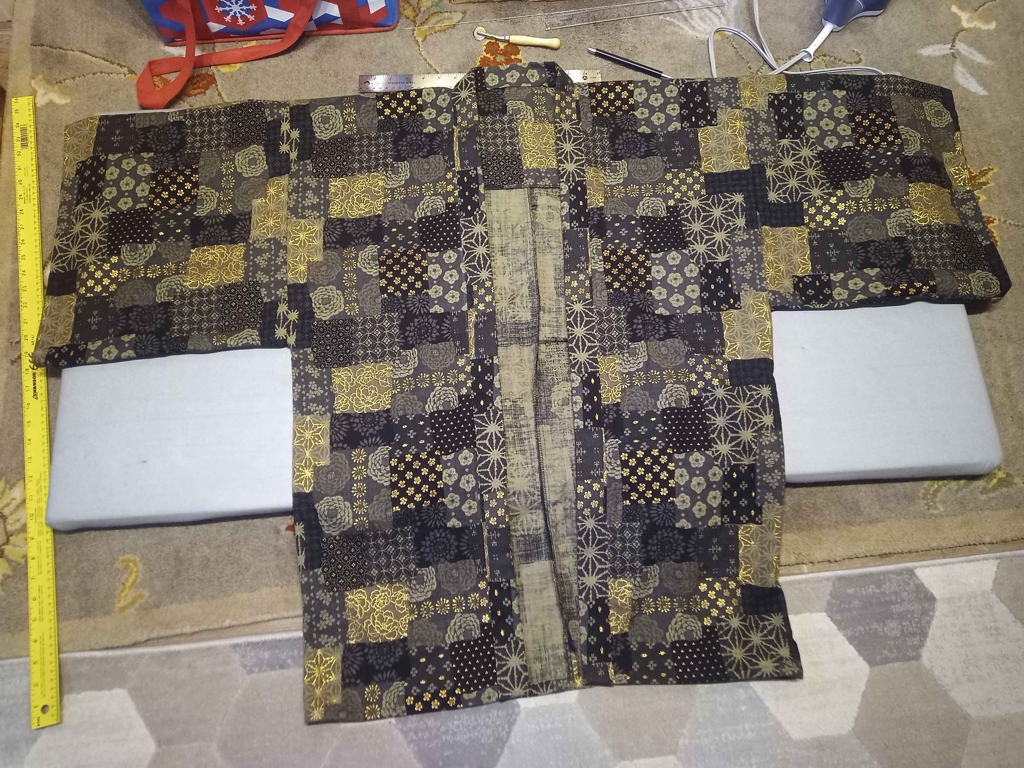
The next one is more exciting and more interesting. It’s made from a black and white linen tartan fabric I also bought at Pennsic, I think from the same merchant who sold me the linen for the recent green hakama. The pattern is woven in, not just printed on the surface. It’s very nice fabric.

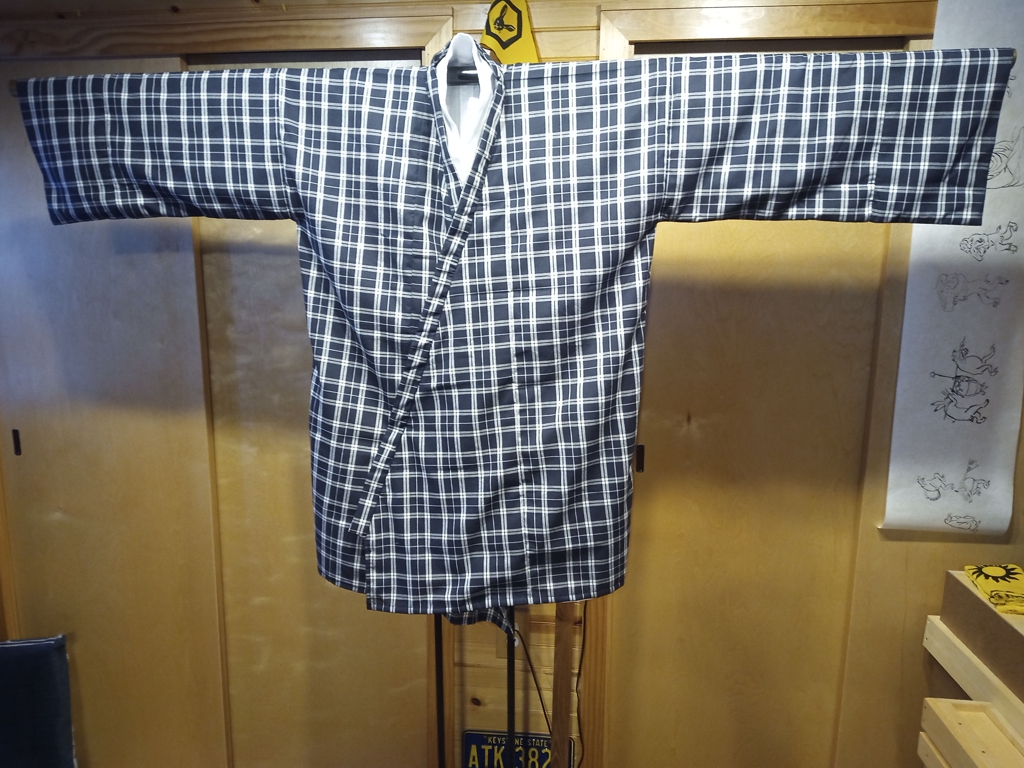
The overlaps are a full panel width! They are joined at the edges of the neck opening! Neither the body panels nor the overlap panels are cut to make them narrower or angled, they are just folded! The sleeves are 1.5 panels wide, but those panels are not cut either! The sleeve ends double back on themselves to make self-facings! If you look closely, you can see I’ve done some clever things at the seams where sometimes the grid matches up and sometimes it doesn’t. I know all that sounds very technical and maybe doesn’t make sense to you, but trust me, I’m very happy with the work that went into this one.

bookmark_borderOdd Little Libraries

During my time between jobs while the weather is still good, I have been taking some long walks in the parks and neighborhoods of Pittsburgh. You’re probably familiar with the “Little Free Library” book sharing trend that has been sweeping around for the last 20 years or so. Around the city I have noticed an extension of the movement that has reached into some odd areas of human existence.

Little Free Puzzle Library

This puzzle library is on a one-way street in Squirrel Hill. Sweetie made me tell her where it is so she can offload some puzzles.

Peace Rocks

This library is also in Squirrel Hill. Clearly there is a greater demand for peace than supply. I might start collecting peaceful rocks and restocking these shelves.

Dog Library

Take a stick. Leave a stick. This one has an attached annex for the peoples.

Context for the Dog Library

This two-part library is in Garfield, on a busy street. As in probably any North American City, most of the people you see out walking in Pittsburgh are walking a dog. I’ve seen some very handsome dogs.

bookmark_borderHappi from Boro-print Cotton

Sweetie and I were in a fabric store a few weeks ago, and they had a selection of faux boro fabric in several colorways. I really don’t need another happi coat, but they always come in handy and are a way to add another layer to a basic outfit as the evening cools off at Pennsic. Plus, one of the colorways was “black and gold”, which fits into the aesthetic we have here in the Debatable Lands.

Happi from Black & Gold Faux-Boro Cotton

Happi were some of the first Japanese garments I ever made for SCA wear, and they are still fun to make. They have a partial lining that helps to make them very durable. They are a good use for a a few yards of fabric that would be uncomfortable or distracting to wear as just about any other garment. The pattern I use is based on Folkwear 129, “Japanese Hapi & Haori“, but I no longer really need to refer to the pattern, I can just make one mostly from memory.

I’m going to save this one probably until January, then wear it at our Baronial 12th Night event, which is the SCA’s version of a Winter Holiday party.

bookmark_borderMore Baronial Belt favors

We have some big SCA events coming up in the Barony, and our Baronage loves recognizing people for their hard work by inducting them into our Baronial orders. Tradition has it that we give all inductees something they can use to display their membership in the order, and the one thing I can make most reliably is a “belt favor” machine-embroidered with the symbol of that order. Here is the most recent harvest from the fertile fields of my surplus fabric stash:

These are all made from surplus fabric green linen from my recent Basic Hakama project. The red comets are for martial activity, gold for service, blue/silver for arts & research, and green for “friend of the Barony”. The comet on the Order of Copernicus favor glows in the dark!

bookmark_borderSycamore Medallions

In our SCA Kingdom, the basic level award for arts and research is called the Order of the Sycamore. Almost all of the trees that line our street (Shady Avenue) here in Pittsburgh are sycamores, and they shed branches all the time. When life gives you sycamore, make sycamade! Er, madellions. I mean, medallions!

I had a sycamore branch that had come down in the street in front of the house, and that I had cut up into 2-foot lengths. They’ve been drying in the garage for a couple of years, and it was time to do something with them. I cut a stack of “cookies” from one of the branches, and sanded both side of them smooth. Then, I dipped them in sanding sealer, let that dry, and sanded them even smoother. (somewhere in there I drilled them to accept a jump ring for hanging. Next, I painted the badge of the order on each cookie, and sealed the paint with a couple of coats of shellac. (Did you know that “gum arabic”, the binding agent in water paints, is not soluble in alcohol, the solvent in shellac?). Finally, I braided six cords on the marudai and hung each medallion from a cord.

The medallions themselves. Actually, this was from before the shellac
The medallions attached to cords

Sycamore medallions… made from real sycamore!

bookmark_borderMore “Pennsic Chairs”

Some friends of ours who were living right around the corner from us were about to move to Portugal. They had a bunch of lumber that they had been using for storage shelves in garage, and they asked me if I wanted it. Three of the pieces were 8-foot 1-by-12s, so I decided to use them to make three brand-new “Pennsic Chairs“. After this photo was taken, I put a few coats of finish on the chairs, and later wound up giving them away to other friends.

I realize now that for as many years as I have been making these chairs, I never posted detailed visual instructions. Let’s do that now.

First, I planed the lumber smooth, and cleaned up the edges. Mark a middle line 42 inches form one end (for the seat), and 54 inches from the other (for the back).
Next, on the back piece, 12 inches up from the middle line, mark a mortise about half the width of the lumber (so, 5 or so inches), centered, and a little more than the thickness of the lumber.
Then, on the seat piece, starting 12 inches down from the middle line, mark the tenon. It should be a little less than the width of the mortice, centered, and all the way from the start line down to the end.
Using a jigsaw, I cut out the mortise. It’s best to start by drilling a hole, then cut towards the edges in curves until you can cut clean on the line.
You can use the same saw, and cut the edges of the tenon on the seat piece. These are long cuts, so take your time.
It’s easier to cut the joinery with the lumber in one big piece, but now you can cut along the middle line and separate the two pieces. Use files and sandpaper to clean up all the cut edges, and maybe round over the corners a little bit.
Test the fit by sliding the tenon through the mortise and standing up your new chair against the floor. Now all it takes is some finish and waiting.