Some of you may remember that, earlier this summer, after inventorying the large selection of surplus plywood in the shop, I went on a bit of a storage box kick. Starting to feel like I was getting pretty good at making these simple boxes, I offered to make boxes for anything for which my friends might need a storage box. The only person (so far) to take me up on the offer is a friend of ours who is a Duchess in the SCA.
The title of Duchess is typically given to those who have been Queen two or more times. Those who hold Royal titles in the SCA (from Baron on up) are entitled to wear coronets that signify their rank. Sometimes, but not always, these come with a box. Sometimes, this box is too nice to be carted around, even though you want to take the Coronet itself to the event so that you can wear it to court.
Anyway, she sent me the rough dimensions of her coronet, and I added an inch to each of those dimensions to allow for a half-inch of padding all around. I did not feel that my standard lauan plywood box was sufficiently nice for this use, so I dug into the supply of birch-face plywood and birch scants that my wife bought for a project long ago.
The Duchess’ Coronet Storage Box, in Birch
It’s just a simple lidded box. The interior is roughly 10″x12″x5″ It is assembled using butt-joinery, glue, and 23-gauge pins from the nailer. Inside and out, the box is finished in blonde shellac. The table saw blade left some scorch marks on the ends of some of the boards, but other than that I am pretty happy with it.
Birch Storage Box, Open
It should be pretty useful for the coronet, or whatever else she might choose to store in there.
In discussion within Clan Yama Kaminari, we thought it would be nice to have some tenugui hand towels printed with the Clan mon. I already had the printing block cut, so It was only a couple days’ work to make two dozen of these.
Cotton hand towels printed with the mark of Clan Yama Kaminari
Each tenugui is a yard long and about 15 inches wide. I used cotton muslin because it was on sale at the fabric store. Typically, tenugui use a looser weave of cotton.
I did a rolled edge on each rectangle using the serger to keep them from fraying. Tenugui made with traditional fabric have selvedges at the proper width, and the ends are just left to fray. If I buy tenugui, I usually hem them myself.
The mon is block-printed at each end, centered in the width of the fabric, using Jacquard Textile Color in “Ruby Red”. This pigment yields a good solid color, without changing the texture the way paint would, or bleeding along the fibers the way dye would.
I had meant to leave this year’s white kosode half-finished, so I could use it as a demonstrator for a class I was going to teach at Pennsic on kosode construction. Instead of leaving it to fester while we’re waiting to see if there will be a Pennsic next year, I decided to complete it so that I could wear it if we ever happen to have an SCA event ever again.
Gosh that all sounds pessimistic, I know, but there it is. Really, I’m much more optimistic about the future of the SCA than that. I think we will have to reconsider what makes an event and how we run them, but I’m sure we will have events in the future. They might just be very different from the kind of events we’ve had in the past, though.
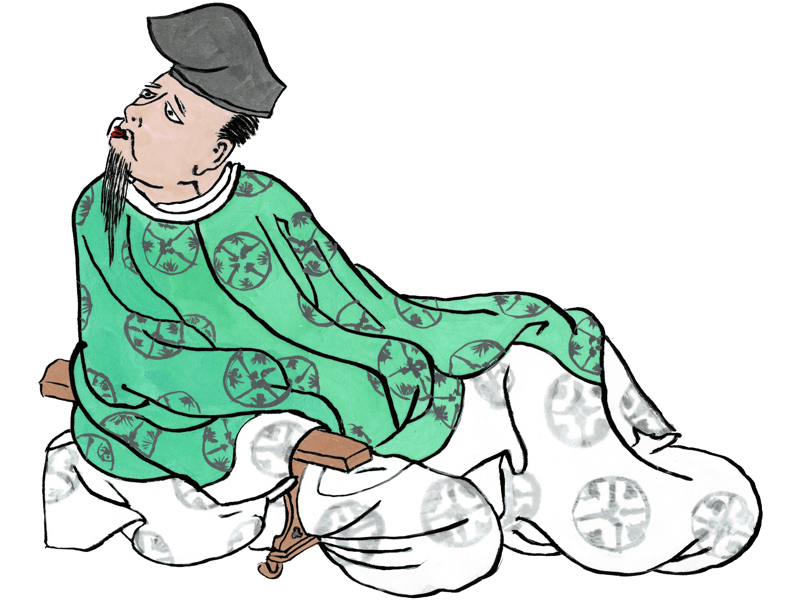
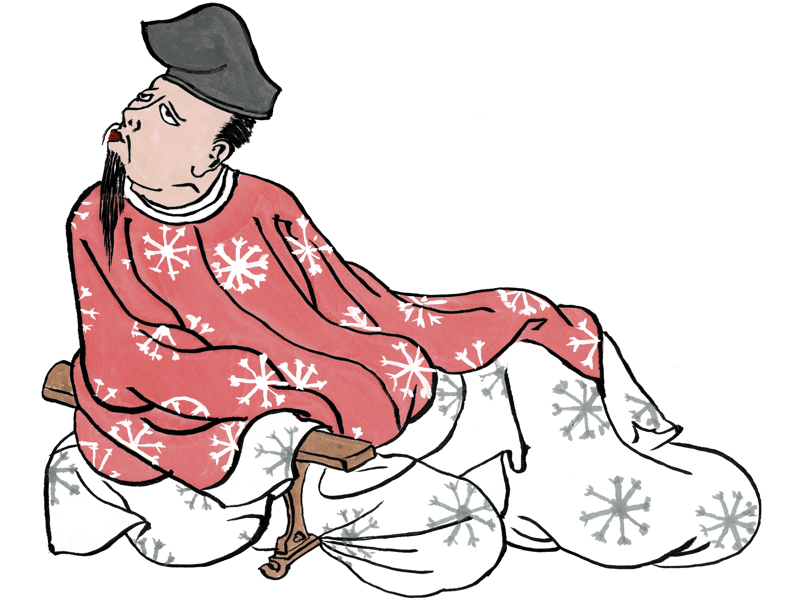
Anyway, this year’s kosode, in white ramie. I’ve already made two kosode from the white ramie I ordered a couple of years ago. When it became time to make my 2020 kosode, I thought about getting some new fabric, but I realized I still had plenty of this terrific 150 gram ramie linen from Morex Fabrics, so why not use it? The pattern is my standard men’s kosode method, starting from 14.5″ panels. For my technically-minded friends, I continue to use half-panel overlaps and three-layer collars.
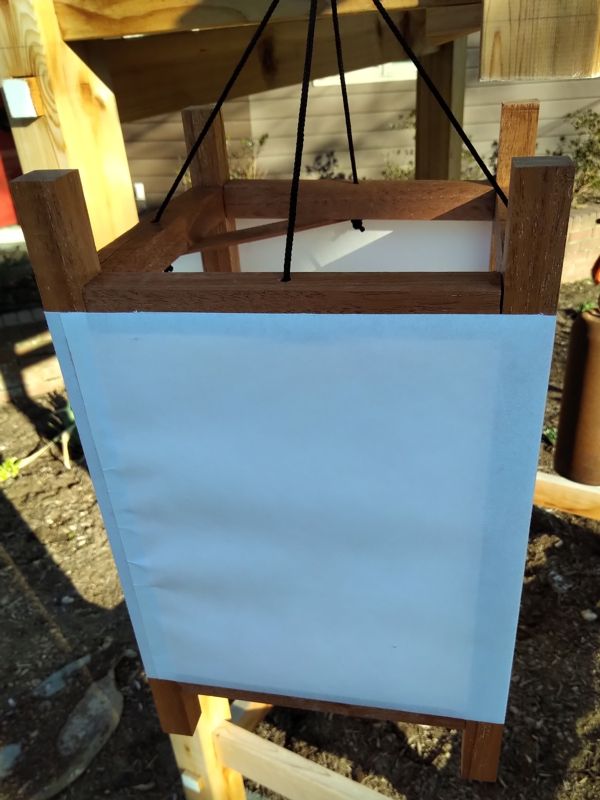
This lantern is mostly made from some surplus 3/4″ oak I had in the garage. It uses the same mortise-and-tenon frame I’ve used for the other lanterns, except for the two diagonal braces just under the top rails. The suspension mechanism is also a little different, just some 1/8″ nylon rope inserted through drilled holes, and a brass ring.
The exterior is some Warlon Taf-Top shoji “paper”. This paper is coated with polyester fibers, making it water resistant and more durable than paper. It’s good stuff, and not that much more expensive than regular shoji paper. The paper is just wrapped around the outside and held in place with double-sided tape.
Drop-In Lighting Unit
The top part of the garden light drops into the top of the lantern and rests on the diagonal braces. The top part has the solar panel, battery, and bulb; and is itself sealed against weather. This makes it the ideal lighting unit for this kind of project. The bulb is actually a cob of dozens of LEDs that play a little flame animation. It’s very realistic.
Lantern at night
At Pennsic, the group we camp with likes to hang lanterns out in front of camp. Solar lanterns means we don’t have to worry about burning anything down or changing batteries. I’ll need to make a bunch more of these lanterns before Pennsic returns next year, if Pennsic returns next year.
I would have tried to get these done before Pennsic, but since Pennsic was cancelled for this year due to nobody wanting to share a campground with 10,000 other people from all over the world, I procrastinated.
10 Debatable Lands belt favors
These were all machine embroidered onto some nice heavy golden yellow cotton duck fabric, and display the Baronial comet along with “Salve Accolens” (“Hello Neighbor”), the Baronial motto. Each is about six inches wide, and 18 inches long (they are doubled over in the photo). You can see I tried out a couple of different typefaces before deciding on this classy French Script, and if you look closely you can also see that I tried out some of the dozens of decorative top-stitching patterns that are available on my sewing machine but that I almost never use.
I was in the fabric store that shall not be named a couple of weeks ago, and they were having a sale on all cotton prints. Their selection of Japanese prints was pretty bad, so I bought a cute bunny rabbit print from the “Easter” colection, to make a new pair of pajamas.
Me wearing the pajamas
There’s no crosses or anything, just white bunnies cavorting on a pastel purple background. Very cute, and the cotton fabric is lightweight and good for summer wear.
Bunny Pajama Shirt
I used my favorite pajama pattern, since I know that I like the fit. I think I did a better job of placing the shirt pocket on this iteration than I did on the natural shop coat, and the collar attachment was quite smooth.
Bunny Pajama Pants
I greatly simplified the pants, though. I left out the false fly, which is a nice accent, but serves no functional purpose. I also left out the pockets, which are nice to have sometimes, but rarely used and not worth the added bulk and trouble in my experience. I also did a drawstring waist instead of an elastic waist, but I usually do that.
This project took me about two days worth of work. I’m very happy that this kind of thing is a weekend project for me now.
Not so much lately, given the extreme heat we’ve been having, but for much of the Spring I found my blue shop coat to be extraordinarily handy. I’m the kind of person who won’t really leave the house without a jacket or coat of some kind, so a mid-weight, durable chore coat was nice to have. If I’d worn it recently for actual woodworking, it was probably too dusty to wear out in public, though.
I thought it would be handy to have a second shop coat, but I didn’t like any of the other colors of cotton duck cloth that the store had in stock. Blue is a good neutral color, but I didn’t want another blue one, and black is really not my style. I decided to use this “natural” duck cloth.
Shop Coat in Natural Cotton Duck
Sharon points out that the unbleached “natural” color will probably hide sawdust very well. It sure does get wrinkly in the wash, though. That “crumpled paper bag” texture you can see in the photo is not exaggerated by the lighting; that’s what it really looks like.
Also, for some reason I wound up attaching the pockets really low on this one. The upper pockets on the blue coat are up near the first button, but there are down at the second button, about 5 inches lower. The pockets are also larger on this one, so it gives the coat a bottom-heavy appearance. It’s far too late to worry about it now, though. Maybe I will add a pocket or two higher up, or some decorative embroidery.
I also added a button to the left breast pocket. I found that it was very tempting to put my phone in that pocket, but on the blue coat there was always a risk that the phone could slip out and be damaged on the shop floor (like my last two phones were). I should really add a flap or something to the blue coat’s breast pocket.
Sharon bought this bell maybe ten years ago up at Pennsic. It was in the basement at the old house, then it was in the garage here at the new house. I have planned, for all this time, to build an enclosure in which to hang this bell, to give Sharon’s garden a Japanese accent piece. Well here it is.
Bell Tower
This belfry, or shourou, is made entirely of cedar, except for the pegs and wedges, which are cypress. The vertical posts are 4-by-4. Cutting all those through-mortises in 4×4 was no picnic, let me tell you. The cross-braces are all 2-by-4. Cutting the large tenons and small securing mortises on those was fun by comparison. The roof is all quarter-inch by 4, which I made by re-sawing 1×4 on the band saw, and then planing it down to remove the saw marks. In spite of the power tools, this was ten 1x4s, and quite a bit of work.
The corner posts are six feet tall, so this is a human-scale project. There’s a ranma panel between the center roof supports that’s made from a single panel of 1-by-6. The bell hangs from this.You can see a cherry-wood mallet sitting on one of the lower cross beams, for striking the bell. The bell is made from a an old SCUBA tank. It has a pleasing sound.
I put about six days of work into this, if you don’t count the trip up to Mars Lumber to buy the cedar. I could pretty much only cut one of the vertical posts per day. I drilled out the mortise holes, the chiselled the corners out of the holes to make square mortises. To keep them square with the faces, I marked both ends of the mortises and went in from both sides to the center. This means that cutting the four large mortises and four small mortises was like cutting 16 mortises on every post. So, one per day. I would only re-saw a few of the 1x4s and cut a few 2x4s each day, too. Spreading out the work made for more variety each day, which was necessary given that I was working out in the garage in 90 degree heat.
When enough pieces were ready, I started assembling the structure. The tenons on the end of the 2x4s were pretty tight in the mortises, and the pegs to secure them had to be hammered in to tighten the joints. once I had the frame assembled, I set it up in the garden and cut the three roof beams. These have notches cut in them to hold them on the posts, and there are hidden construction screws to secure them. I could have gotten fancier with the joinery here, but I did not.
Once all the roof pieces were sawn, planed, and cut to length, it was time to make a roof. The roof pieces are all nailed in place with brads from a nail gun. Strips under the edges of the roof keep the ends of the pieces together, and a cap rail on top secures the top ends of the roof pieces. It’s not waterproof, but it does not need to be.
I’m really happy with the way this project came out. It’s big, but not too big, and very solid. The thin roof provides shade, but doesn’t make the structure too top-heavy. The bell looks great hanging there, and sounds terrific when you strike it. Lamost all of the project went according to plan, so if I need a similar structure someplace else, I know that I can make all the pieces and then construct it on-site with minimal fuss. My ultimate goal is to build a small Japanese-style house on a trailer for camping at Pennsic. This is a good step in that direction.
Two of the 16 pegged corner joints
The center support is pegged to secure it, then wedged to keep it tight and square.
The ranma panel is just inserted into mortises in the center supports.