
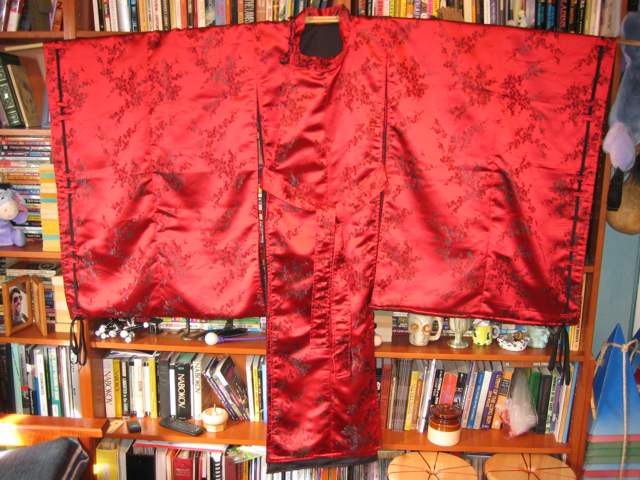
Basically as soon as Sweetie and I had reached full immunity following our second COVID-19 inoculations (it’s not really a vaccine, you know), we went and visited my parents in NJ. They still live where I grew up in NJ, and although we did not want to go into NYC to visit fabric stores, I decided to search around the area to see what might have become available in the 30+ years since I left. Sure enough, the large presence of immigrants from Southeast Asia in my home town had resulted in some great fabric stores catering to their tastes, including one just 15 minutes from my parents’ house, called “Fabric Guy“. I was looking for some figured white silk for another project, but also wound up buying some of this lovely medium-weight silk brocade.

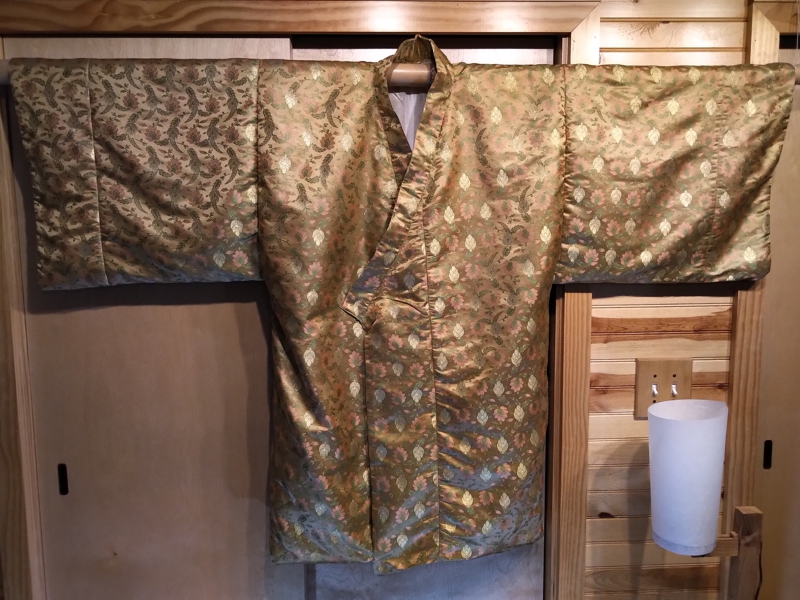
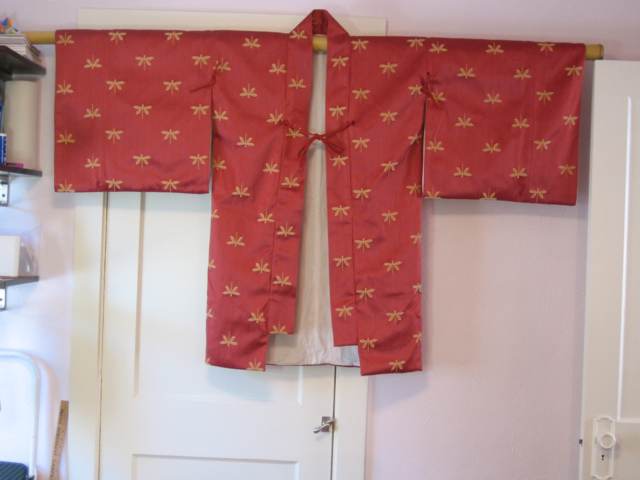
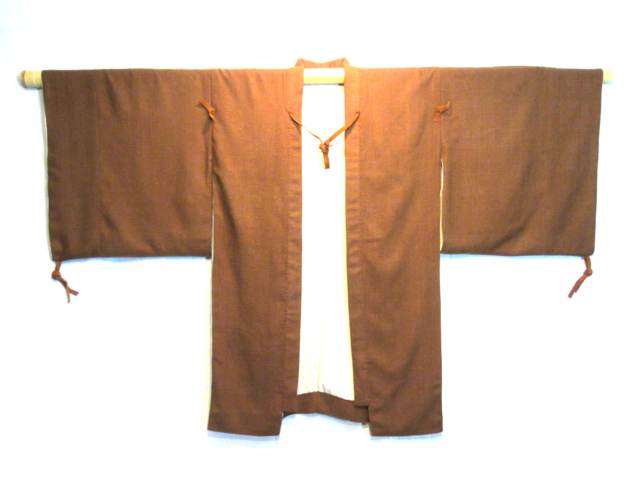
I suddenly decided that I needed a fancy kosode, because who doesn’t need a new fancy kosode every once in a while? One difficulty with the project is that the gold metallic threads for the flower buds (or whatever they are) are pretty much just behind those graphics. Cutting the fabric released hundreds of little whiskers, and I realized that wearing the kosode would break off more of those and they would get into everything else. The solution was to add a lining to the plan.

I had some light-weight habotai silk in my stash, so I used that. I’ve made lined garments before, so this was not alien territory for me, but it has been a while. The trick, for those who don’t know it, is to leave closing the neckband for the very last step. That enables you to attach the sleeve linings to the body lining easily by pulling those seams to the outside of the garment. This silk was so light that keeping it still enough to sew was something of a challenge, but it came out OK, I think.


