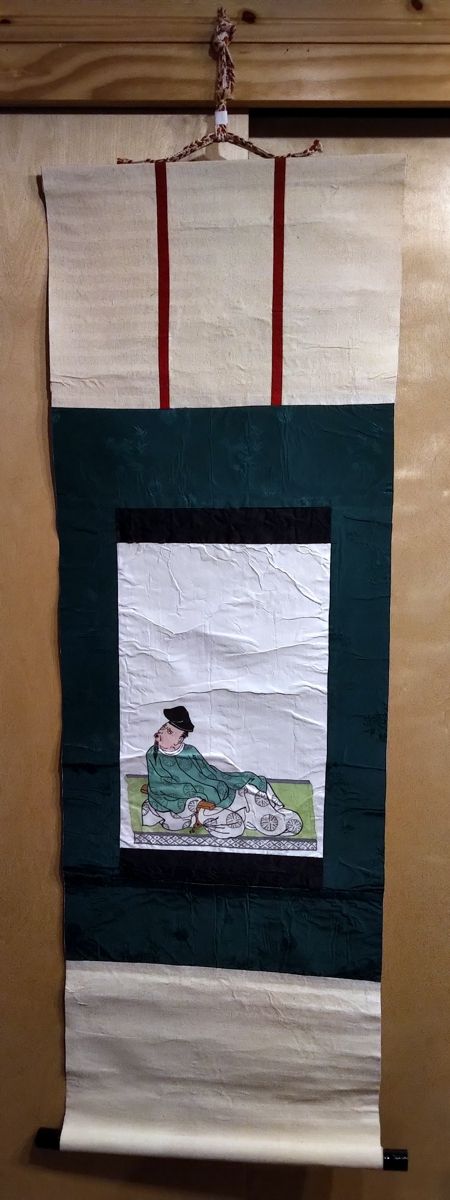
The Chōjū Jinbutsu Giga emaki is an ancient wordless scroll of “frolicking animals”. It is generally considered to be a satire of the habits and behavior of the nobility. There are four scrolls in the collection, which does get displayed occasionally. The first scroll is the most well know, and the most popular images from the scroll are available as all kinds of merchandise. I bought some postcards and rubber stamps when I was at the Tokyo National Museum in 2016.
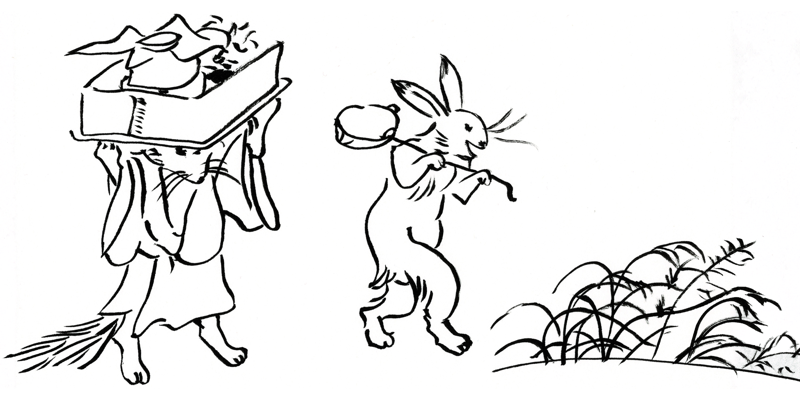
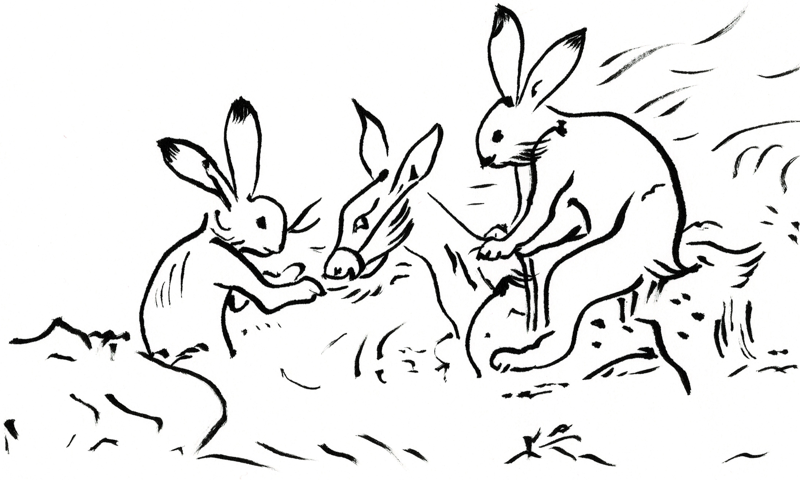
This image is one of the less popular ones from right near the beginning of the first scroll. It shows what is probably a ritual bath before the day’s activities.
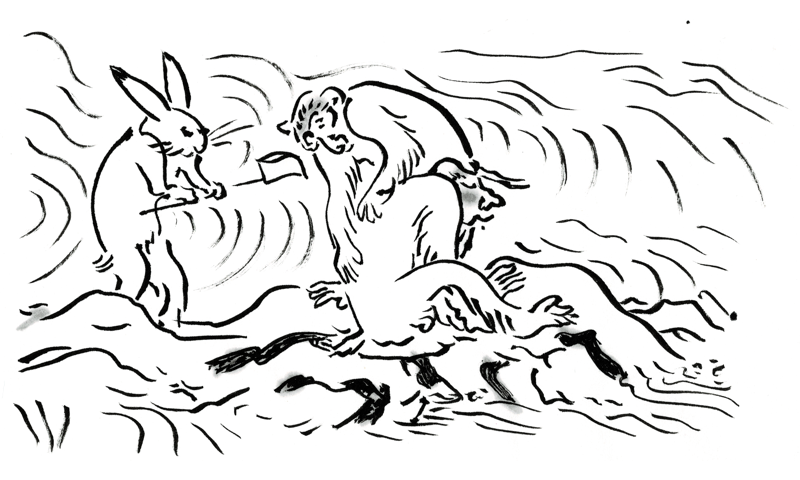
Yes, I got the image backwards in this first one. My process involves scanning an image, darkening the primary lines on a printout with a marker, and then tracing from the modified image. I use a light panel for all this, and I usually darken the back of the printout. This makes the primary lines easier to see when it’s time to trace in ink onto the final paper. I forgot to flip the printout before starting on the ink tracing. Oops.
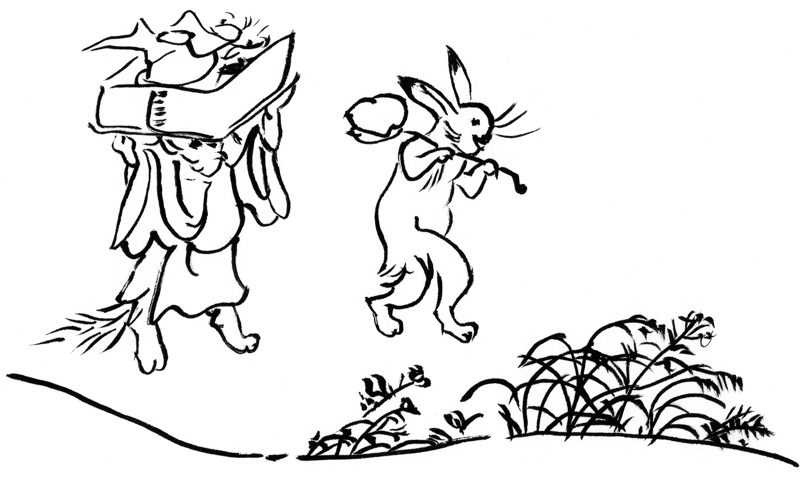
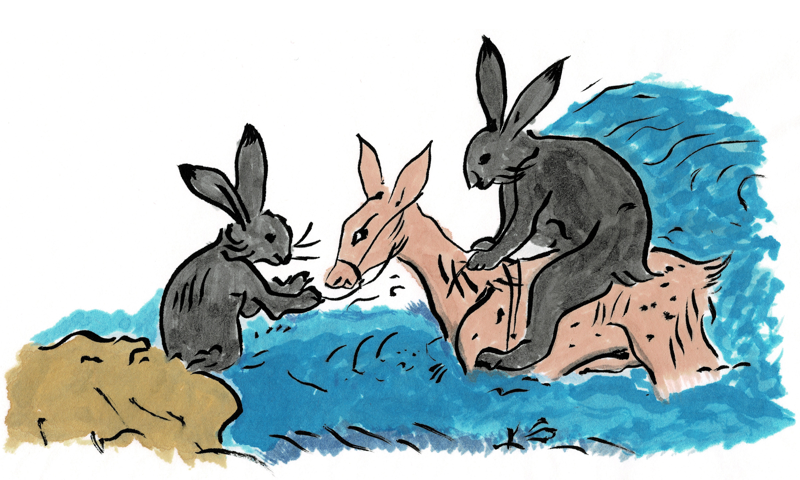
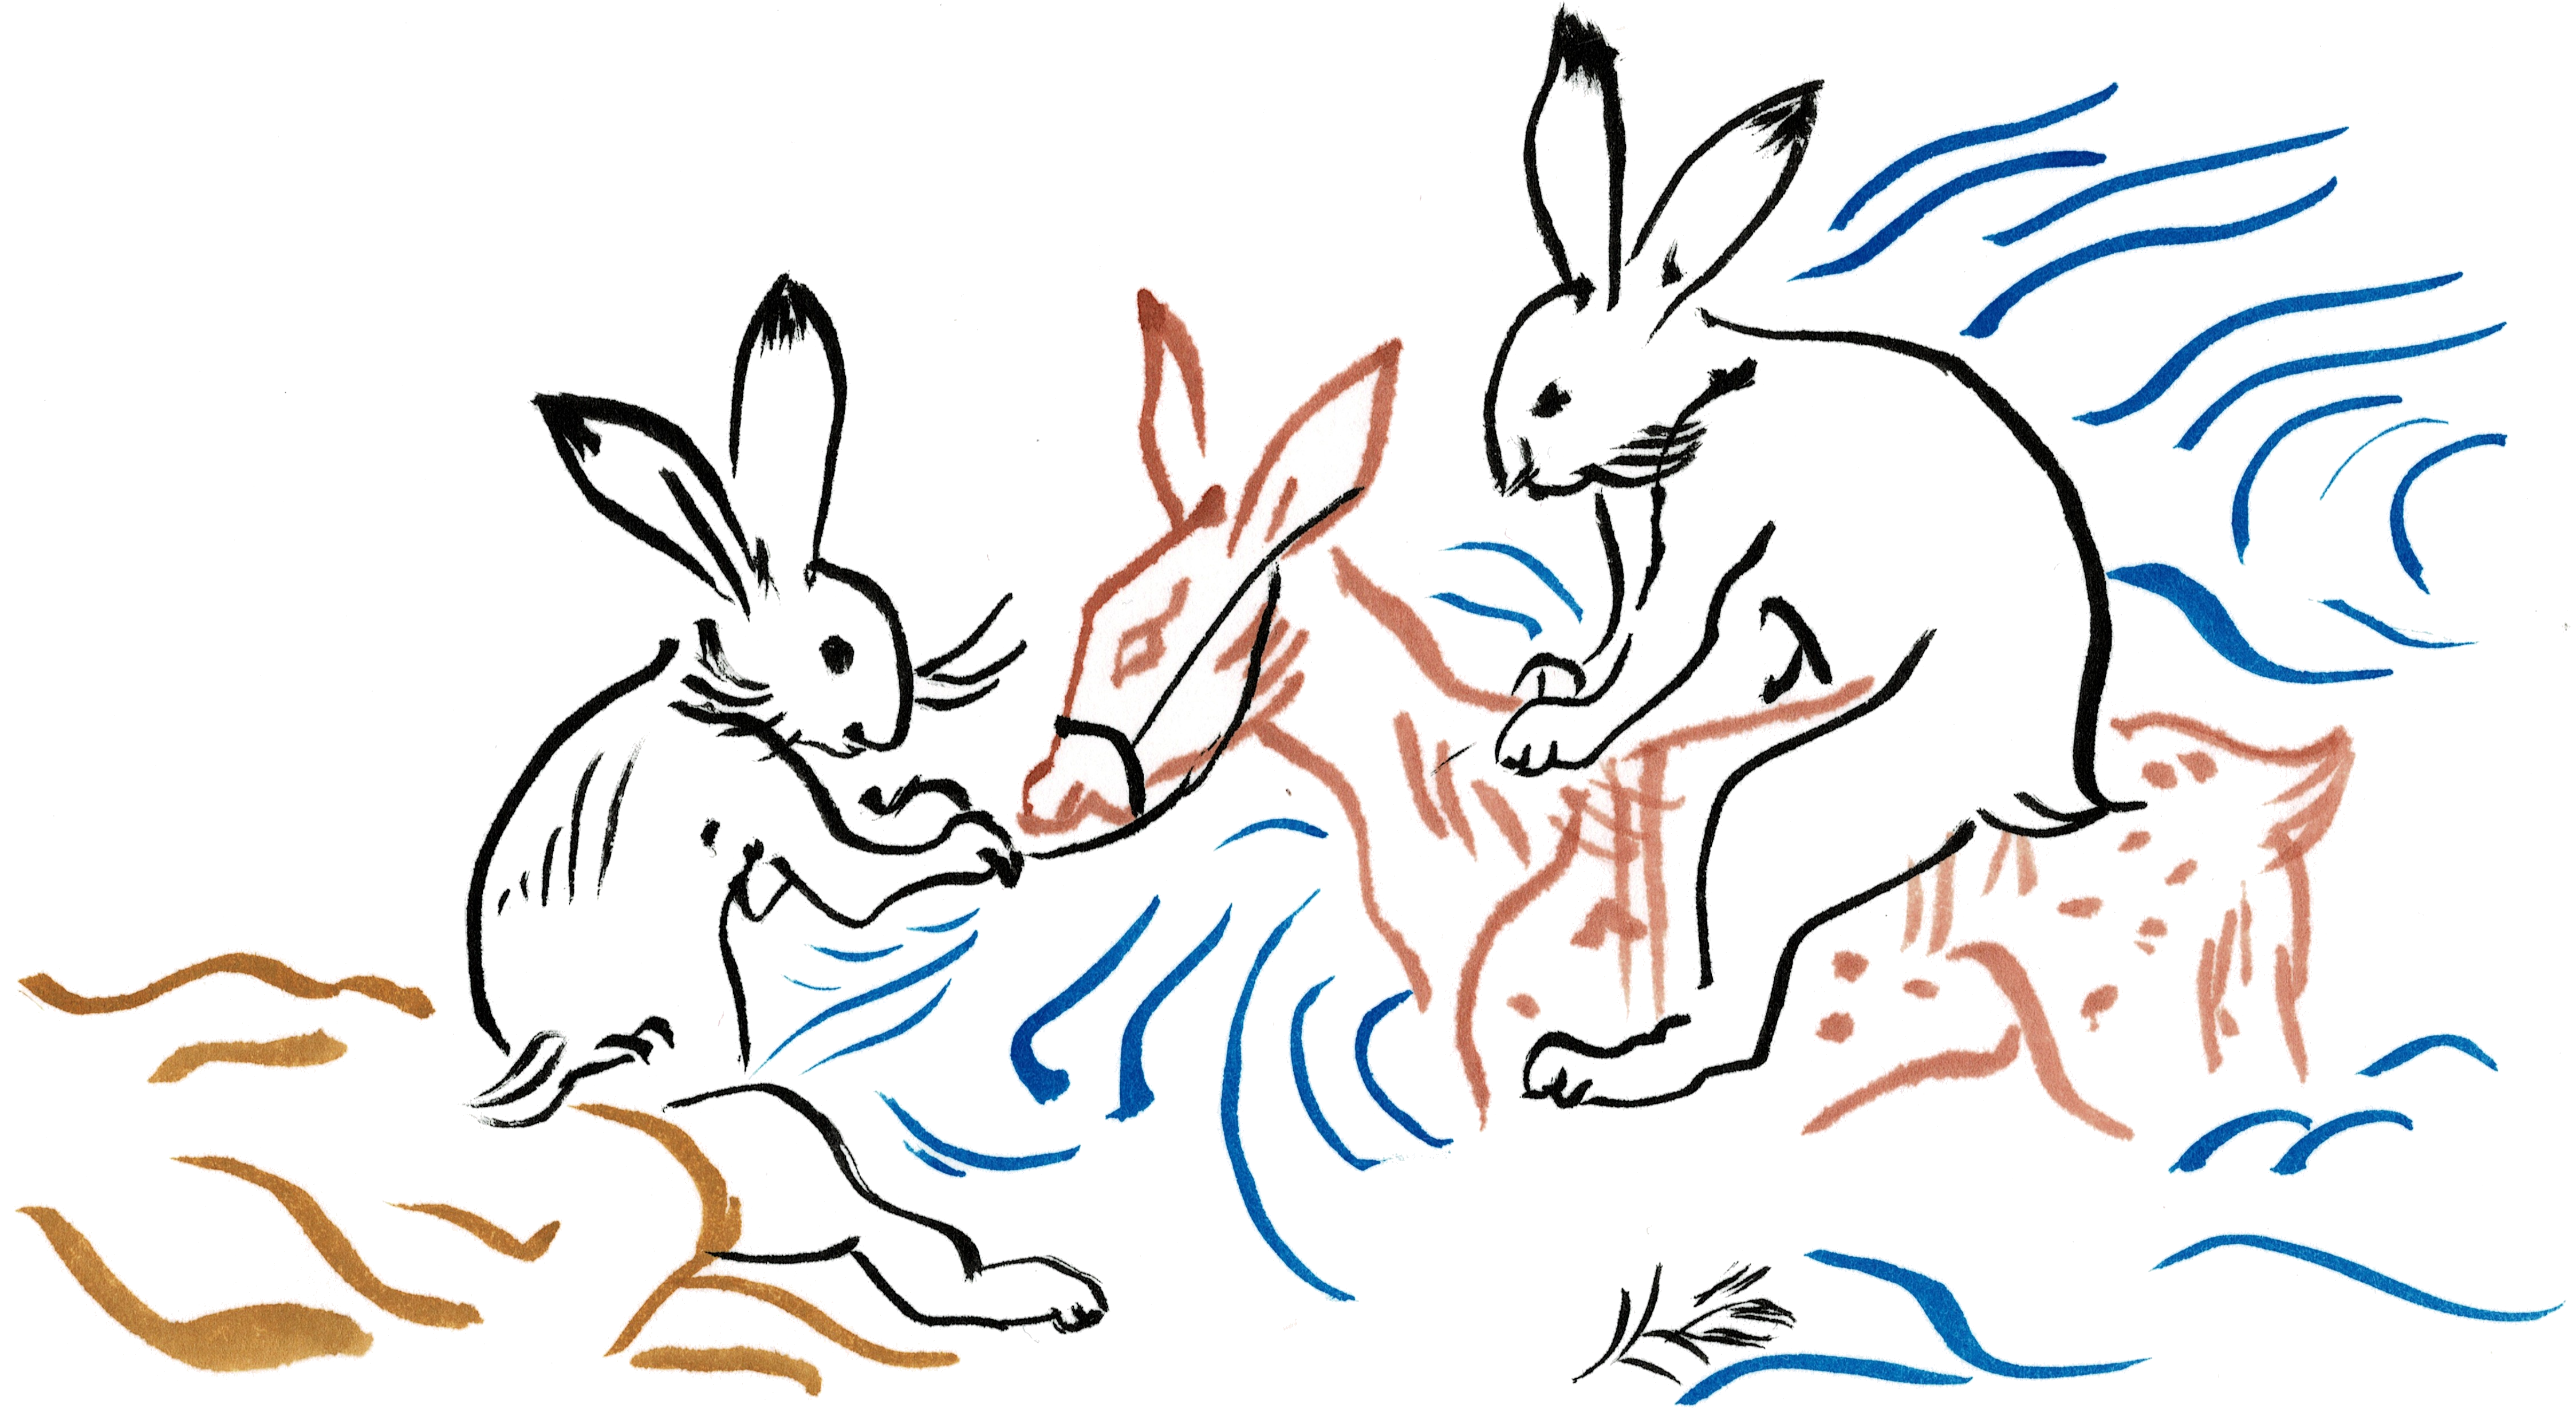
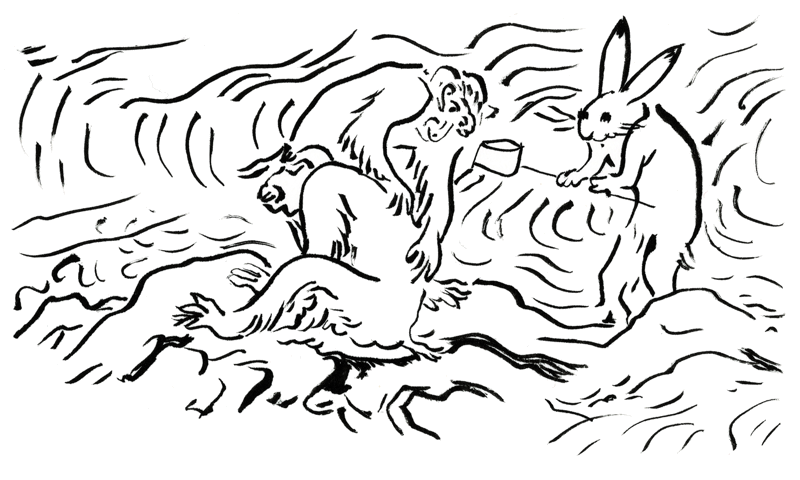
I think I got the facial expression on the seated monkey much better in this version. I also did a third copy, but this one is larger and does not leave much room on the paper for the words of a scroll, so it will probably just go into my portfolio.
As pre-elevation ritual for a Knighthood in the SCA involves a ritual bath, maybe this would be a good image for a writ scroll? /shrug
One of my secret plans is to eventually reproduce the Choju Giga (at least the first scroll) in its entirety. It may take a team of people to do it. I need a lot more practice on these less-popular sections, though.