
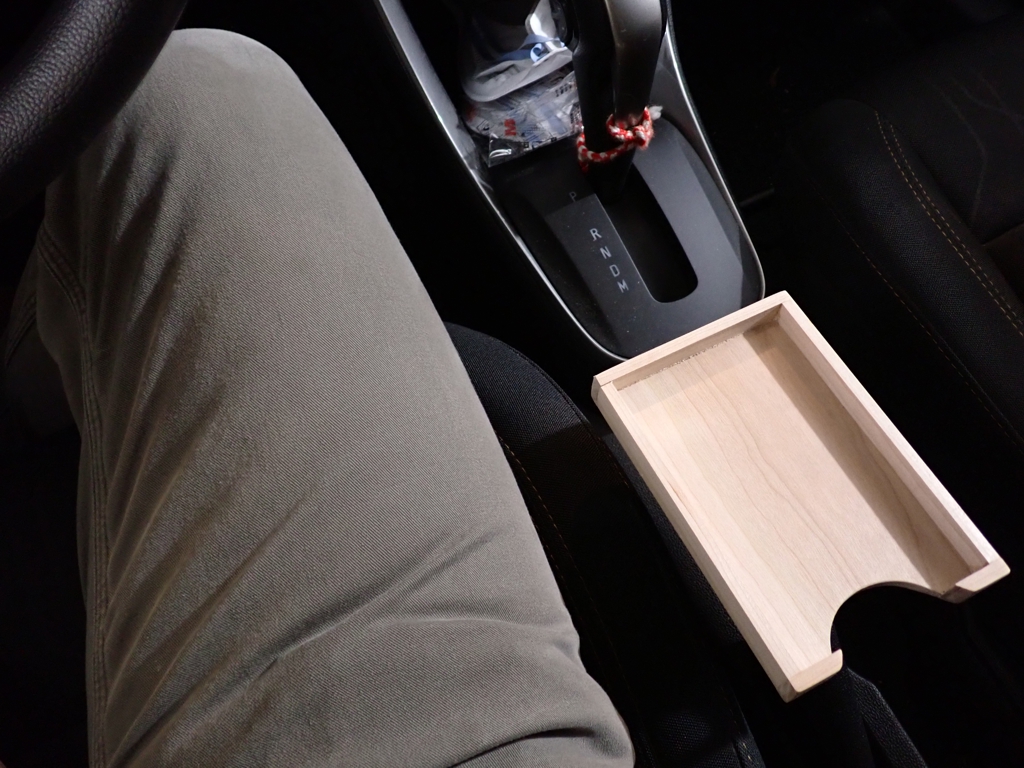
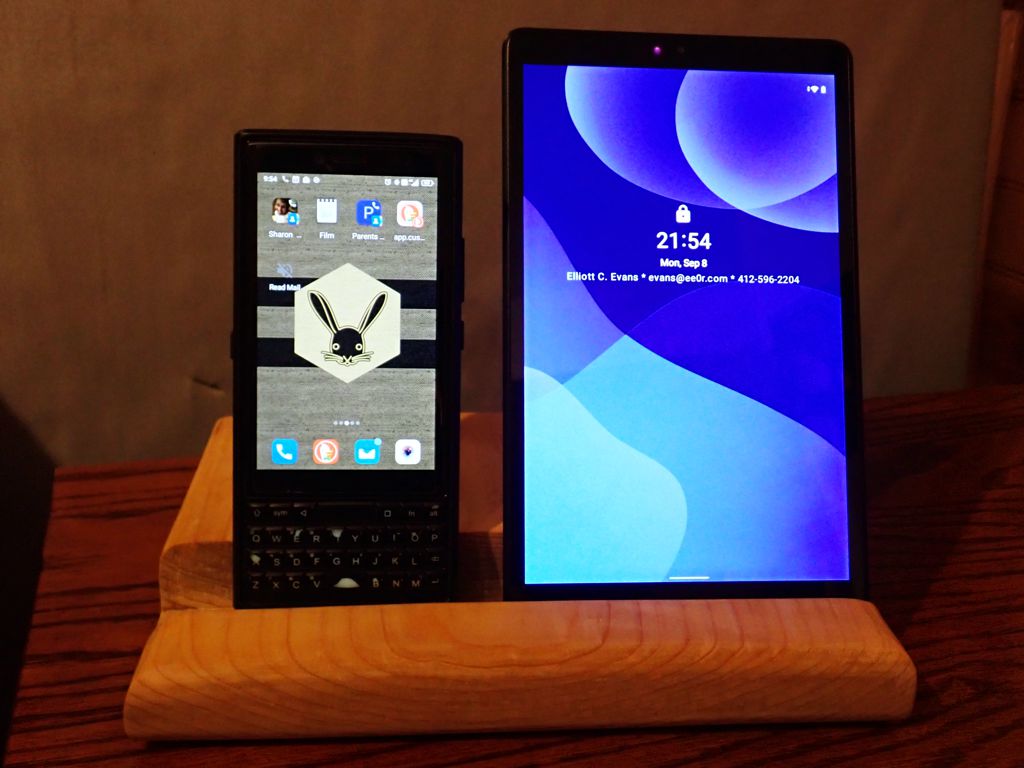
Following up on the discovery that the IKEA Skogsviken tray was the perfect size to hold the new Titan 2 phone, I was finally able to make something I have been thinking about for some time: a tripod mount for my phone. I could have made one out of wood, but I only had square tuits around. Also, in my experience, small wooden boxes and trays are far more fragile than similar plastic objects. The opportunity to give this idea a try with only a $3 plastic tray at risk was too good to pass up.

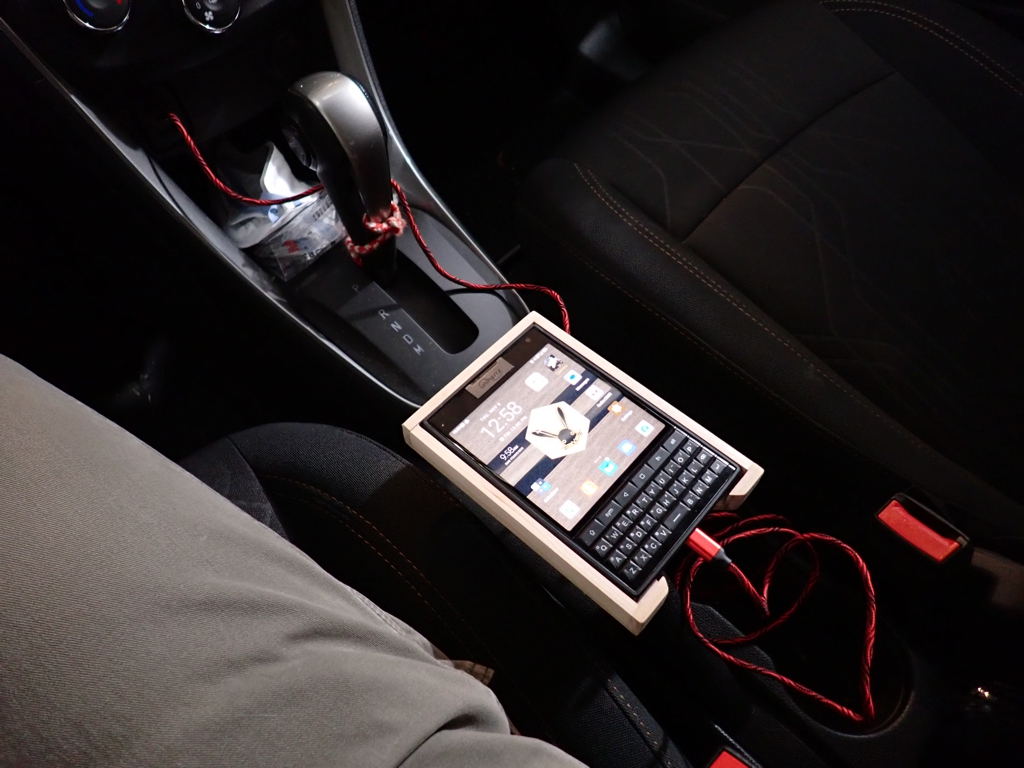
First, I cut a hole in the tray at the location of the subscreen, cameras (there are two cameras on the back), and LED flash. The best way I found to do this was to drill several holes through the plastic to create the opening, then use wood chisels to straighten up the edges. This also meant removing one of the “feet” from the back, this tray can no longer be placed securely on the Skogsviken towel bar.

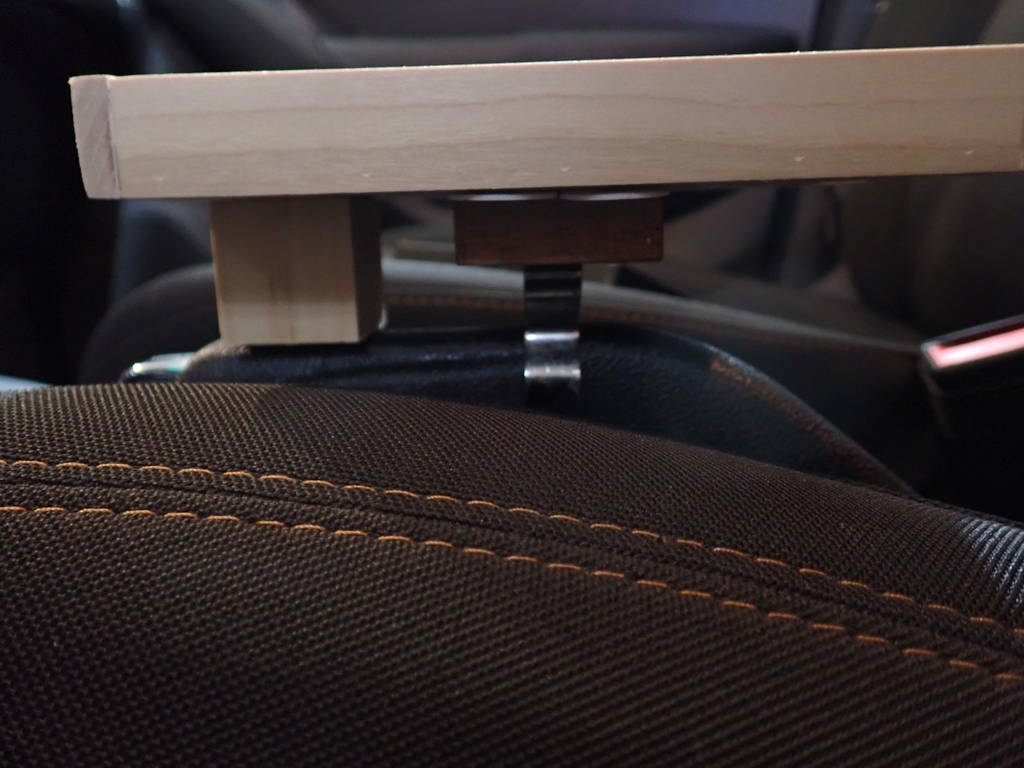
Next, I made a mounting plate by cutting a square of 3/8″-thick wood, drilling a hole in it, and inserting a 1/4″x20tpi tee nut. Then, I attached the plate to the back of the tray using a couple of 3M Command strips. These removable adhesive strips should come in handy for whatever object holds the next phone.

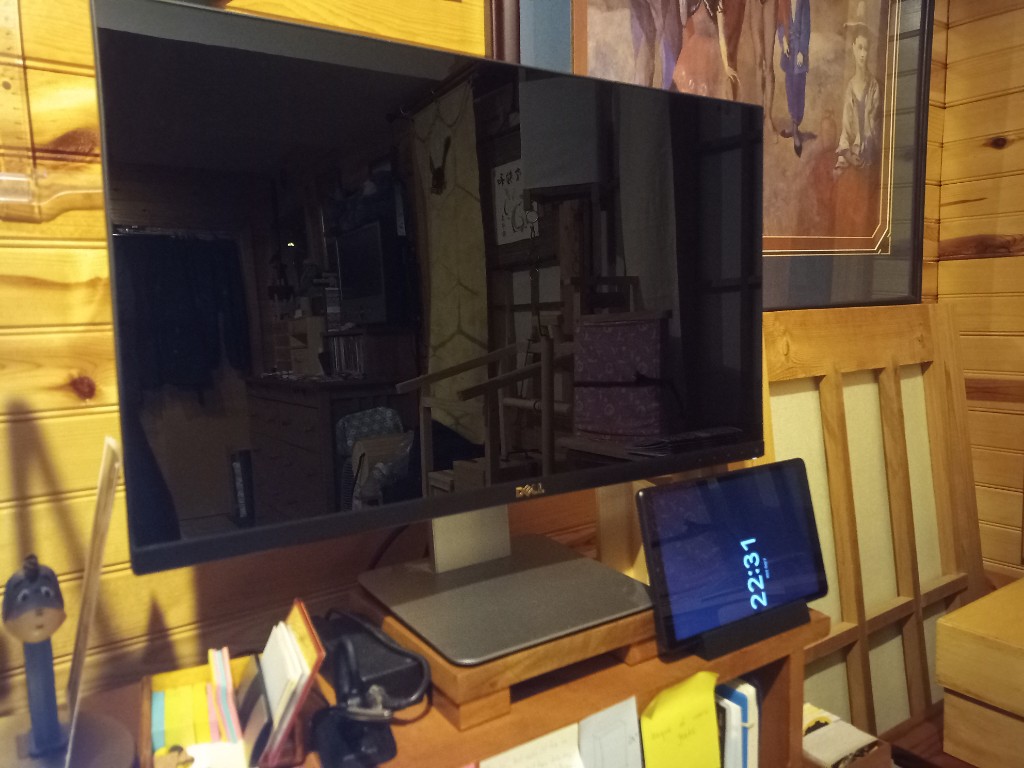
That’s it! Just screw the tripod to the mounting plate and slip the phone into the tray for stabilized, repeatable shots. I can use either the front camera or back cameras. I can also use the tray with some smaller “pocket” tripods I have to make a fancy desk stand. These kind of tripod mounts for phones can cost quite a bit of money, and they normally need to “grip” your phone at the sides in some kind of clamp. I much prefer this easy tray arrangement.


