
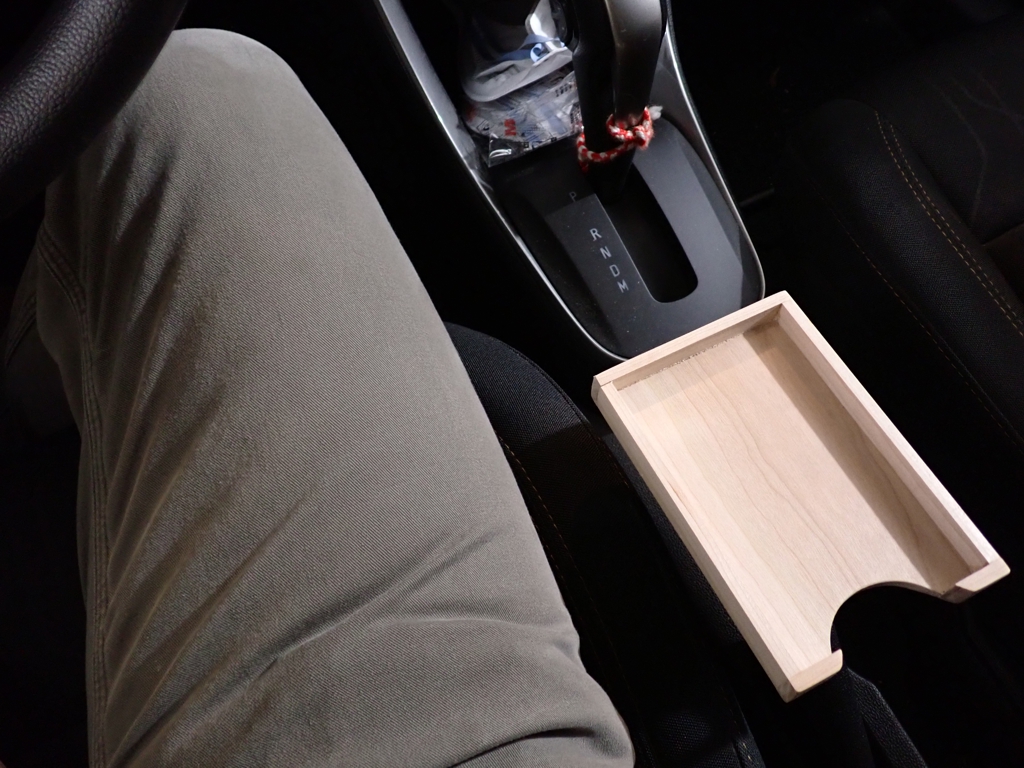
A while back, probably a year or two ago, I bought six small-ish (4 inches across) “Black/Red” melamine dishes from one of the Asian markets here in Pittsburgh. See, the problem with most bento is that the tray inside is so big that you can’t actually fit it in the dishwasher. I figured that if I got a few small dishes, then made a box to hold them, I could use the collection as a bento box. Once I’d used the dishes to hold lunch “courses”, I could pull them out and line them up in the dishwasher rack.

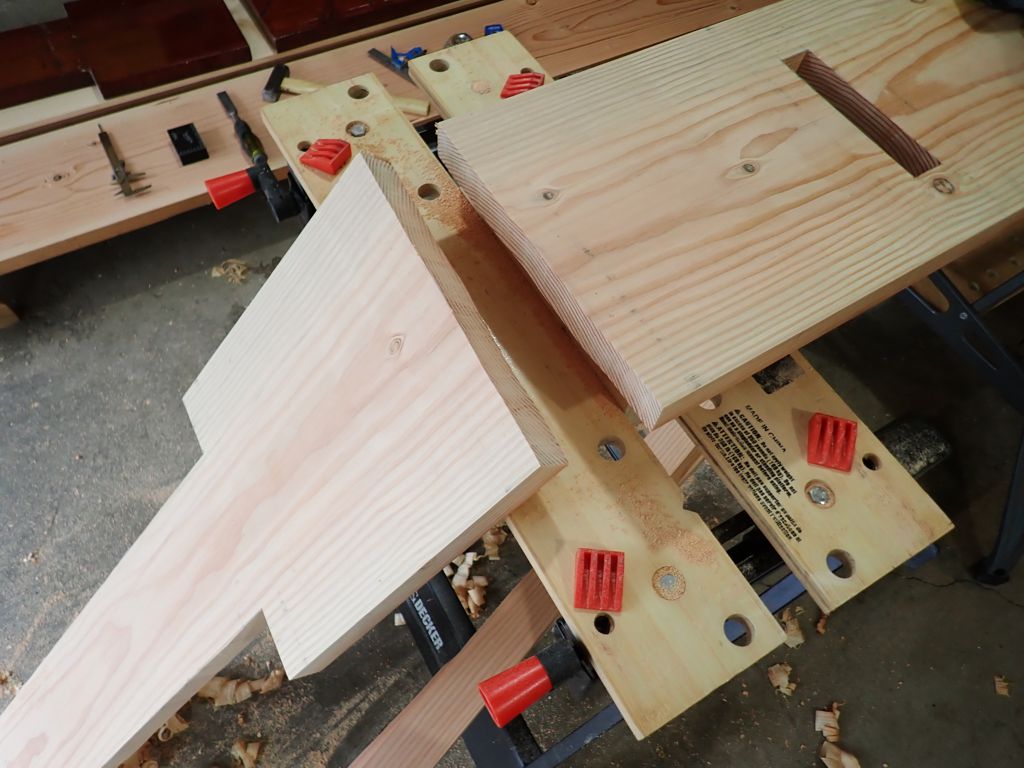
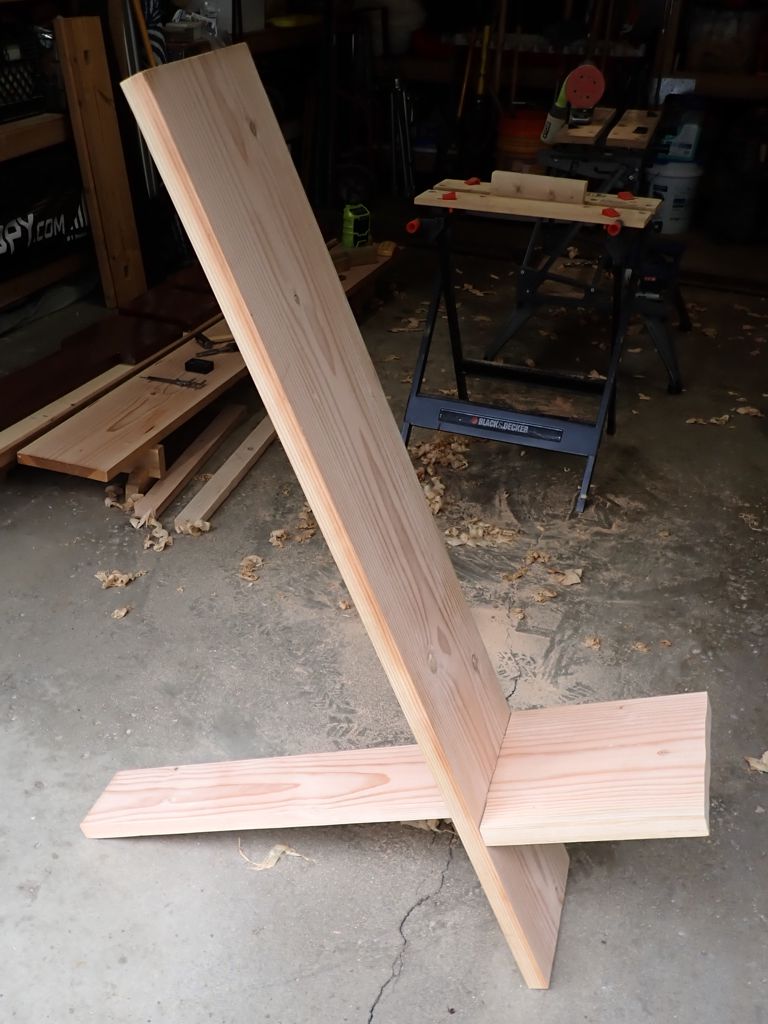
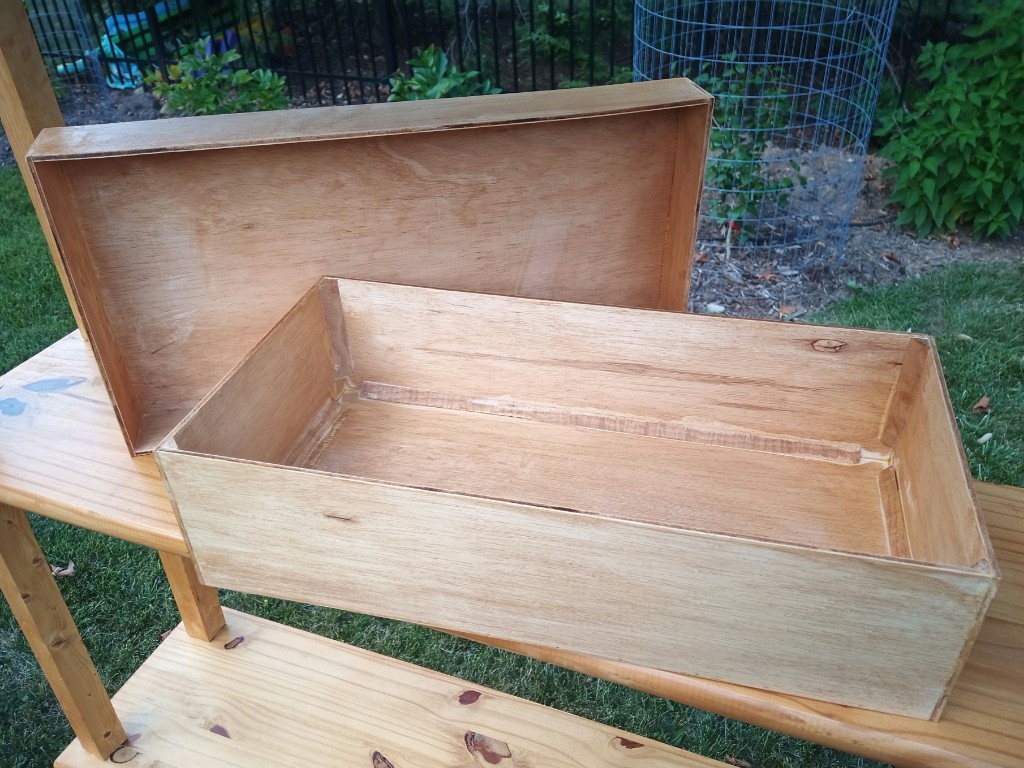
Here is what the box and lid look like with the dishes inside. You can see that the lid has a little lip around it, but it is basically the same construction as the body, only slightly larger. The corners are mitered, and the surfaces (lid surface, body floor) are rabetted to fit into dadoes in the lip/sides. There are no fasteners in the box, just glue and finish. I did most of the cutting and mitering on the band saw, and did the rabbets and dadoes on the router table.

The body interior is just a little bit larger and deeper than the bowls themselves. The interior is about 12.125″ by 8.125″ and 2 inches deep. The maple is 0.375″ thick, so it is sturdy enough to hold the densest of lunches.

The panels that make up the floor and lid surface are actually “book matched”. I started with a 7/8″-thick rough board, then re-sawed it into two thinner boards using my band saw. Then, a few passes through the planer to smooth it out. That’s why the grain doesn’t match up exactly, because my wavy resaw cuts meant more grain was lost to the planer.

The entire box is finished with “General Finishes” brand ‘Wood Bowl Finish‘, which used to be marketed as ‘Salad Bowl Finish’. This is an oil-based urethane finish intended for food contact. They have taken care with the solvents so that once the finish is cured it is non-toxic and as safe as they can manage. It is much less stinky than the polyurethanes I tend to use, and it dries very hard like lacquer. Due to the (intentional) loose fit of the panels in the edges/walls, the box is not water-tight, but the wood is thoroughly sealed.


