
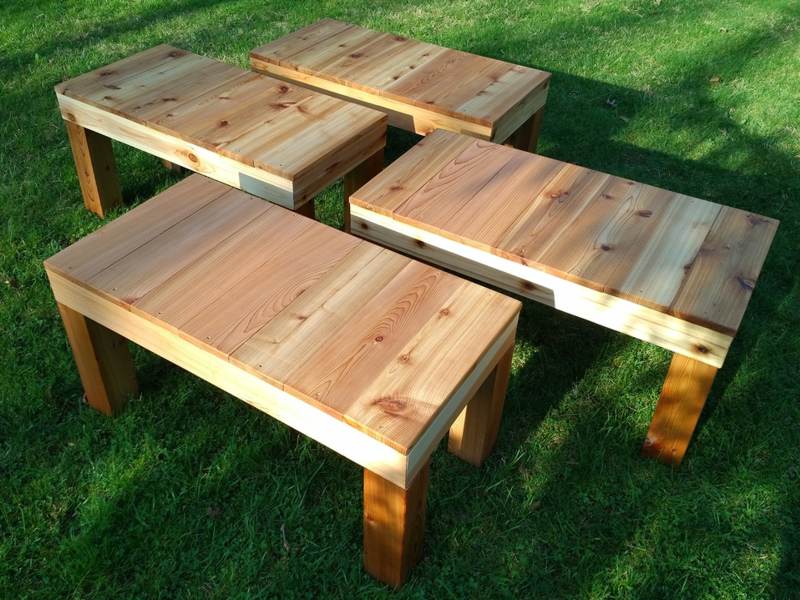
We are going to need some auxiliary seating at an SCA event in March, and most of the benches I have made are locked up in a storage trailer. Plus, they are large and not very portable. My breakdown bench is nice and portable, but somewhat of a pain to re-create given the weird joinery. I decided to design something based on the shape of a Japanese endai bench, but a little smaller than normal, and with folding legs so that it be a little more portable. Bonus points if I could make it so that it would fit in a little fold-up wagon we use to transport stuff at events.

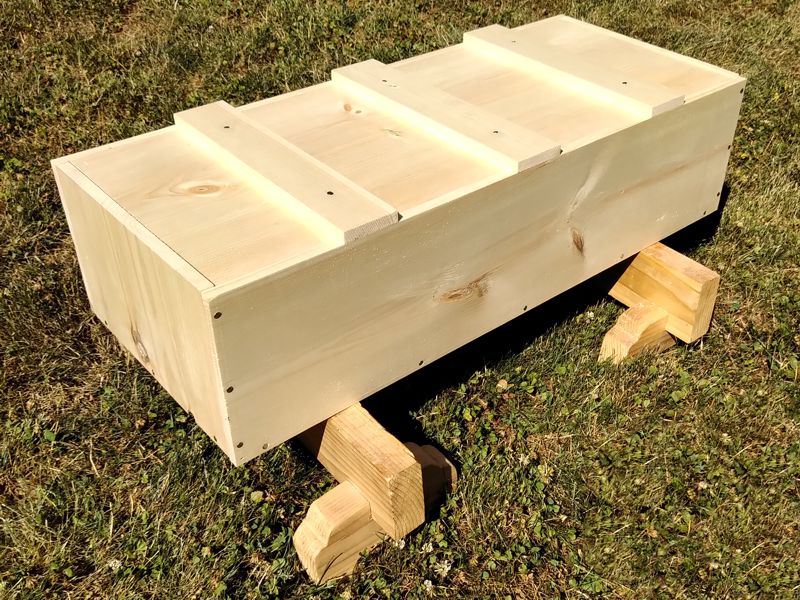
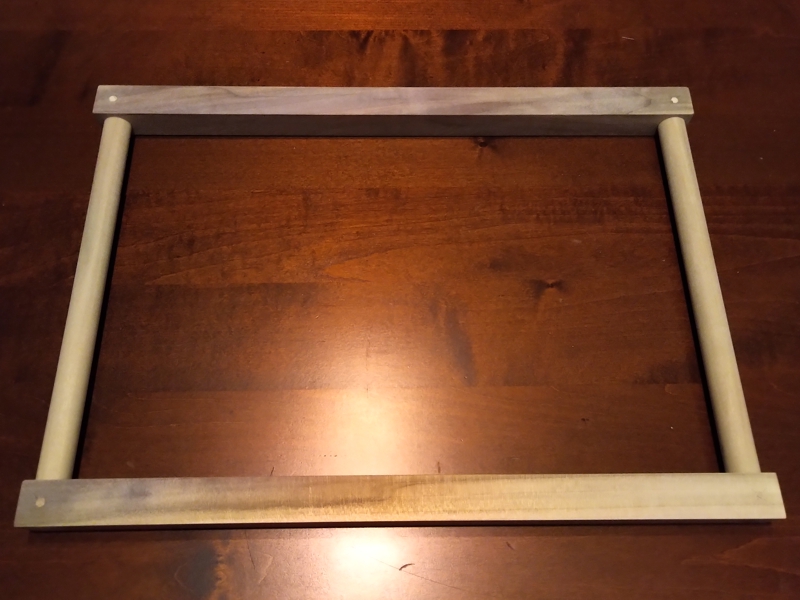
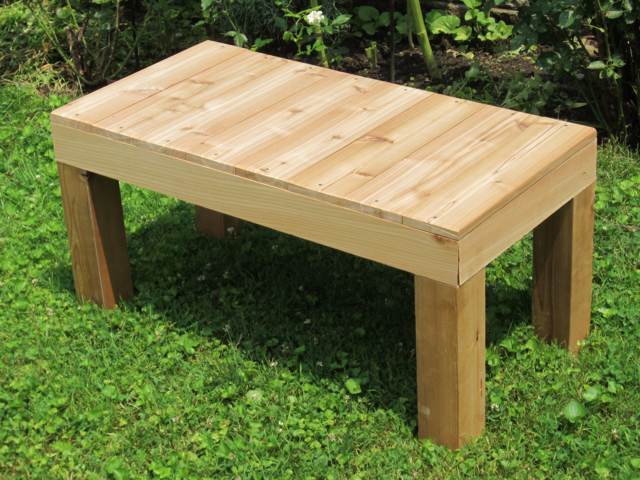
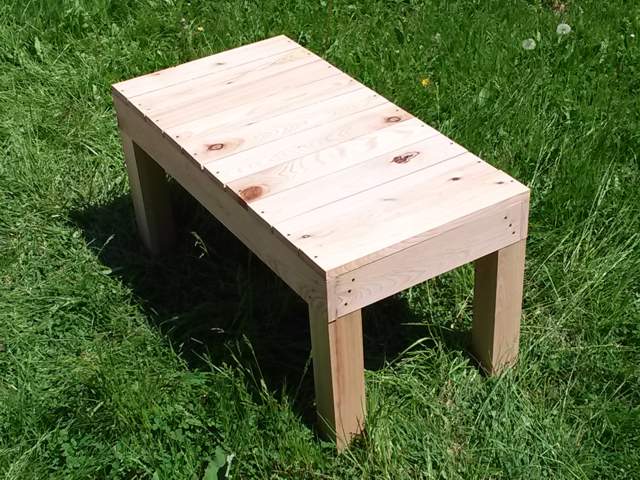
The top of this bench measures 15″x30″ and it is about 15″ tall. It took me most of a Saturday in the shop from start to finish. I was able to construct it entirely from lumber that I already had in the garage. The majority of the 2by4 material came from a single 12-footer that’s been up on the rack for three or four years. As a consequence, the bench has a bit of a twist to it and doesn’t sit completely flat on the floor until you put some weight on it. Even the axles for the legs are made from a poplar dowel I had “in stock”.
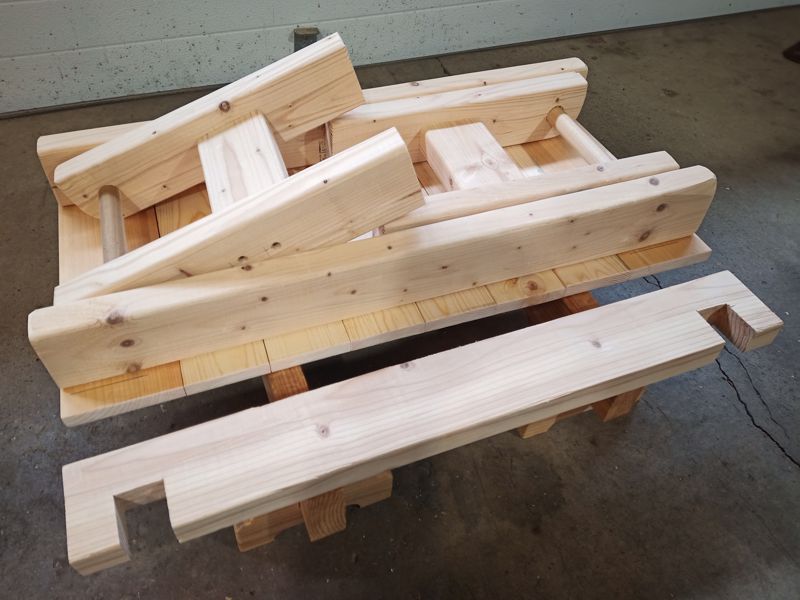
Late in the design process, I decided to move the legs in one inch from the ends. I did not think about the fact that this would mean that the legs would have to be shorter if they were going to fold entirely into the undercarriage. So, it does not fold up entirely, but it does fold up mostly. If I cut the legs an inch shorter, they would fit, but I also would have to cut clearance curves onto the ends so that the corners wouldn’t jam things up.
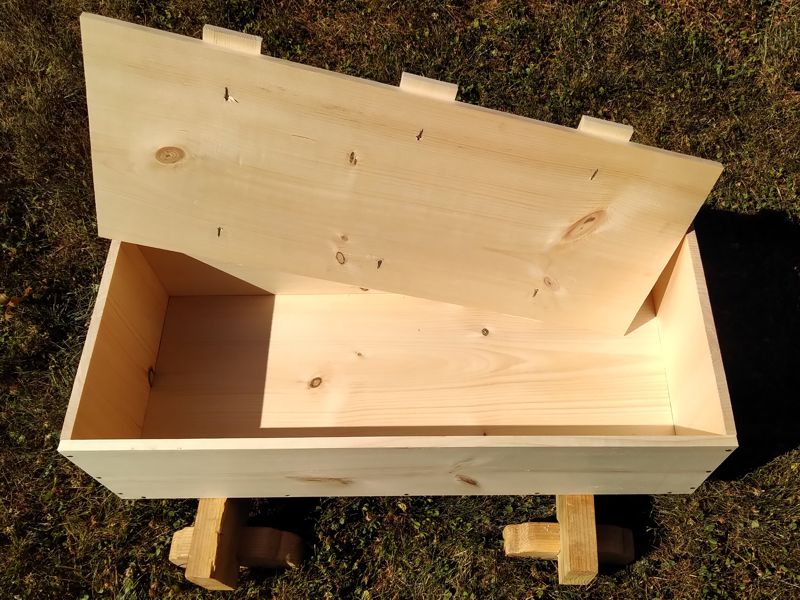
I used screws to hold the whole thing together, which I’m not proud of, but I just was not in the mood to do fancier joinery than that. I am proud of the fact that I did most of the cutting by hand with a ryoba saw, though the curves at the tops of the legs were much easier on the band saw. The sanding and assembly were all done with power tools, because I really did want this to be done in one day. Success!


