
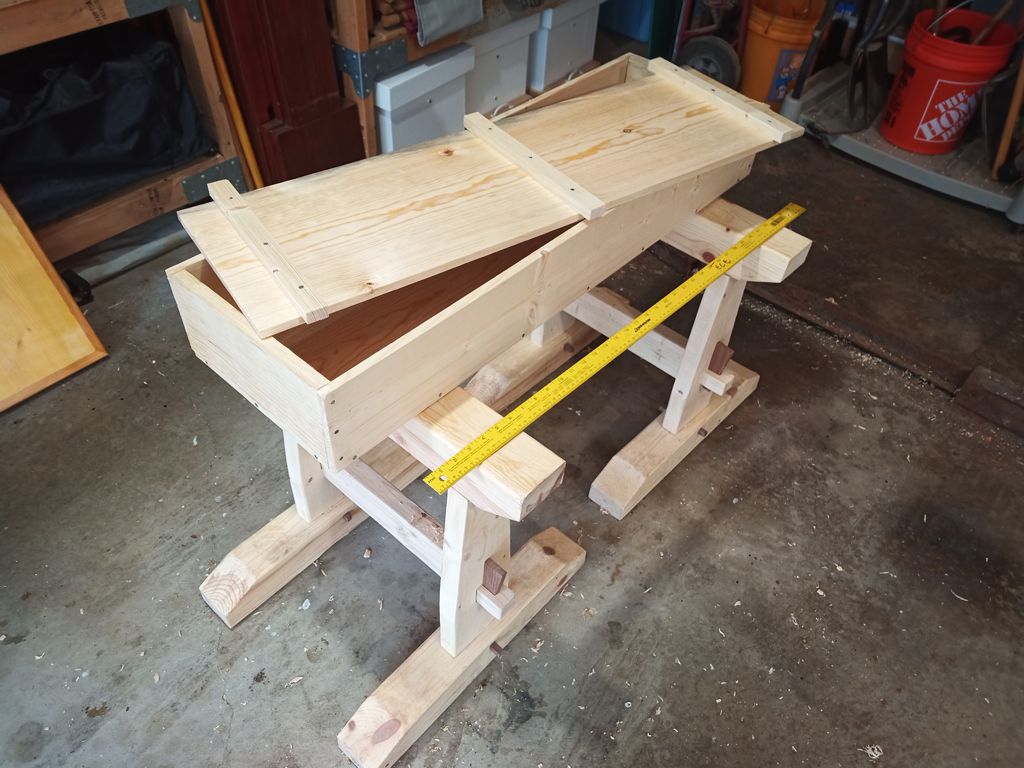
I have been putting off the next step in this long-running experimental archaeology project more because I wanted to work on it at a particular event than because of my normal level of procrastination. I planed down the 1by lumber months ago, then I cut and assembled the chest at Aethelmearc War Practice. I started this project working on the Mark Zero “proof of concept” chest at War Practice back in 2018 or 2019.
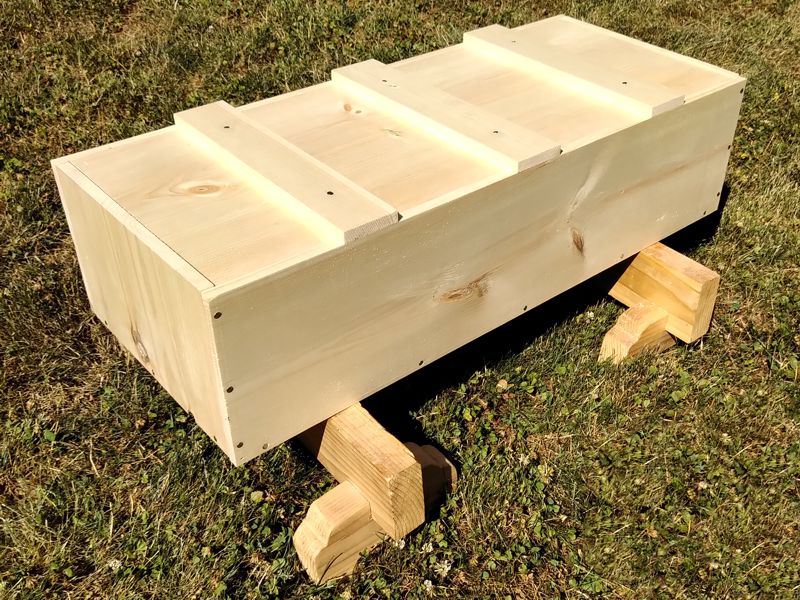
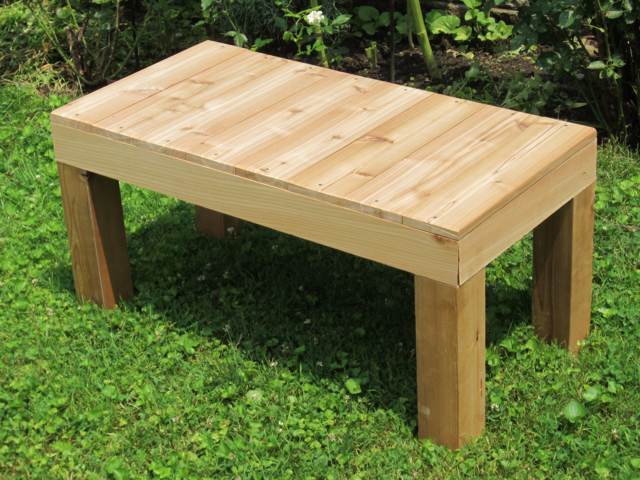
Anyway, this is the fourth try at making a tool chest that looks like one you can see in the Kasuga Gongen Engi-e. This emaki illustrated scroll is from the 14th century and shows scenes from the history of a Kasuga shrine, including the shrine’s construction.

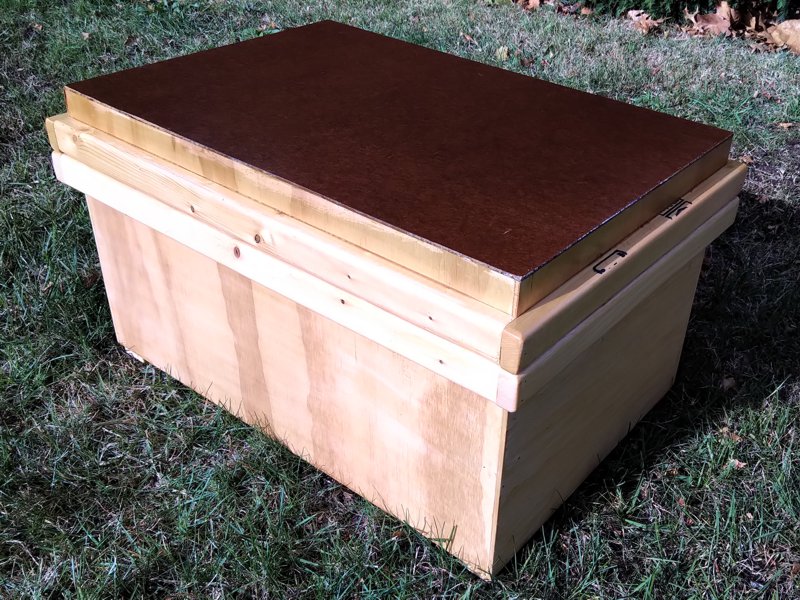
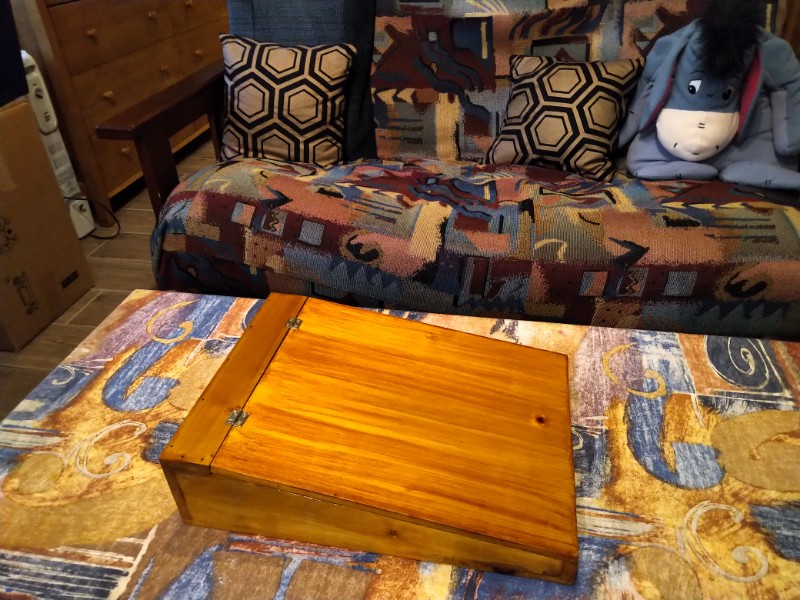
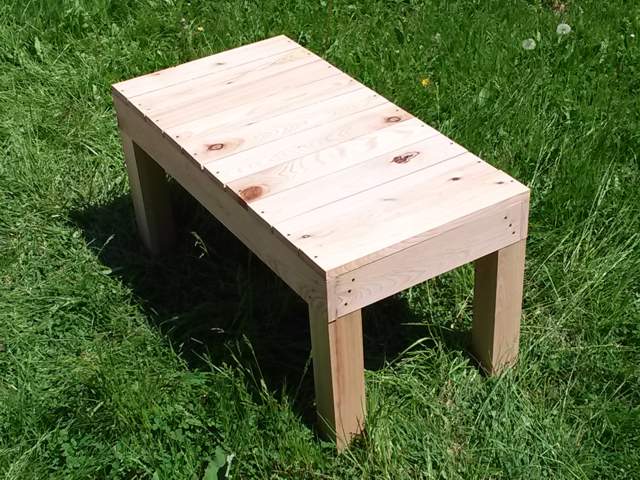
To better match the size and look of the Kasuga chest, I started with 1×6 lumber instead of the 1×8 I used on the Mark 2. It’s only about 39 inches long instead of the fifty-something inches of the Mark 2. I also used the thicker battens like I discussed, which I think worked out well.
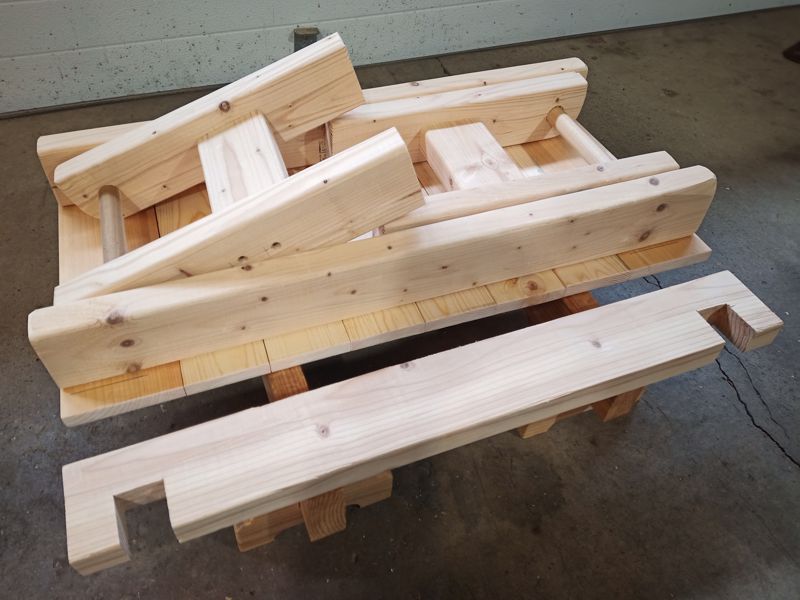
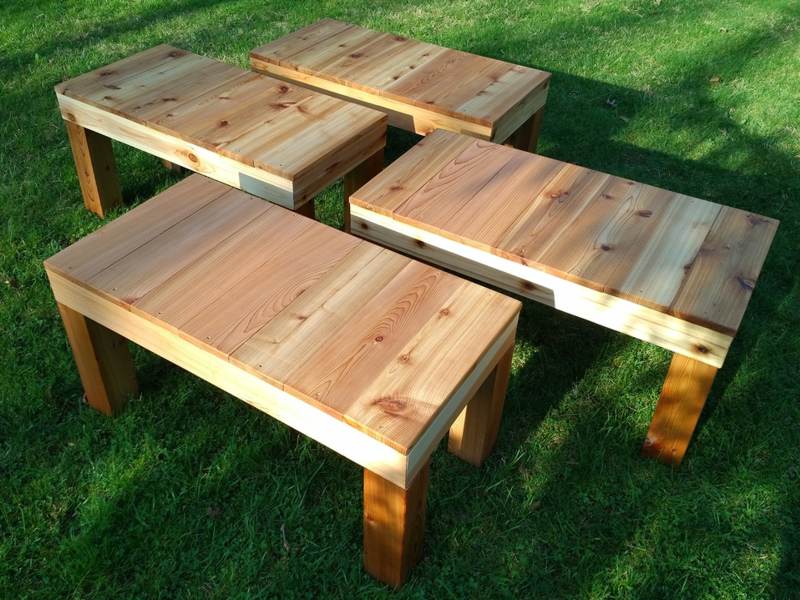
Here is what the four chests look like laid out in a row:

I think I really have the look now. The size an proportions may not be exactly right, but it’s pretty much there. I’ll maybe work on a few tweaks at some point in the future.
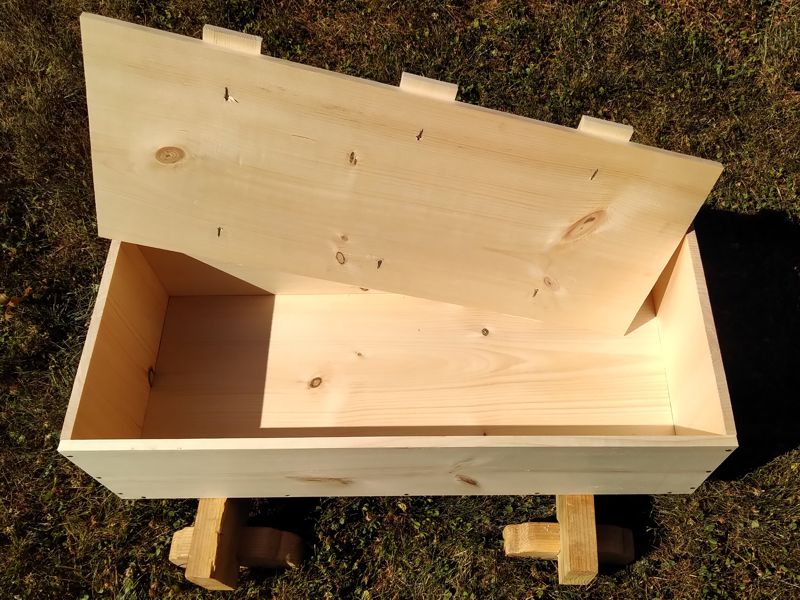
It’s long enough that I can get some of my longer saws in there, just deep enough that things don’t get buried under several layers, and still wide enough that some of my organizer tills fit in there sideways to keep things from sliding around.


